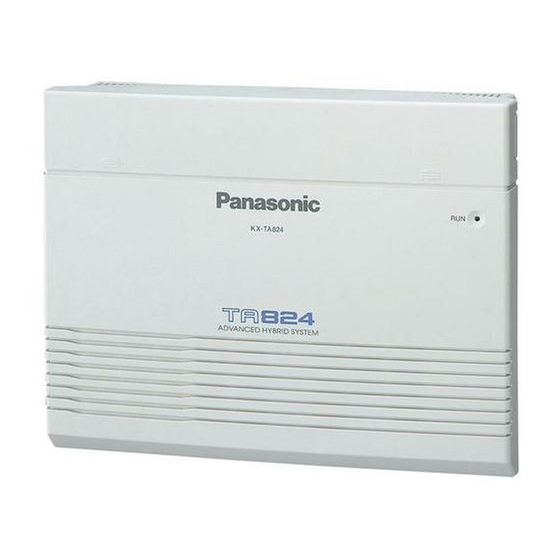
Panasonic KX-TA824 Manual
Set up for built in disa auto attendant by telquest
Hide thumbs
Also See for KX-TA824:
- Programming manual (234 pages) ,
- Operating manual (188 pages) ,
- Feature manual (178 pages)
Advertisement
Quick Links
Set Up the KXTA 824 for Built In DISA Auto Attendant
Step 1. Set the CO Lines for DISA/AA Service
Programming must be done from extension 101
Leave the handset in the cradle and press the PROGRAM button
Dial *#1234 (STAR POUND 1 2 3 4)
Dial 414
Press the SP-PHONE button
Dial * (STAR) Sets all lines for DISA or dial a specific CO for individual control.
Press the AUTO ANS/MUTE button until the display flashes "CO *:DISA:OGM-"
Dial 1
Press the AUTO DIAL/STORE button
Press the HOLD button
Step 2. Assign Dialed Digit to Extension Jacks
Dial 501
Press the SP-PHONE button
Dial 1
Press the AUTO ANS/MUTE button until the display reads "1:Jack-"
Dial the jack number (01, 02 etc.)you want the call to go to when the caller dials 1.
Press the AUTO DIAL/STORE button to save your setting.
Press the SP-PHONE button and the display will change to "2:Not Stored"
Dial the jack number you want the call to go to when the caller dials 2.
Press the AUTO DIAL/STORE button to save your setting.
Repeat the steps until you have entered all jack locations you need.
Press the HOLD button when done.
Example:
Dial 1 for Jack 03
Dial 2 for Jack 06
Dial 3 for Jack 02
If unused, be sure to assign Dial 7 for Jack 01 to prevent Modem Access.
Special Note:
If unused, be sure to assign Dial 9 and Dial 0 to Jack 01 (Receptionist)
Otherwise, Dial 9 or Dial 0 may allow a caller to go back out on another line.
Note:
CPC Disconnect Service (>250ms) from Telco is required for abandoned calls.
Advertisement

Summary of Contents for Panasonic KX-TA824
- Page 1 Set Up the KXTA 824 for Built In DISA Auto Attendant Step 1. Set the CO Lines for DISA/AA Service Programming must be done from extension 101 Leave the handset in the cradle and press the PROGRAM button Dial *#1234 (STAR POUND 1 2 3 4) Dial 414 Press the SP-PHONE button Dial * (STAR) Sets all lines for DISA or dial a specific CO for individual control.
- Page 2 Step 3. Assign Auto Attendant to DISA Dial 500 Press the SP-PHONE button Press the AUTO ANS/MUTE button until the display flashes “With AA” Press the AUTO DIAL/STORE button Press the HOLD button Step 4. Assign Call Waiting to DISA Dial 506 Press the SP-PHONE button Press the AUTO ANS/MUTE button until the display flashes “Call Waiting”...
- Page 3 How to Record Out Going Message (OGM) Programming/Recording must be done from extension 101 in the cradle Leave the handset and press the PROGRAM button Now raise the handset Dial 911 When you hear the beep…Begin recording your Out Going Message When you are done recording…Press the AUTO DIAL/STORE button The system will play your Out Going Message back to you If it sounds OK then hang up.


