Table of Contents
Advertisement
Quick Links
AMPLIFIED
OUTDOOR/ATTIC HD ANTENNA
INSTALLATION GUIDE
Important!
What's in the package?
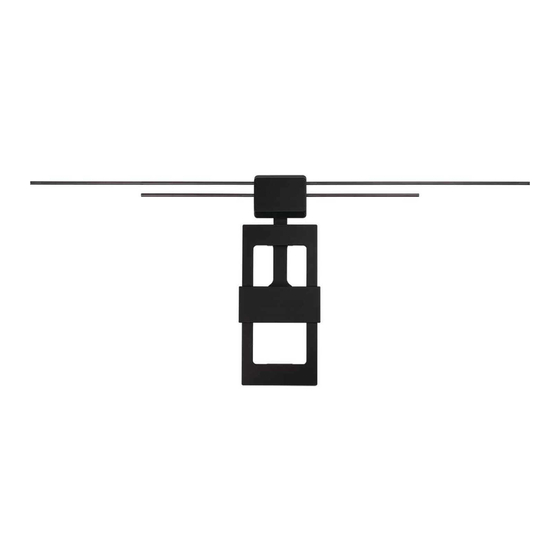
(1) Main antenna element
(1) Hardware bag
(4) M4x9 screws
(4) 1/4"x20 mounting screws
(2) Hex Nuts
BEFORE YOU START!!!
Please read the IMPORTANT SAFETY INFORMATION sheet included in this package.
Your antenna works
best when oriented
toward the TV
broadcast towers in
your area.
(1) Mounting base
(4) Long and (2) short VHF dipoles
(1) Bracket
(1) Amplifier insert
(1) U-Bolt
(2) Wing Nuts
(2) 1/4"x20 screws
ANT850E1 IB 00
If you don't know where
your broadcast towers
are, download the "RCA
Signal Finder" App on
your smartphone and
follow the directions in
the App to find the best
location and orientation
for your antenna.
(1) 16ft coaxial cable
(1) Mast
(1) Clamp
1
Advertisement
Table of Contents

Summary of Contents for RCA ANT850E1
- Page 1 ANT850E1 IB 00 AMPLIFIED OUTDOOR/ATTIC HD ANTENNA INSTALLATION GUIDE Important! If you don’t know where Your antenna works your broadcast towers best when oriented are, download the “RCA toward the TV Signal Finder” App on broadcast towers in your smartphone and your area.
-
Page 2: Assemble The Antenna
Assemble the antenna A. Attach the U-bolt and bracket to the back of the antenna. Place the U-bolt in the indentation on the clamp. Then place both on the back of the main antenna element as shown. Insert the 4 M4x9 screws through the bracket holes and into the back of the antenna as shown. -
Page 3: Mount The Antenna
Mount the antenna A. Mount the mounting base. Find the four mounting screws included in this package. Using these screws, attach the base to the surface as shown here. WARNING: Never hang anything from this antenna; never attach foreign objects to this antenna. NOTE: In most cases, this antenna provides the best performance when mounted outdoors in a high location (such as on the roof or high up on the side of your house). - Page 4 Mount the antenna (continued) C. Secure the antenna to the mast. Antenna, Place the mounting bolts attached to the back of back the antenna on either side of the mounting mast. Place the clamp over the ends of the mounting bolts as shown here.
-
Page 5: Connect To Your Tv
Connect to your TV A. Connect the antenna to the coaxial cable. Connect one end of the included coaxial cable to the antenna lead (if you need a longer length of cable, you can use your own RG6 coaxial cable). Once you’ve tightened the cable onto the lead, lower the rain boot over the connection to protect it from water. - Page 6 Connect to your TV (continued) C. Connect the coaxial cable to the amplifier. Connect the coaxial cable coming from the antenna to the ANT jack on the supplied amplifier insert. Connect the built-in coaxial cable on the other side of the amplifier insert to the antenna input jack on your TV or converter box.
- Page 7 Scan for channels on your TV Most TVs have a channel scan option in their menu MENU system, many times in a SETUP or CHANNEL menu Setup under ANTENNA. Channel For detailed instructions on performing a channel scan, Language see the owner’s manual that came with your TV. Note: If you move the switch on the amplifier or change the position of the antenna, you should scan for channels again.
-
Page 8: Fcc Statement
FCC Statement This device complies with part 15 of the FCC Rules. Operation is subject to the following two conditions: (1) This device may not cause harmful interference, and (2) this device must accept any interference received, including interference that may cause undesired operation. This equipment has been tested and found to comply with the limits for a Class B Digital Device, pursuant to Part 15 of the FCC Rules.


