Casio CTK-496 User Manual
Casio ctk-496: users guide
Hide thumbs
Also See for CTK-496:
- دليل االستخدام (92 pages) ,
- Product catalog (2 pages) ,
- Service manual (19 pages)
Table of Contents
Advertisement
Quick Links
Advertisement
Table of Contents

Related Manuals for Casio CTK-496


Summary of Contents for Casio CTK-496
- Page 1 USER’S GUIDE GUÍA DEL USUARIO CTK496/700ES1A...
- Page 2 • Do not short-circuit the battery terminals. • The product is not intended for children under 3 years. • Use only CASIO AD-5 adaptor. • The AC adaptor is not a toy. • Be sure to disconnect the AC adaptor before cleaning the product.
-
Page 3: Safety Precautions
Safety Precautions Congratulations on your selection of the CASIO electronic musical instrument. • Before using the instrument, be sure to carefully read through the instructions contained in this manual. • Please keep all information for future reference. Symbols Various symbols are used in this user’s guide and on... - Page 4 • Never twist or stretch the cord. • Should the electric cord or plug become damaged, contact your original retailer or authorized CASIO Service Provider. G Never touch the AC adaptor while your hands are wet.
- Page 5 2. If you are using the AC adaptor for power, unplug it from the wall outlet. 3. Contact your original retailer or an authorized CASIO Service Provider. Plastic Bags Never place the plastic bag the product comes in over your head or in your mouth.
- Page 6 Safety Precautions Connectors Connect only the specified devices and equipment to the product’s connectors. Connection of a non-specified device or equipment creates the risk of fire and electric shock. Location Avoid the following locations for this product. Such locations create the risk of fire and electric shock.
-
Page 7: Introduction
Introduction Congratulations upon your selection of this CASIO musical instrument. This keyboard provides you with the following features and functions. ❐ 100 tones • Choose from among orchestral sounds, synthesized sounds, and more. ❐ 100 rhythms • 100 versatile rhythms help to add plenty of life to all your keyboard performances. -
Page 8: Table Of Contents
Contents Safety Precautions ... E-1 Introduction ... E-5 Care of your keyboard ... E-5 Contents ... E-6 General Guide ... E-8 Using the Display ... E-10 Song Bank Quick Reference ... E-11 Playing Back a Song Bank Tune ... E-11 Power Supply ... -
Page 9: Contents
MIDI ... E-30 What is MIDI? ... E-30 General MIDI ... E-30 Changing MIDI Settings ... E-31 Troubleshooting ... E-32 Specifications ... E-33 Appendix ... A-1 Tone List ... A-1 Note Table ... A-2 Fingered Chord Chart ... A-4 Percussion Instrument List ... A-6 Rhythm List ... -
Page 10: General Guide
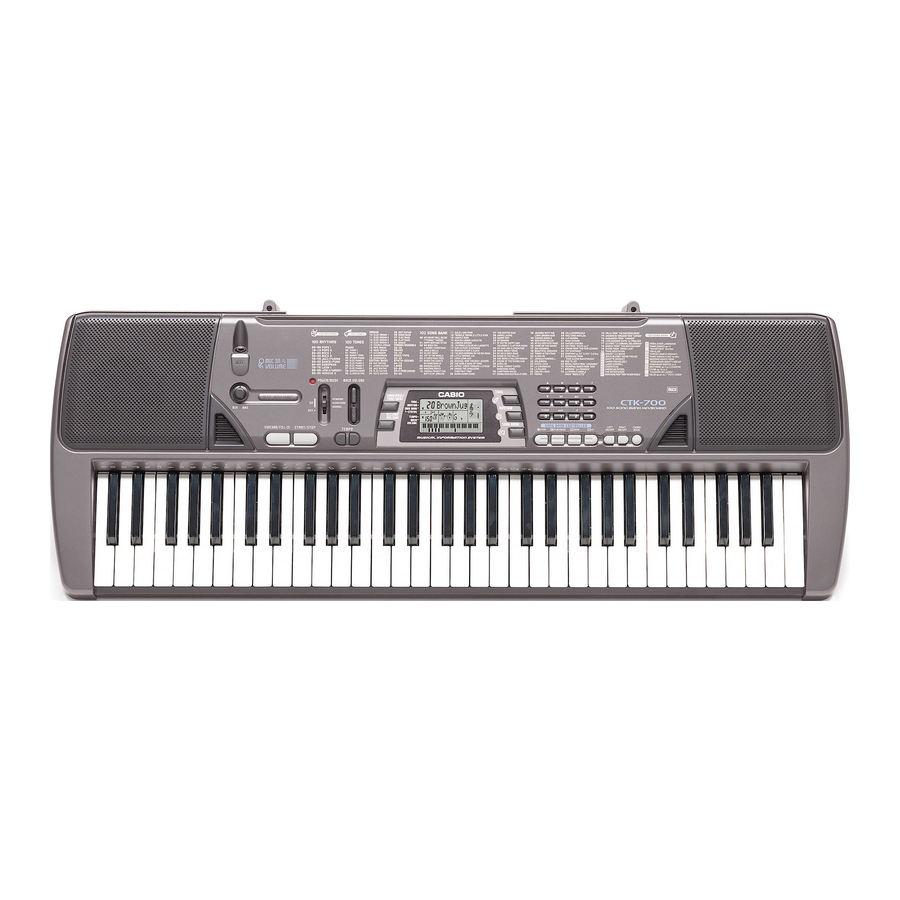
General Guide 627A-E-010A... - Page 11 • Illustrations in this User’s Guide shows the CTK-496. 1 MIC VOLUME knob 2 Power indicator 3 MAIN VOLUME buttons 4 SYNCHRO/FILL-IN button 5 START/STOP button 6 POWER/MODE switch 7 TEMPO buttons 8 ACCOMP VOLUME button 9 TRANSPOSE/TUNE/MIDI button 0 Percussion instrument list...
-
Page 12: Using The Display
General Guide Using the Display An indicator appears next to the type of setting you are currently performing (TONE, RHYTHM, SONG BANK). Tone number, rhythm number, song number, keyboard settings value Rhythm, auto-accompaniment, Song Bank tune beats Tone name, rhythm name, song name, mode name, keyboard settings name Musical staff representation of notes and chords you play on the keyboard. -
Page 13: Song Bank Quick Reference
Song Bank Quick Reference MAIN VOLUME POWER/MODE A selection of 100 Song Bank tunes comes built-in for your listening pleasure or play along fun. A simple operation cuts out the melody part or accompaniment part of the tune, allowing you to play along on the keyboard. See “Using the Song Bank”... - Page 14 Song bank Quick Reference Press the RIGHT ON/OFF button to turn off the right-hand melody part and try playing along on the keyboard. • The display’s graphic keyboard and fingering indicators show you the melody notes to play. Press the RIGHT ON/OFF button again to turn the melody part back on.
-
Page 15: Power Supply
Power Supply This keyboard can be powered by current from a standard household wall outlet (using the specified AC adaptor) or by batteries. Always make sure you turn the keyboard off whenever you are not using it. Using batteries Always make sure you turn off the keyboard before loading or replacing batteries. -
Page 16: Using The Ac Adaptor
• Never twist or stretch the cord. • Should the electric cord or plug become damaged, contact your original retailer or authorized CASIO Service Provider. • Never touch the AC adaptor while your hands are wet. Doing so creates the risk of electric shock. -
Page 17: Connections
Connections Phones/Output Terminal Before connecting phones or other external equipment, be sure to first turn down the volume settings of the keyboard and the connected equipment. You can then adjust volume to the desired level after connections are complete. [Rear Panel] PHONES/OUTPUT terminal Stereo standard plug... -
Page 18: Basic Operations
Basic Operations MIC VOLUME POWER/MODE This section provides information on performing basic keyboard operations. Playing the Keyboard To play the keyboard Set the POWER/MODE switch to NORMAL. Use the MAIN VOLUME buttons to lower the keyboard volume. • It’s always a good idea to set the keyboard volume at a relatively low level before playing. -
Page 19: Using The Microphone Jack
Percussion sounds Example: 99 PERCUSSION This tone assigns various percussion sounds to the keyboard. See the “Percussion Instrument List” on page A-6 for full details. Sound Effect Tones With sound effect tones 77 through 79, the type of sound produced depends on the octave where the key you press is located. -
Page 20: Auto Accompaniment
Auto Accompaniment POWER/MODE START/STOP This keyboard automatically plays bass and chord parts in accordance with the chords you finger. The bass and chord parts are played using sounds and tones that are automatically selected to select the rhythm you are using. All of this means that you get full, realistic accompaniments for the melody notes you play with your right hand, creating the mood of an one-person ensemble. -
Page 21: Adjusting The Tempo
This method of chord play makes it possible for anyone to easily play chords, regardless of previous musical knowledge and experience. The following describes the CASIO CHORD “Accompaniment keyboard” and “Melody keyboard”, and tells you how to play CASIO CHORDs. - Page 22 Auto Accompaniment Chord Types CASIO CHORD accompaniment lets you play four types of chords with minimal fingering. Chord types Major chords Major chord names are marked above keys accompaniment keyboard. Note that the chord produced when you press an accompaniment keyboard does not change octave, regardless of which key you use to play it.
-
Page 23: Using A Fill-In Pattern
The following procedure describes how to use synchro start. Before starting, you should first select the rhythm you want to use, set the tempo, and use the POWER/MODE switch to select the chord play method you want to use (CASIO CHORD, FINGERED). To use synchro start Press the SYNCHRO/FILL-IN button to put the keyboard into synchro start standby. -
Page 24: Using The Song Bank
Playing Back a Song Bank Tune To play back a Song Bank tune Set the POWER/MODE switch to NORMAL, FINGERED, or CASIO CHORD. Adjust the main volume and accomp volume. Press the SONG BANK button to enter the Song Bank Mode. -
Page 25: Song Bank Mode Display
To pause Song Bank tune play While a Song Bank tune is playing, press the PLAY/ PAUSE button to pause it. The indicator “ II ” appears while a tune play is paused. To resume play, press PLAY/PAUSE again. To fast reverse during playback While playback is in progress, hold down the REW button. -
Page 26: Changing The Tone Of A Song Bank Tune's Melody
Using the Song Bank NOTE • Pressing both the [ ] and [ ] TEMPO buttons at the same time returns the tempo setting to the preset value for the currently selected tune. • Song Bank tunes 81 through 99 are arranged so their tempos change part way through the tunes. -
Page 27: Applause Sound
Press the PLAY/PAUSE button to start play of the Song Bank Tune. • Only the part (melody or accompaniment) that is turned on is played, so you can play the other part on the keyboard. • The keys you should press are indicated on the display’s graphic keyboard. -
Page 28: Using The Chord Book
Using the Chord Book The Chord Book feature of this keyboard makes it possible for you to look up information about chords quickly and easily. Simply input the name of the chord and the keyboard keys you should press, the fingers you should use, and the notes that make up the chord appear on the display along with the chord name. -
Page 29: Looking Up A Chord Using The Chord Book
Looking Up a Chord Using the Chord Book Press the CHORD BOOK button to enter the Chord Book mode. Press the CLEAR button. • This step is necessary to clear any previously input chord name. If the chord name you plan to input is a non-major chord, use the chord specification buttons to specify the chord type. - Page 30 Using the Chord Book Chord Name Modifier Keys Symbol Chord Reference Type Name major (C major) minor (C minor) Caug (C augmened) Csus4 sus 4 (C sustained forth) Cdim C° (C diminished) (C seventh) (C major Cmaj7 C∆7 seventh) minor 7 (C minor seventh) CmM7...
-
Page 31: Keyboard Settings
Keyboard Settings TRANSPOSE/TUNE/MIDI Transposing the Keyboard Transpose lets you raise and lower the overall key of the keyboard in semitone units. If you want to play an accompaniment for a vocalist who sings in a key that’s different from the keyboard, for example, simply use transpose to change the key of the keyboard. -
Page 32: Midi
MIDI What is MIDI? The letters MIDI stand for Musical Instrument Digital Interface, which is the name of a worldwide standard for digital signals and connectors that makes it possible to exchange musical data between musical instruments and computers (machines) produced by different manufacturers. MIDI Connections MIDI IN MIDI OUT... -
Page 33: Changing Midi Settings
TRANSPOSE/TUNE/MIDI Changing MIDI Settings This keyboard lets you change the settings of two MIDI parameters: TONE MAP and KEYBOARD CHANNEL. To change MIDI parameters Press the TRANSPOSE/TUNE/MIDI button either three or four times to select the parameter you want. Press the TRANSPOSE/TUNE/MIDI button three times: KEYBOARD CHANNEL. -
Page 34: Troubleshooting
1. Power supply problem. 2. Power is not turned on. 3. Volume setting is too low. 4. The POWER/MODE switch is in the CASIO CHORD or FINGERED position. Low battery power • A tone that is totally different from the one that is selected •... -
Page 35: Specifications
61 standard-size keys, 5 octaves 12 notes maximum (6 for certain tones) Variable (236 steps, = 20 to 255) 2 fingering methods (CASIO CHORD, FINGERED) START/STOP, SYNCHRO/FILL-IN 0 to 9 (10 steps) PLAY/PAUSE, STOP, REW, FF, LEFT ON/OFF (ACCOMP), RIGHT ON/OFF... -
Page 36: Appendix
Appendix/Apéndice Tone List Lista de sonidos PIANO PIANO 1 PIANO 2 HONKY-TONK STUDIO PIANO ELEC PIANO 1 ELEC PIANO 2 ELEC PIANO 3 ELEC PIANO 4 HARPSICHORD CLAVELECTRO ORGAN ELEC ORGAN 1 ELEC ORGAN 2 ELEC ORGAN 3 ELEC ORGAN 4 CHURCH ORGAN PIPE ORGAN REED ORGAN... -
Page 37: Note Table
Appendix/Apéndice Note Table Tabla de notas (1) (2) (3) (1) (2) (3) 00 12 01 12 04 12 05 12 08 12 09 12 (1) (2) (3) (1) (2) (3) 066, 067 074, 079 075, 076, 077 (1): Tone number (2): Maximum polyphony (3): Range type (4): Corresponding General MIDI Number... - Page 38 • See the illustration below for a description of range types (A through E). • Corresponding General MIDI numbers are General MIDI numbers in effect when the tone map setting is “G”. • Vea la ilustración siguiente para una descripción de los tipos de gama (A a E). •...
-
Page 39: Fingered Chord Chart
Appendix/Apéndice Fingered Chord Chart Cuadros de acordes Fingered This table shows the left-hand fingerings (including inverted forms) for a number of often-used chords. These fingering indications also appear on the keyboard’s display. Chords marked with asterisk (*) cannot be played in the Fingered Mode on this keyboard. - Page 40 Chord sus4 Type Root [5, 3, 1] [5, 2, 1] [5, 3, 1] [5, 2, 1] (D ) [5, 3, 1] [5, 2, 1] [5, 3, 1] [5, 2, 1] (D ) [5, 3, 1] [5, 2, 1] [5, 3, 1] [5, 2, 1] [5, 3, 1] [5, 2, 1]...
-
Page 41: Percussion Instrument List
Appendix/Apéndice Percussion Instrument List Lista de instrumentos de percusión • PERCUSSION (tone 99) assigns 39 percussion sound to the keyboard as illustrated below. The sound assigned to each key are indicated above the keyboard. • PERCUSSION (sonido 99) asigna 39 sonidos de percusión al teclado como se ilustra debajo. Los sonidos asignados a cada tecla se indican sobre el teclado. -
Page 42: Rhythm List
Rhythm List Lista de ritmos POPS I CLUB POP VOCAL POP RAP POP FUNKY POP 1 SOUL BALLAD POP BALLAD LOVE BALLAD FUNKY POP 2 EPIC BALLAD LITE POP POPS II 16 BEAT SHFL 16 BEAT POP 16 BEAT FUNK 8 BEAT POP 8 BEAT SOUL 8 BEAT SHFL... - Page 43 627A-E-078B...
- Page 44 627A-E-079A...
- Page 45 This recycle mark indicates that the packaging conforms to the environmental protection legislation in Germany. Esta marca de reciclaje indica que el empaquetado se ajusta a la legislación de protección ambiental en Alemania. CASIO COMPUTER CO.,LTD. 6-2, Hon-machi 1-chome MA0502-B Printed in China Shibuya-ku, Tokyo 151-8543, Japan...