Epson EB-W16SK Startup Manual
Hide thumbs
Also See for EB-W16SK:
- Specifications (6 pages) ,
- User manual (111 pages) ,
- Startup manual (120 pages)

Related Manuals for Epson EB-W16SK


Summary of Contents for Epson EB-W16SK
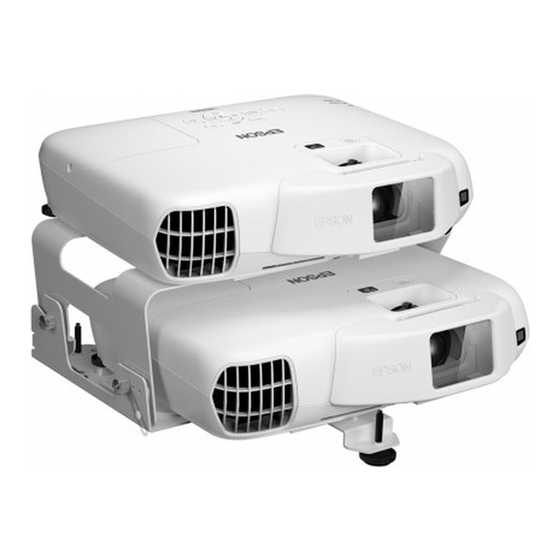
- Page 1 Startup Guide This guide explains how to stack two projectors one on top of the other, and then project as one image. Please read this guide before getting started.
- Page 2 With This Projector You Can... Superimpose images from two projectors to project as one image (stack projection). By using this stacked projection, you can realize a brighter, clearer image. This also allows large screen projection of 3D images that can be viewed by a large audience.
- Page 3 Projected Projected commander receiver image image This device comes equipped with a function that allows you to easily superimpose two images. See "Projecting Images" on page 14 for more information on Commander superimposing images. Receiver 3D Glasses Silver screen Project stunning 3D content from media such as 3D Blu-ray (supplied) (commercially (optional: ELPGS02A/ELPGS02B)
-
Page 4: Checking The Accessories
Checking the Accessories Projector AA manganese Remote control USB cable Power cables and stacker mount batteries approx. 30 cm approx.1.8 m (2) (commander) (for remote control) MARKING STICKER Projector and stacker mount Polarizers (2) To secure polarizer Adjustable Marking (receiver) M3 screws (2) feet (3) sticker... -
Page 5: Part Names And Functions
Part Names and Functions (Front/Top) When two projectors are assembled in a stacked configuration (one on top of the other), the projector on top is called the “Commander”, and the projector on the bottom is called the “Receiver”. When suspended from a ceiling, the projector on top is the receiver, and the projector on the bottom is the commander. The commander controls the receiver, and the projectors are linked together. - Page 6 Part Names and Functions (Rear/Base) You need to use a supplied USB cable to link the commander and the receiver. Base Rear Commander USB TypeA Receiver USB cable (supplied) USB TypeB * This explanation of the rear uses the commander as an example. Audio-L/R port USB(TypeA) port Computer1 port...
- Page 7 Equipment Images Contact your local dealer or the nearest address provided in the p.10 p.14 Epson Projector Contact List. This guide explains the following connection methods. See the User's Guide for information on other connection methods. ■ Connecting to a computer •...
- Page 8 Attach the polarizers to the commander and the receiver. Warning Setting Up When assembling a stacked configuration, There is a number on make sure you follow the base of the Stacking and these steps. If the steps are projectors, stacker mounts, not followed correctly, the installing the and polarizers.
- Page 9 Caution When attaching the commander to the receiver, be careful not to trap your fingers. Attach the commander to the receiver. Place the commander's screws into the gap in the receiver's mount, and then tighten the screws. (on the left and right) Secure the stacker angle adjustment section with screws.
- Page 10 Connecting Equipment First, connect the power cables and the USB cable. Connecting the commander and the Plug in the power cables for the commander and the Connect the commander and the receiver with the USB receiver receiver. cable. You need to connect Connect the commander's USB(TypeA) port to the receiver's USB(TypeB) port with a USB cable.
- Page 11 • First, check that the commander and the receiver are connected with a USB cable. • Prepare the following items. • Computer cables (available in local stores x3) Connecting to a • Audio cable (available in local stores) *When outputting audio computer •...
- Page 12 • First, check that the commander and the receiver are connected with a USB cable. • Prepare the following items. • HDMI cables (available in local stores x3) Connecting to a • HDMI splitter (available in local stores) computer Connecting with HDMI cables Connect the splitter to the computer with an HDMI cable.
- Page 13 • First, check that the commander and the receiver are connected with a USB cable. • Prepare the following items. • HDMI cables (available in local stores x3) Connecting to • HDMI splitter (available in local stores) video equipment Connecting with HDMI cables Connect the splitter to the video equipment with an HDMI Connect the commander and the receiver to the splitter...
- Page 14 ■ Superimposing Images Projecting When suspending the projectors from a Images ceiling, change the Adjusting the Focus Commander frame Receiver frame Projection mode before (white) (green) Match the focus for the commander and the receiver. superimposing the images. Superimposing the You can change the images from the Projection mode by...
- Page 15 Adjust the projection Adjust the focus for the commander and the receiver. position. Commander Receiver frame frame The white frame is used to adjust Extend or retract the feet to Use the commander's focus Select Display the test pattern, Select the projector you want to the commander, and the green adjust the position.
- Page 16 Correct the four corners of the receiver's Correcting using Correcting using Correct keystone distortion for the receiver's frame (green). frame (green) individually. H/V-Keystone Quick Corner Select H/V-Keystone. Press the [Esc] button to finish Select Perform keystone Select Quick Corner. Use the [ ] buttons to making settings.
- Page 17 Superimpose two images. Adjust both projected images manually. If you need to fine tune the superimposed images Press the [Screen Fit] button. The images from the When you have finished making If you need to make fine commander and the receiver are adjustments, select No, and then adjustments, select Yes, and then automatically superimposed.
-
Page 18: Screen Size And Projection Distance
Screen Size and Projection Distance ■ Range for superimposing two images Distance from projector to screen Angle of correction for left and right Angle of correction for up and down Projection distance • Silver screen Distance from the center of the receiver's Screen Size lens to the base of the screen (or to top of the screen, if suspended from a ceiling) -
Page 19: About The Led Indicators
Orange If the error continues to occur after checking the points above, disconnect the power cable from the electrical outlet, and contact your local dealer or the nearest address provided in the Epson Projector Contact List on the Document CD-ROM.