Axis P14 Series User Manual
Hide thumbs
Also See for P14 Series:
- User manual (56 pages) ,
- Repainting instructions (11 pages) ,
- Installation manual (32 pages)

Related Manuals for Axis P14 Series


Summary of Contents for Axis P14 Series
- Page 1 AXIS P14 Network Camera Series AXIS P1435-LE Network Camera AXIS P1435-E Network Camera User Manual...
-
Page 2: Table Of Contents
AXIS P14 Network Camera Series Table of Contents About this manual ......... . -
Page 3: About This Manual
AXIS P14 Network Camera Series About this manual About this manual This User Manual provides information on the product regarding: • Access • Main use cases • Troubleshooting • Specifications Note The User Manual may include more than one product. Part of the content, e.g. some use cases or specifications, may only apply to some of them. -
Page 4: Solution Overview
AXIS P14 Network Camera Series Solution overview Solution overview... -
Page 5: Product Overview
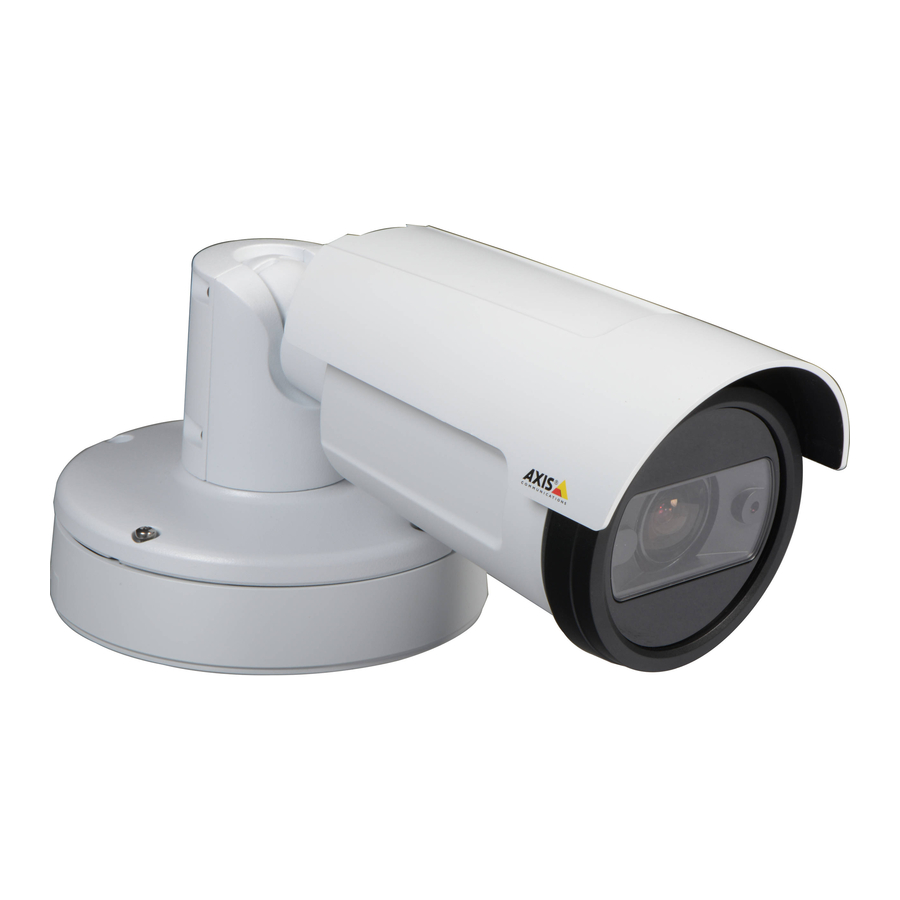
AXIS P14 Network Camera Series Product overview Product overview AXIS P1405-LE Mk II Network Camera microSD card slot Control button Network connector Status LED indicator Part number (P/N) & Serial number (S/N) AXIS P1425-LE Mk II and AXIS P1435-LE Network Cameras microSD card slot... - Page 6 AXIS P14 Network Camera Series Product overview I/O connector Control button Network connector Status LED indicator Part number (P/N) & Serial number (S/N)
-
Page 7: Find The Device On The Network
Find the device on the network Find the device on the network To find Axis devices on the network and assign them IP addresses in Windows®, use AXIS IP Utility or AXIS Device Manager. Both applications are free and can be downloaded from axis.com/support. -
Page 8: Additional Settings
Capture modes Capture mode defines the maximum resolution and maximum frame rate available in the Axis product. If using a capture mode with a smaller resolution than the maximum resolution, the angle of view is reduced. The capture mode also affects light sensitivity. A capture mode with a high maximum frame rate has reduced light sensitivity and vice versa. - Page 9 AXIS P14 Network Camera Series Additional settings Select exposure mode There are different exposure mode options in the camera that adjusts aperture, shutter speed, and gain to improve image quality for specific surveillance scenes. Go to Settings > Image > Exposure and select between the following exposure modes: •...
- Page 10 AXIS P14 Network Camera Series Additional settings Left: no zoom. Right: remote zoom applied. Improve facial recognition To better recognize the face of a person passing by the camera, you can set the optimal pixel resolution with the camera’s pixel counter.
- Page 11 Use corridor format to better utilize the full field of view in a long and narrow area, for example a staircase, hallway, road, or tunnel. 1. Depending on your device, turn the camera or the 3-axis lens in the camera 90° or 270°.
- Page 12 Note WDR may cause artifacts in the image. Find out more about WDR and how to use it at axis.com/web-articles/wdr. Benefit from IR light in low-light conditions using night mode Your camera uses visible light to deliver color images during the day. As the available light diminishes, you can set the camera to automatically shift to night mode, in which the camera uses both visible light and near-infrared light to deliver black-and-white images.
-
Page 13: Overlays
This example explains how to display the text “Motion detected” when the device detects motion: Make sure that AXIS Video Motion Detection is running: 1. Go to Settings > Apps > AXIS Video Motion Detection. 2. Start the application if it is not already running. - Page 14 AXIS P14 Network Camera Series Additional settings Variable bitrate (VBR) With variable bitrate, the bandwidth consumption varies based on the level of activity in the scene. The more activity in the scene, the more bandwidth you need. You are guaranteed constant image quality but it requires storage margins.
- Page 15 H.264 or MPEG-4 Part 10/AVC Note H.264 is a licensed technology. The Axis product includes one H.264 viewing client license. To install additional unlicensed copies of the client is prohibited. To purchase additional licenses, contact your Axis reseller.
-
Page 16: Events
AXIS P14 Network Camera Series Additional settings H.264 can, without compromising image quality, reduce the size of a digital video file by more than 80% compared to the Motion JPEG format and by as much as 50% compared to the MPEG-4 standard. This means that less network bandwidth and storage space are required for a video file. - Page 17 8. In the list of storage options, select SD card. 9. Click Save. Record video when a PIR detector senses motion This example explains how to connect an Axis PIR detector to the camera, and set up the camera to start recording when the detector senses motion. Required hardware •...
-
Page 18: Applications
The counter is embedded in the camera which means you do not need a dedicated computer to run the application. AXIS People Counter is intended for retail environments, like stores or shopping malls, or other environments where you want to... -
Page 19: Troubleshooting
AXIS P14 Network Camera Series Troubleshooting Troubleshooting If you can’t find what you’re looking for here, try the troubleshooting section at axis.com/support. Reset to factory default settings Important Reset to factory default should be used with caution. A reset to factory default resets all settings, including the IP address, to the factory default values. -
Page 20: Technical Issues, Clues And Solutions
Axis device. Check all cabling and reinstall the device. Possible IP address conflict The static IP address in the Axis device is used before the DHCP server sets a dynamic address. with another device on the... -
Page 21: Performance Considerations
Heavy network utilization due to poor infrastructure affects the bandwidth. • Viewing on poorly performing client computers lowers perceived performance and affects frame rate. • Running multiple AXIS Camera Application Platform (ACAP) applications simultaneously may affect the frame rate and the general performance. -
Page 22: Specifications
AXIS P14 Network Camera Series Specifications Specifications To find the latest version of the product’s datasheet, go to the product page at axis.com and locate Support & Documentation. LED Indicators Status LED Indication Unlit Connection and normal operation. Green Steady green for 10 seconds for normal operation after startup completed. -
Page 23: Connection Diagrams
Digital output - For connecting external devices such as relays and LEDs. Connected devices can be activated by the VAPIX® Application Programming Interface or from the product’s webpage. 4-pin terminal block Connection Diagrams I/O Connector Note Valid for AXIS P1435-LE Network Camera 0 V DC (-) DC output 12 V, max 25 mA Digital input Digital output... - Page 24 User Manual Ver. M5.2 AXIS P14 Network Camera Series Date: January 2020 © Axis Communications AB, 2017 - 2020 Part No. T10106752...