Axis P14 Series Repainting Instructions
Hide thumbs
Also See for P14 Series:
- User manual (56 pages) ,
- Repainting instructions (7 pages) ,
- Installation manual (32 pages)

Related Manuals for Axis P14 Series


Summary of Contents for Axis P14 Series
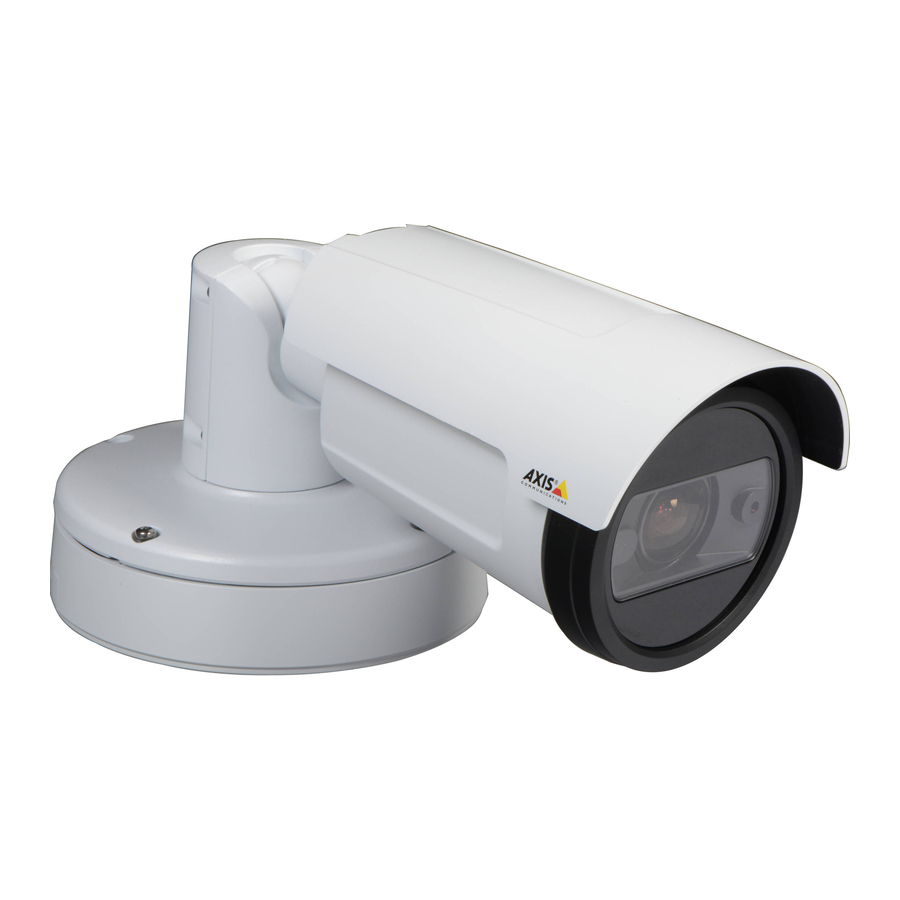
- Page 1 AXIS P14 Series AXIS P1445-LE Network Camera AXIS P1447-LE Network Camera AXIS P1448-LE Network Camera Repainting Instructions...
- Page 2 Risks with repainting There are several risks when disassembling or assembling an Axis product. There is always a certain yield loss during assembly. Training of operators and the use of correct tools mediates some of the problems but they can never be fully avoided. Some of the risks include: ESD Damage - Always handle the product in an ESD safe environment.
-
Page 3: Table Of Contents
Preparation of the camera body: ....................8 Please note that AXIS does not take any responsibility for how this guide may affect your components. If the modification fails or if you get other unexpected results, do not continue the modifications and seek... -
Page 4: Introduction
• The disassembling and reassembling is carried out in a professional and careful manner and does not intervene with normal operation of the Cameras. Note that if the camera has a support problem and needs to be replaced, Axis will not repaint the camera. -
Page 5: Risks
The coating can possibly cause stresses and cracks in the material. 3. Disassembly instructions for AXIS P1445/47/48-LE camera To repaint an AXIS P144X Network Camera, the camera must first be disassembled. Each part is then stripped from components and crucial parts are masked to ensure successful reassembly. -
Page 6: Preparation Of The Bottom Base Cover
AXIS P14 Series How to repaint the product Preparation of the bottom base cover: 1) The top surface of the bottom base cover must be masked to ensure function of important features and screws and gaskets, enable unit being reassembled. -
Page 7: Preparation Of The Weather Shield And Its Holder
AXIS P14 Series How to repaint the product Preparation of the weather shield and its holder: 1) Mask the black area and holder features inside of weather shield cover. 2) Mask the whole straight section of weather shield holder... -
Page 8: Preparation Of The Camera Body
AXIS P14 Series How to repaint the product Preparation of the camera body: 1) The camera cannot be disassembled, so the germanium glass has to be masked in position. Mask the entire front window including the black ring. 2) Mask the 4x screws and screw holes in metal top... - Page 9 AXIS P14 Series How to repaint the product 3) Mask weather shield interface features. 4) Whole area of connectors must be masked to ensure function of important features and screws, enable unit being reassembled. Mask the entire area:...
- Page 10 AXIS P14 Series How to repaint the product 5) Disassembled camera arm section by remove the 5 screws. Please note: Keep control of the small metal pin inside arm that might come loose. Please note: After disassembled internal cable inside the arm is exposed and easy to get damaged.
- Page 11 AXIS P14 Series How to repaint the product...