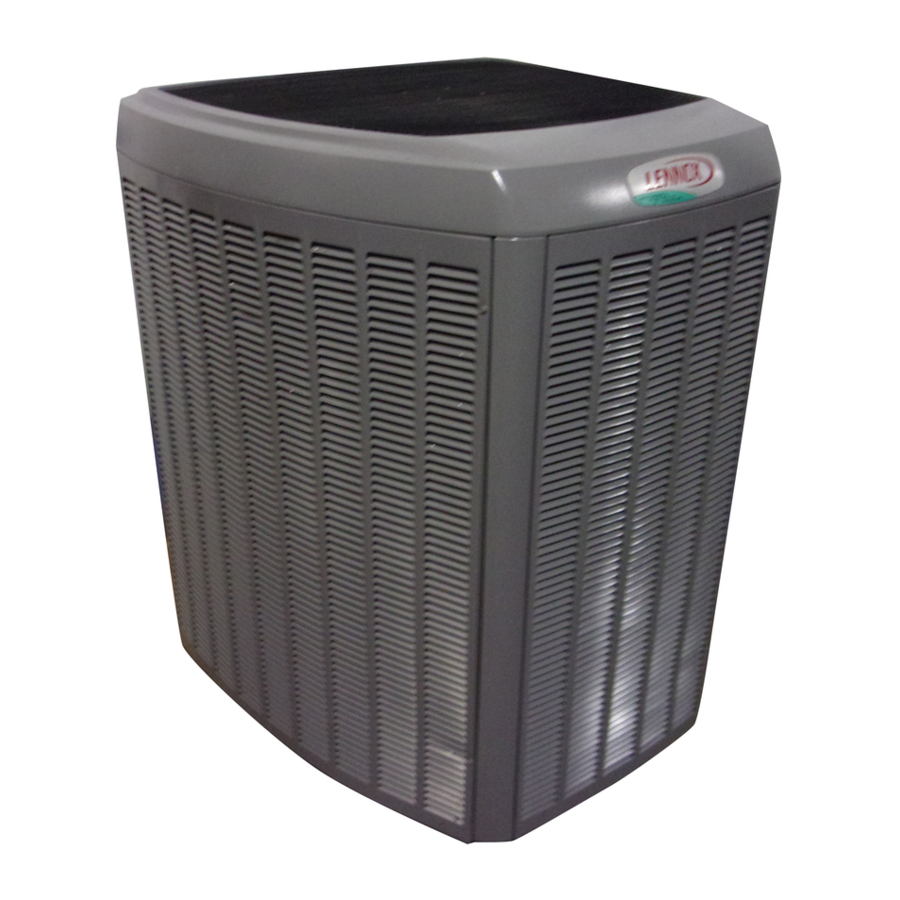
Lennox Dave Signature XP21 Installation Instructions Manual
Hide thumbs
Also See for Dave Lennox Signature XP21:
- Installation instructions manual (59 pages) ,
- Installation and service procedure (81 pages) ,
- Installation and service procedure (83 pages)
Table of Contents
Advertisement
Quick Links
E2019 Lennox Industries Inc.
Dallas, Texas, USA
THIS MANUAL MUST BE LEFT WITH THE
HOMEOWNER FOR FUTURE REFERENCE
General
This XP21 outdoor heat pump is designed for use with
HFC-410A refrigerant only. This unit must be installed with
an approved indoor air handler or coil. See the Lennox
XP21 Product Specifications bulletin (EHB) for approved
indoor component match ups.
These instructions are intended as a general guide and do
not supersede local codes in any way. Consult authorities
having jurisdiction before installation.
NOTICE !
For more in-depth information, consult the Installa
tion and Service Procedures manual, available as
Corp.1031-L7 on LennoxPros.com or through the
Technical Support department at 800-453-6669.
STEP 1 -- SETTING THE UNIT -- Clearances
CLEARANCE ON ALL SIDES — INCHES (MILLIMETERS)
6 (152)
12 (305)
36 (914)
MINIMUM CLEARANCE BETWEEN TWO UNITS
NOTICE: Specific applications may require adjustment of the listed installation clearances to provide protection for the unit from
physical damage or to avoid conditions which limit operating efficiency. (Example: Clearances may have to be increased to
prevent snow or ice from falling on the top of the unit. Additional clearances may also be required to prevent air recirculation when
the unit is installed under a deck or in another tight space.)
NOTES:
S Clearance to access panel must be 30
CONTROL
inches (762mm).
PANEL ACCESS
S Clearance to one of the other three
LOCATION
30 (762)
sides must be 36 inches (914mm).
S Clearance to one of the remaining two
sides may be 12 inches (305mm) and
the final side may be 6 inches
(152mm).
24
(610)
FIGURE 1
INSTALLATION
INSTRUCTIONS
Dave Lennox Signature
Collection XP21 System
HEAT PUMPS
507217-02
8/2019
Improper installation, adjustment, alteration, service or
maintenance can cause property damage, personal inju
ry or loss of life.
Installation and service must be performed by a licensed
professional installer (or equivalent) or service agency.
Before attempting to perform any service or mainte
nance, turn the electrical power to unit OFF at discon
nect switch.
ACCESS PANEL
LINE SET
CONNECTIONS
Page 1
WARNING
CAUTION
MINIMUM CLEARANCE
ABOVE UNIT
48 (1219)
REAR VIEW OF UNIT
®
Advertisement
Table of Contents

Related Manuals for Lennox Dave Lennox Signature XP21


Summary of Contents for Lennox Dave Lennox Signature XP21
- Page 1 This XP21 outdoor heat pump is designed for use with HFC-410A refrigerant only. This unit must be installed with Improper installation, adjustment, alteration, service or an approved indoor air handler or coil. See the Lennox maintenance can cause property damage, personal inju XP21 Product Specifications bulletin (EHB) for approved ry or loss of life.
-
Page 2: Unit Dimensions - Inches (Mm)
UNIT DIMENSIONS - INCHES (MM) DISCHARGE AIR 39-1/2 ELECTRICAL INLETS 35-1/2 (1003) (902) 37 (940) [-024 THRU -036] 47 (1194) [-048 AND -060] 4-7/16 VAPOR LINE (113) INLET LIQUID LINE 18-1/2 INLET (470) 8 (203) 1 (25) SIDE VIEW ACCESS VIEW UNIT SUPPORT FEET 16-7/8... -
Page 3: Slab Mounting
STEP 1 -- SETTING THE UNIT (Continued) SLAB MOUNTING -- Unit Placement Install unit level or, if on a slope, maintain slope tolerance of 2 degrees (or 2 inches per 5 feet [50 mm per 1.5 m]) away from building structure. BUILDING CAUTION DISCHARGE AIR... - Page 4 STEP 1 -- SETTING THE UNIT (Continued) -- Unit Placement STABILIZING UNIT ON UNEVEN SURFACES DETAIL D — Slab Mounting IMPORTANT ! #10 X 1/2” LONG SELF-DRILLING SHEET METAL SCREWS Unit Stabilizer Bracket Use COIL (field-provided): STABILIZING BRACKET Always use stabilizers when unit is BASE PAN (18 GAUGE METAL —...
- Page 5 STEP 2 -- ELECTRICAL -- Circuit Sizing and Wire Routing In the U.S.A., wiring must conform with current local codes CAUTION and the current National Electric Code (NEC). In Canada, wiring must conform with current local codes and the cur Electrostatic discharge affect...
- Page 6 A. ROUTE CONTROL WIRES — NON-COMMUNICATING Install low voltage control wiring from outdoor to indoor unit and from thermostat to indoor unit. All low voltage wiring must enter unit through provided field-installed busing installed in electrical inlet. Run 24VAC control wires through hole with grommet. Make 24VAC control wire connections to heat pump control (A175).
- Page 7 STEP 2 -- ELECTRICAL (Continued) -- Outdoor Control (A175) Jumpers and Terminals (HP ONLY) J4 J3 (HP ONLY) DEFROST AUTO 7−SEGMENT COMPRESSOR SHIFT DELAY DISPLAY JUMPER ON BOTH PINS DEFROST AUTO ENABLED SECOND DELAY JUMPER ON ONE PIN (DEFAULT) DEFROST AUTO DISABLED (DEF AULT) J1 (HP ONLY) DEFROST TERMINATION TEMP SECOND DELAY...
- Page 8 NOTE: Testing indicated TERMINATION TEMPERATURE that the highest potential PREVIOUS TERMINATION FOR NEXT DEFROST CYCLE TEMPERATURE for a weather event to prevent fan operation due <70ºF OR UNKNOWN 90ºF to ice build up on the fan ≥70ºF, <90ºF MAX DEFROST blade and orifice ring is ≥...
- Page 9 FIGURE 9. Defrost Auto Selection and Max Defrost Sequence of Operation Page 9 XP21 SERIES...
- Page 10 100F OFF = 90F OR MAX Termination temperature set on outdoor control is 50ºF, 70ºF, 90ºF or 100ºF. Coil temperature sensor input reached the specified defrost termination temperature in less than Termination temperature set on 14 minutes. outdoor control is 50ºF, 70ºF, 90ºF or 100ºF.
- Page 11 The jumper settings and link are default settings and ON DS link on the MAIN CONTROL. All unit setting changes LY control system operation if configuration settings in the ® must be done at the MAIN CONTROL. The Lennox iComfort thermostat are not available. ®...
- Page 12 Furnace Control ComfortSense[ 7000 Thermostats Catalog # Y0349 or Y2081 XP21 Two−Stage On−board link Heat Pump Control Low voltage thermostat wiring 1. Thermostat T terminals are used for outdoor sensor input. Use for thermostat's outdoor temperature display (optional). ® 2. R to L connection is required for this model when using the ComfortSense 7000 - catalog number Y0349 only.
- Page 13 Take care to empty all existing traps. Polyol es IMPORTANT ! ter (POE) oils are used in Lennox units charged with HFC-410A refrigerant. Residual mineral oil can act Some scroll compressors have an internal vacuum as an insulator, preventing proper heat transfer.
- Page 14 STEP 4 -- REFRIGERANT PIPING -- Removing Existing Indoor Metering Device TYPICAL EXISTING FIXED ORIFICE TYPICAL EXISTING EXPANSION VALVE REMOVAL REMOVAL PROCEDURE PROCEDURE (UNCASED COIL SHOWN) (UNCASED COIL SHOWN) STUB END TWO-PIECE PATCH PLATE LIQUID LINE CHECK DISTRIBUTOR TUBES (UNCASED COIL ONLY) ORIFICE EXPANSION LIQUID LINE ORIFICE HOUSING...
- Page 15 STEP 5 -- REFRIGERANT PIPING -- Brazing Procedures CAP AND CORE REMOVAL PIPING PANEL REMOVAL / PREPARING LINE SET Remove service cap and core from both the vapor Remove piping panel to access service valves. Cut and liquid line service ports. ends of the refrigerant lines square (free from nicks or dents) and debur the ends.
- Page 16 CAUTION WARNING Brazing alloys and flux contain materials which are Danger of fire. Bleeding the refrigerant hazardous to your health. charge from only the high side may result Avoid breathing vapors or fumes from brazing in pressurization of the low side shell and operations.
-
Page 17: Step 6 -- Installing Indoor Expansion Valve
STEP 6 -- INSTALLING INDOOR EXPANSION VALVE THIS OUTDOOR UNIT IS DESIGNED FOR USE IN SYSTEMS THAT USE A CHECK EXPANSION VALVE METERING DEVICE. SEE THE LENNOX XP21 PRODUCT SPECIFICATION FOR APPROVED EXPANSION VALVE KIT MATCH-UPS AND APPLICATION INFORMATION. THE EXPANSION VALVE UNIT CAN BE INSTALLED INTERNAL OR EXTERNAL TO THE INDOOR COIL. -
Page 18: Step 7 -- Leak Test
STEP 7 -- LEAK TEST HIGH MANIFOLD GAUGE SET OUTDOOR UNIT TO VAPOR SERVICE VALVE NOTE - Position canister to deliver liquid refrigerant. NITROGEN HFC-410A CONNECT GAUGE SET Connect the high pressure hose of an HFC-410A manifold gauge set to the vapor valve service port. NOTE - Normally, the high pressure hose is connected to the liquid line port. - Page 19 STEP 8 -- EVACUATION Evacuating the system of non-condensables is critical for proper operation of the unit. Non-condensables are defined as any gas that will not condense under temperatures and pressures present during operation of an air conditioning system. Non- condensables and water suction combine with refrigerant to produce substances that corrode copper piping and com...
- Page 20 EVACUATE LINE SET AND INDOOR COIL Triple Evacuation Method The triple evacuation method should only be used when The unit is shipped with a factory refrigerant charge. The system does not contain any water in liquid form and vacu liquid and suction line valves were closed after final testing um pump is only capable of pulling down to 28 inches of at the factory.
-
Page 21: Homeowner Information
XP21 Installation and Service Procedures manual, which Heat Pump Operation is available on DaveNet. Your new Lennox heat pump has several characteristics that you should be aware of: Heat Pump Control -- Defrost Operation S Heat pumps satisfy heating demand by delivering large amounts of warm air into the living space. -
Page 22: Homeowner Maintenance
If you are unsure about the the thermostat can be switched to the HEAT setting and filter required for your system, call your Lennox dealer for assistance. normal heat pump operation may resume. -
Page 23: Professional Maintenance
3. Check the cleanliness of indoor blower and clean Professional Maintenance blower, if necessary. Your heating and air conditioning system should be in 4. Inspect the indoor coil drain pans and condensate spected and maintained twice each year (before the start drains for rust, debris, obstructions, leaks or cracks. -
Page 24: Start-Up Checklists
4. Turn toggle switch OFF. Install switch in series with Y2 Start-Up Checklists out terminal on the outdoor control. Use this procedure to verify part‐ and full‐load capacity op 5. Cycle main power ON. eration of the two‐stage compressor. 6. Allow pressures and temperatures to stabilize before TOOLS REQUIRED taking any reading (may take up to 10 minutes). - Page 25 IMPORTANT This performance check is ONLY valid on systems that have clean indoor and outdoor coils, proper airflow over coils, and correct system refrigerant charge. All components in the system must be functioning properly to correctly perform compressor operational check. (Accurate measurements are critical to this test as indoor system loading and outdoor ambient can affect variations between low and high capacity readings).
- Page 26 XP21 Start-Up and Performance Checklist Customer Address Indoor Unit Model Serial Outdoor Unit Model Serial Solar Module Mfg and Model Serial Notes: START-UP CHECKS Refrigerant Type: Rated Load Amps Actual Amps Rated Volts Actual Volts Condenser Fan Full Load Amps Actual Amps: COOLING MODE Vapor Pressure:...