Advertisement
Quick Links
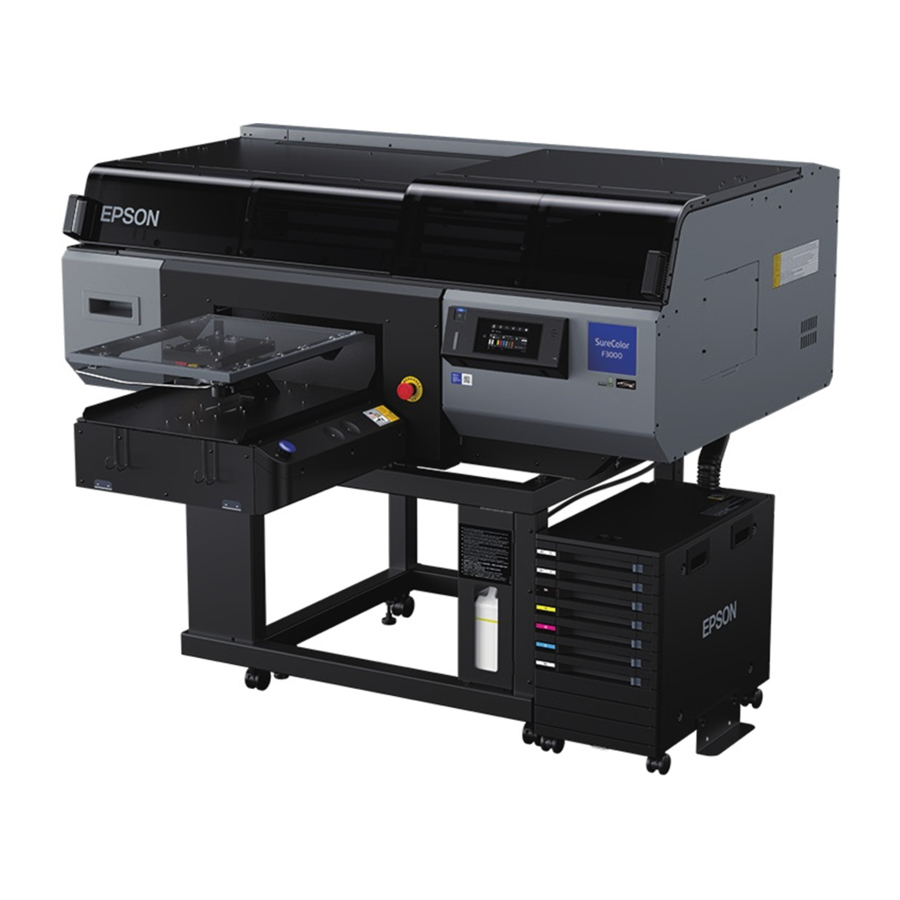
SC-F3030 User Self Repair Quick Guide
Things to take note before performing User Self Repair: -
•
Perform Maintenance (Refer to User's Guide)
•
Adjustment film sheet
•
Make sure there is
•
**Only
Print Head
•
For more details, please refer to
WORKFLOW for
USER SELF-REPAIR
How to activate User Self Repair function
1
2
3
to be loaded on machine for calibration.
"Internet
Connection".
can be replaced in this mode**.
"How to Replace Print Head"
for further instructions.
"mode, Place right thumb or
In
"OFF
an approximately 25 mm (0.98 in.)
diameter coin on the area shown in
the illustration of the printer screen
below, so it is not exposed to light.
While maintaining the conditions
from step 1, press and hold the
power button
until the screen
in the illustration appears. (about 20
sec). If the screen in the illustration
does not appear, and the power just
comes on as normal, turn off the
power and redo the procedure from
step 1.
Input the "32998" passcode.
❏ Press the right side of the screen to
change the numbers from 0 to 9.
❏ Press the left side of the screen to
confirm the selected number and
advance to the next digit for input.
Advertisement

Related Manuals for Epson SC-F3030


Summary of Contents for Epson SC-F3030
- Page 1 SC-F3030 User Self Repair Quick Guide Things to take note before performing User Self Repair: - • Perform Maintenance (Refer to User’s Guide) • Adjustment film sheet to be loaded on machine for calibration. • Make sure there is “Internet Connection”.
- Page 2 Press the center of the screen 2 times to confirm the passcode. The printer starts in User Self Repair Mode. Check the on-screen messages, and then press You have entered successfully if User Self Repair Mode appears in the upper left of the screen, as in the illustration.
- Page 3 **If a number other than those above is displayed, contact your dealer or Epson Support and tell them the 16-digit code. When print results are not correct: If the print results are not improved after doing the following measures, start the printer in User Self Repair Mode and do a Diagnosis.
- Page 4 Understand how to hold Printhead Correctly Holding the Print Head Use both hands at the positions outlined in the illustration to hold the Print Head, such as to replace it or take it out of the protective case. Do not touch the areas outlined in the following illustration when handling the replacement Print Head.
- Page 5 Pack the used Print Head according to the following procedure, and then contact your dealer or Epson Support. Apply commercially available adhesive tape to the contacts of the connectors on the used Print Head. Be sure to apply the tape so that any ink left in the nozzles cannot leak out during transport and get into the contacts of the connectors.
- Page 6 • Press Repair Menu • Press Replace Print Head. The table shows the relationship between the number that is displayed for the end of service life error and the item you should select. Number Item icon indicates the Print Head that is selected to be replaced.
- Page 7 ------------------------------------------------------------------------------------------------------------------------------------------------------------------- How to use diagnosis Start in User Self Repair mode, Press Menu button. Select Maintenance button Select Repair Menu button Select Diagnosis button...
- Page 8 Select Start button Follow the instruction on screen, if there is a need to do cleaning. Please follow instruction in How to Replace Print Head guide on “How to do Diagnosis (page 11)”. Screen will show if no error is detected.
- Page 9 Screen will show which printhead needs or do not need replacement. Press arrow down key to see amount of fail nozzle. This Screen will show number of fail nozzle. You can also check on “white head diagnostics results by pressing this button.
-
Page 10: Adjustment Work
Number of fail nozzle will also be shown when you press arrow down button. Press close X2 on upper left-hand corner of screen to exit this mode. -------------------------------------------------------------------------------------------------------------------------------------- Process After replacement M size platen without a grip pad • Start the printer in User Self Repair Mode. The ink starts filling. •... - Page 11 Execute Print Head Alignment Press Start, pressing the button starts printing the adjustment pattern. When printing the pattern is complete, the adjustment value entry screen is displayed. Continue to the next procedure. Check the printed adjustment pattern. Given the following illustration, select "-1". Check the 4 patterns A to D, and select from -8 to +8, where the line appears thinnest (lines overlap) in the pattern.
- Page 12 Executing Head Interval X Uni-D Adjustment Press Start, pressing the button starts printing the adjustment pattern. When printing the pattern is complete, the adjustment value entry screen is displayed. Continue to the next procedure. Check the printed adjustment pattern. Given the following illustration, select "+3". Check the pattern, and select from -4 to +4, where the white and black lines overlap most closely in the pattern.
- Page 13 Executing Head Interval Y Adjustment Press Start, pressing the button starts printing the adjustment pattern. When printing the pattern is complete, the adjustment value entry screen is displayed. Continue to the next procedure. Check the printed adjustment pattern Given this illustration, select "0". Check the pattern, and select from -10 to +10, where the white and black lines overlap most closely in the pattern.