Advertisement
Quick Links
Advertisement

Related Manuals for Sony PEG-N610C Intellisync Lite


Summary of Contents for Sony PEG-N610C Intellisync Lite
- Page 1 Lite Version Quick Start Guide...
-
Page 3: Copyright Notice
Intellisync 4.0 Copyright Notice No part of this publication may be reproduced, transmitted, transcribed, stored in a retrieval system, or translated into any computer language, in any form or by any means, without the express written permission of Pumatech, Inc. This computer program is protected by copyright law and international treaties. -
Page 5: Table Of Contents
Intellisync 4.0 Table of Contents INTRODUCTION TO INTELLISYNC ... 7 What is Intellisync? ...7 Additional documentation ...7 THE INTELLISYNC ICONS ... 9 GETTING STARTED WITH INTELLISYNC... 11 Entering configuration settings ...11 Performing the first synchronization...12... -
Page 7: Introduction To Intellisync
Introduction to Intellisync Welcome to the Intellisync Quick Start Guide. This guide is designed to help you install Intellisync, as well as complete your first synchronization. It also includes information on accessing online Help and user guides. What is Intellisync? Intellisync enables you to synchronize your Palm OS with a variety of popular Windows applications. - Page 8 Quick Start Guide CD. To install it, insert the Intellisync CD into your CD-ROM drive and click Get Acrobat Reader on the opening screen. • Online Help. Intellisync includes complete online Help that is accessible through the Help icon in the Intellisync program group or by clicking Help in the program interface dialog boxes.
-
Page 9: The Intellisync Icons
The Intellisync icons The Intellisync Program Group displays the following icons: In addition to the Intellisync icons, the install procedure places two shortcut icons (HotSync and Palm Install Tool) in the program group for your convenience. The Intellisync Favorites Folder icon contains Web page links to enable easy and timely access to information on Intellisync products, technical issues, and other important topics. -
Page 11: Getting Started With Intellisync
Getting Started with Intellisync This section gets you started with your first synchronization by providing configuration information and a synchronization procedure. Entering configuration settings How does Intellisync know what to synchronize? You tell Intellisync what to synchronize through the information you enter in a set of configuration dialog boxes. -
Page 12: Performing The First Synchronization
Quick Start Guide Performing the first synchronization Follow these steps to configure and perform your first synchronization: Click the Intellisync Configure shortcut or the Intellisync Configure icon in the Intellisync program group. This displays the Intellisync Configuration dialog box: Figure 1. Intellisync Configuration dialog box... - Page 13 In the Configuration dialog box, select the handheld application you want to synchronize. Then click Choose to open the Choose Translator dialog box: Figure 2. Intellisync Choose Translator dialog box In the Choose Translator dialog box, specify the PC application you want to synchronize.
- Page 14 Quick Start Guide If the Options button is enabled, click it and make sure the system options are set appropriately for the application you have selected. Then click OK to return to the Choose Translator dialog box. Click OK to return to the Configuration dialog box: Figure 3.
- Page 15 To review or alter settings affecting synchronization, click Advanced. This displays the Advanced Settings dialog box. (Intellisync fills in default values for all settings.) Figure 4. Intellisync Advanced Settings dialog box When settings are configured as you want them, click OK to return to the Configuration dialog box.
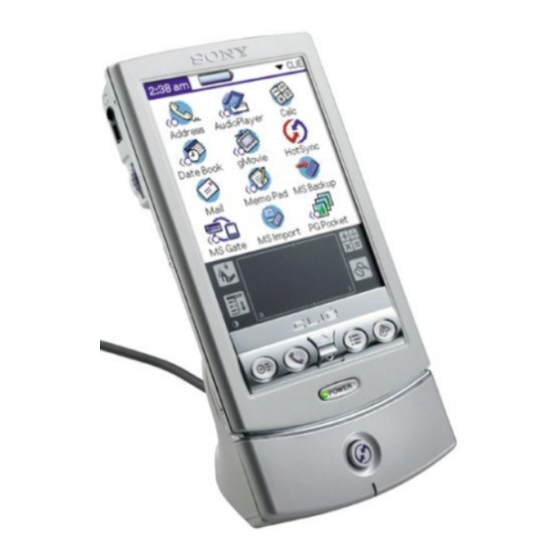
- Page 16 Quick Start Guide 10. With your handheld in the cradle and the cradle connected to the appropriate COM port on your PC, press the sync button on the cradle. The synchronization process begins, and the Progress dialog box appears. Figure 5. HotSync Progress dialog box Note: If you click Cancel on the Progress dialog box, synchronization will stop when Intellisync finishes synchronizing the current handheld application.