D-Link DIR-605L Quick Install Manual
Cloud router
Hide thumbs
Also See for DIR-605L:
- Quick installation manual (136 pages) ,
- User manual (97 pages) ,
- Quick install manual (12 pages)
Advertisement
Available languages
Available languages
Quick Links
Quick Install Guide
Start Here
To configure your router, go to the Manual Setup Section below and follow
the steps.
Important for Manual Setup: For the quick setup wizard to work properly, you
must have a working Internet connection. Ensure that you are able to use your
computer to get on the Internet before disconnecting your computer from your
modem.
Manual Setup
1
Modem
Turn off and unplug your cable or DSL
broadband modem.
5
Modem
Reconnect the power adapter to your
Plug the power back into the modem and power it on.
cable or DSL broadband modem and wait
Then connect the supplied power adapter into the power
for two minutes.
receptor on the back of the router and then plug into a
power outlet or surge protector. Verify the power light is lit.
Technical Support
If you experience issues registering this Router with your mydlink account, try
performing a hard reset by using an unfolded paperclip to press and hold the reset
button for 10 seconds while the Router is powered on. This may be necessary if
you have purchased an open box or resold unit.
U.S. and Canadian customers can contact D-Link technical support through our web site or by
phone. You can find software updates and user documentation on the D-Link website as well
as frequently asked questions and answers to technical issues.
Before you contact technical support, please have the following ready:
• Model number of the product (e.g. DIR-605L)
• Hardware Revision (located on the label on the bottom of the product (e.g. rev A1))
• Serial Number (s/n number located on the label on the bottom of the product).
Cloud Router
2
Modem
Router
1A
RESET
4
3
LAN
2
1
INTERNET
5V
Position your router close to your modem and a computer.
Place the router in an open area of your intended work area
for better wireless coverage.
6
Router
Computer
Modem
RESET
4
3
LAN
2
1
INTERNET
5V
1A
Package Contents
DIR-605L Cloud Router
Power Adapter
Etherner Cable
If any of the above items are missing, please contact your reseller.
Note: Please go to http://www.dlink.com/support/
to download the user manual.
DIR-605L
Tips for PPPoE and USB connections:
If you have DSL and are connecting via PPPoE, make sure that you disable or uninstall any PPPoE
software such as WinPoet, Broadjump, or Enternet 300 from your computer or you will not be able to
connect to the Internet.
You can only use the Ethernet port on your modem. If you were using USB to connect before, then you
must turn off your modem, disconnect the USB cable and connect an Ethernet cable to the Internet
port on the router, then turn the modem back on. In some cases, you may need to call your ISP to
change connection types (USB to Ethernet).
mydlink Setup
After creating a mydlink account, go to www.mydlink.com to configure and manage your devices.
3
Router
Computer
4
3
LAN
2
1
If you are currently using a router, disconnect all the
cables connected to it before installing the DIR-605L.
Unplug the Ethernet cable from your modem that is
connected to your computer. Plug it into the LAN port
labeled 1 on the back of your router. The router is now
connected to your computer.
7
From the computer you connected the router to, open a web
browser and you will be directed to the D-Link Setup Wizard
page, which will detect your Internet connection type. Follow
the on-screen instructions to configure your Internet settings.
After setting up your router, you will be given the option to
create a mydlink account. Go to www. mydlink.com and
enter your acount information.
©2012 D-Link Corporation/D-Link Systems, Inc. All rights reserved. D-Link and the D-Link logo are registered trademarks of D-Link
Corporation or its subsidiaries in the United States and/or other countries. Other trademarks or registered trademarks are the
property of their respective owners. Maximum wireless signal rate derived from IEEE Standard 802.11g and 802.11n specifications.
Actual data throughput will vary. Network conditions and environmental factors, including volume of network traffic, building
United States
materials and construction, and network overhead, lower actual data throughput rate. Environmental conditions will adversely
affect wireless signal range. Product specifications, size and shape are subject to change without notice, and actual product
Telephone: (877) 453-5465
appearance may differ from that depicted on the package. Visit dlink.com (US) or dlink.ca (Canada) for more details. iPhone, iPad,
Internet: http://support.dlink.com
and iPod touch are registered trademarks of Apple Inc.
Canada
Telephone: (800) 361-5265
Internet: http://support.dlink.ca
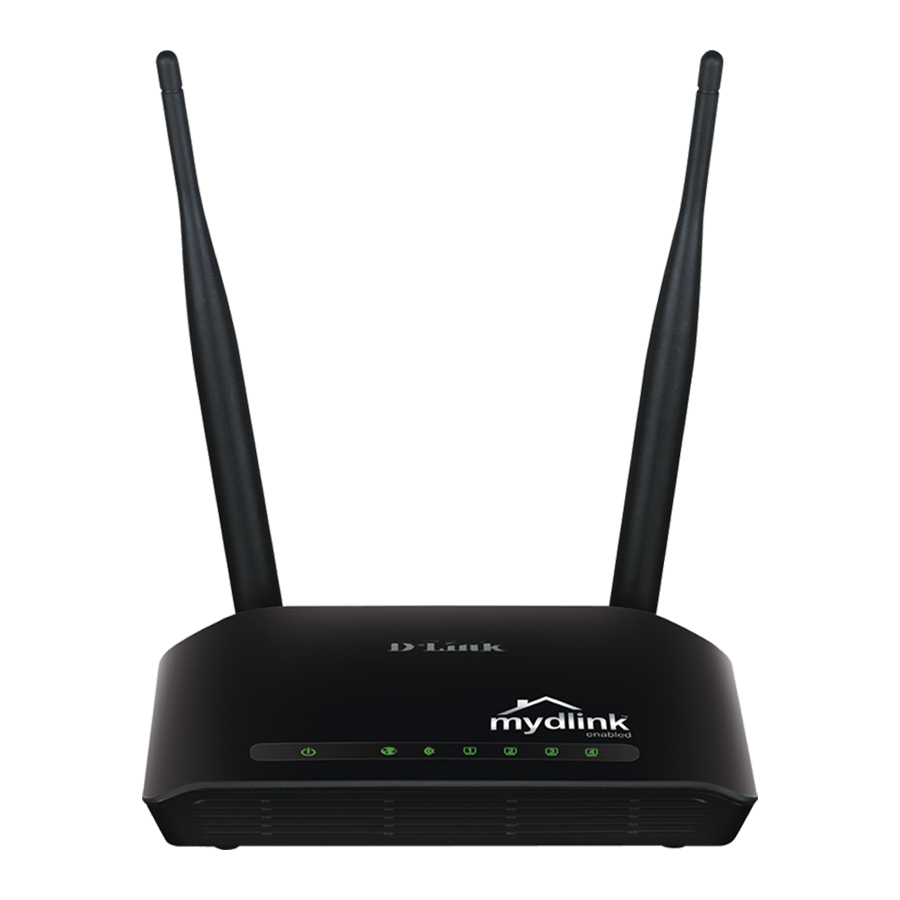
LEDs (from top to bottom)
Power LED - A solid light indicates a proper connection
to the power supply.
Internet LED - A solid light indicates connection on the
Internet port. This LED blinks during data transmission.
WAN LEDs - A solid light indicates that the wireless
segment is ready. This LED blinks during wireless data
transmission.
LAN LEDs (1-4) A solid light indicates a connection
to an Ethernet-enabled device on ports 1-4. This LED
blinks during data transmission.
WPS LED/Button - Located on the side of the router.
Press to initiate the WPS process. The LED will blink
during the WPS configuration process.
4
Computer
RESET
INTERNET
5V
1A
Plug one end of the included blue Ethernet cable that came with your
router into the yellow port labeled INTERNET on the back of the router.
Plug the other end of this cable into the Ethernet port on your modem.
8
Computer
This is a sample network configuration of the setup after you have
completed all the setup steps.
Note: Please refer to the user manual for more detailed installation
information and advanced features.
Router
Modem
RESET
4
3
LAN
2
1
INTERNET
5V
1A
Router
Modem
RESET
4
3
LAN
2
1
INTERNET
5V
1A
Version 1.0(NA) (May 3, 2012) 6IR605LQD.02G
Advertisement

Related Manuals for D-Link DIR-605L


Summary of Contents for D-Link DIR-605L
- Page 1 Go to www. mydlink.com and enter your acount information. ©2012 D-Link Corporation/D-Link Systems, Inc. All rights reserved. D-Link and the D-Link logo are registered trademarks of D-Link Technical Support Corporation or its subsidiaries in the United States and/or other countries. Other trademarks or registered trademarks are the property of their respective owners.
- Page 2 Rendez-vous sur le site www.mydlink.com et saisissez les informations relatives à votre compte. ©2012 D-Link Corporation/D-Link Systems, Inc. Tous droits réservés. D-Link et le logo D-Link sont des marques déposées de D-Link Assistance technique Corporation ou de ses filiales aux États-Unis et/ou dans d’autres pays. Les autres marques ou marques déposées appartiennent à...