Baby Jogger City Mini ZIP Assembly Instructions Manual
Hide thumbs
Also See for City Mini ZIP:
- Assembly instructions manual (20 pages) ,
- Assembly instructions manual (100 pages) ,
- Assembly instructions manual (28 pages)

Related Manuals for Baby Jogger City Mini ZIP


Summary of Contents for Baby Jogger City Mini ZIP
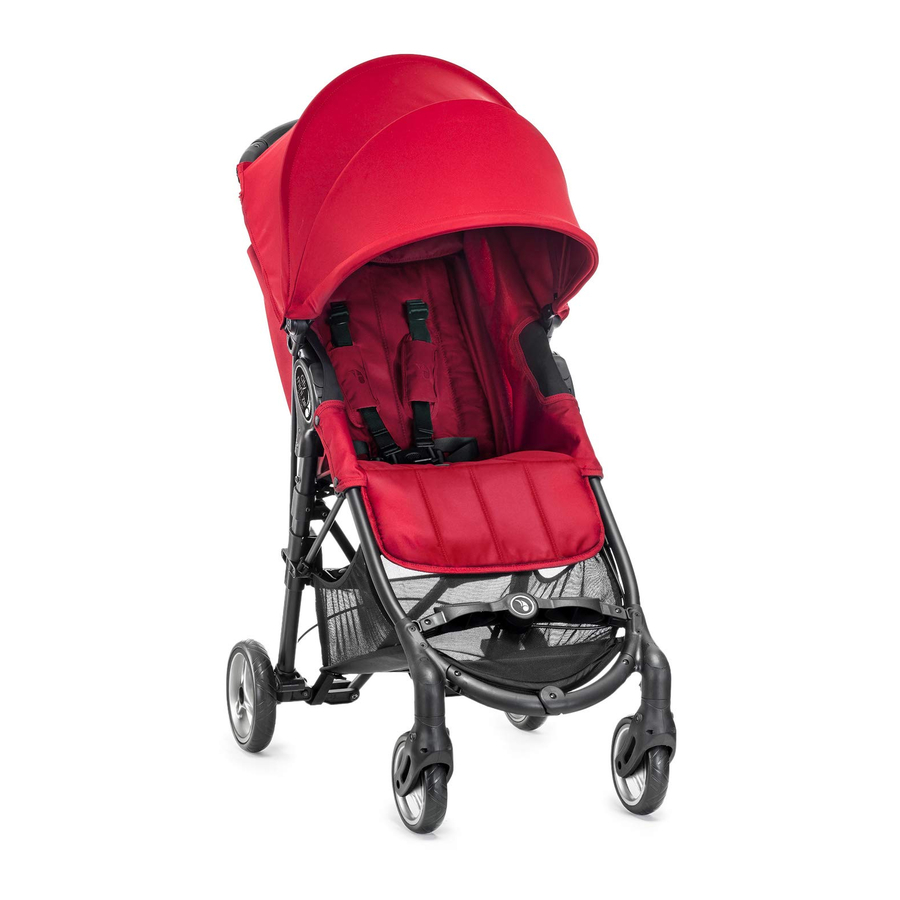
- Page 1 ™ Assembly InstructIons InstructIons pour l'AssemblAge InstruccIones Del ensAmblAJe...
-
Page 2: Table Of Contents
tAble oF contents English Français (French) / Español (Spanish) Warnings . . . . . . . . . . . . . . . . . . . . . . . . . . . . . . . . . . . . . . . . . . . . 3 Mise en Garde/Advertencia . -
Page 3: Warnings
. unstable if the weight recommended by • Accessories which are not approved by Baby Jogger is exceeded . the manufacturer or distributor shall not be used . • WARNING: This stroller is not suitable for •... -
Page 4: Mise En Garde/Advertencia
. • MISE EN GARDE: Ne laissez pas à votre enfant de jouer avec ce produit . • MISE EN GARDE: Ce produit deviendra instable si un sac, porte-bagage ou accessoires non inclus par Baby Jogger sont utilisés . - Page 5 . • ADVERTENCIA: No deje a su hijo jugar con este producto . • ADVERTENCIA: Este producto resultará inestable si se utilizan o cuelgan accesorios no incluídos por Baby Jogger .
-
Page 6: Traits/Características
Handlebar Poignée Manillar Handlebar Fold Button Bouton de pliage de la poignée Botón de plegado del Manillar Weather Cover Housse Protectrice Capa de lluvia AutoLock Levier de verrouillage Palanca auto-cierre Canopy Attachment Bracket Crochet d’ a ttache de l’ a uvent Soporte de montaje del toldo Accessory Mounting Bracket Accessoire de fixation de montage... -
Page 7: Cadre/Chasis
FRAME 1 Unpack the stroller from the box and set the wheels aside . 2 Unfold the stroller by pressing the Auto-lock release button and lifting the handlebar away from the lower frame . 3 Place the stroller in the upright position Lock handlebar by pressing both sides forward until it clicks . -
Page 8: Roues Avant/Rueda Delanteras
FRONT WhEEL 1 Installation CliCk • Lay stroller on its back so the Handlebar is resting on the floor . • Attach the front wheels by sliding them into the front wheel mounts until they click . Gently pull on the front wheels to make sure they are properly attached . - Page 9 NOTE: When loading and unloading child, lock the front wheels in a fixed position . Although the front wheels of your City Mini ZIP lock, it is not intended for jogging or exercise purposes . TRAIT DE PIVOTER 1 Pousser le verrouillage de pivoter en bas pour fermer à...
-
Page 10: Roues Arrières/Ruedas Traseras
REAR WhEELS 1 Installation • Align the Rear Wheel axle with the wheel mount on the stroller frame and insert it into the wheel mount until it clicks into place . CliCk • Gently pull on the Rear Wheel to make sure it is properly attached . -
Page 11: Frein/Freno
bRAKE 1 Simply push the red parking brake down to engage the brakes . 2 Press the green brake release down to release the brakes . WARNING: Engage the parking device before loading and unloading a passenger . FREIN 1 Appuyer sur le frein de parking rouge pour enclencher les freins . -
Page 12: Auvent/Toldo
CANOPY 1 Insert canopy attachments into canopy attachment brackets on each side of the stroller until it clicks into place . 2 Attach velcro along side of canopy to seat . CliCk 3 Snap the canopy straps to the back of the handlebar . -
Page 13: Espace-Pied Ajustable/Reposapiés
ADJuSTAbLE LEGREST 1 Press the adjustment levers located underneath the legrest and move legrest up or down until desired position is reached . CuP hOLDER 2 Attach the cup holder to the attachment knob on the right side of the handlebar . Click into place . NO TE: Containers carrying hot liquids should not be used . -
Page 14: Safety Harness
SAFETY hARNESS 1 To adjust harness height: Slide upper section of shoulder straps up and down to fit close to your child’ s shoulders . 2 To adjust harness length: Hold the plastic guide and pull the strap end to tighten, or pull the upper harness strap to loosen . - Page 15 3 Insert shoulder strap buckle into side strap buckle on both sides . 4 Insert connected harness and side strap buckles into the sides of the crotch buckle . 5 Press button on crotch buckle to release . 3 Insérer la boucle de la sangle de l’épaule des deux côtés de la boucle de la sangle sur le côté...
-
Page 16: Siège/Asiento
SEAT - RECLINE 1 Pinch the clamp behind the seat and slide it down to desired recline . 2 Pull seat down on both sides to match recline position of clamp . Reverse steps to return to the upright position . WEAThER COVER 3 If desired, pull the weather cover down and over the seat back mesh . -
Page 17: Basket Removal
SEAT - REMOVAL 1 Remove canopy . Unsnap all snaps around frame, including the fold strap . 2 On the back of the legrest, remove elastic loops from knobs . Slide fabric off of footwell folding mechanism . 3 Pull fabric upward off of seatback . bASKET REMOVAL 4 From the rear of the stroller: Remove velcro straps from hooks located in front of the rear... -
Page 18: Folding
FOLDING 1 Remove the child from the seat . Unsnap the red safety straps from the frame . Press the release button located under the cap on the handlebar . 2 Pull upwards on the pull strap in the center of the seat with a gentle tug and your stroller will fold . -
Page 19: Care & Maintenance
• Do not press, iron, dry clean, tumble dry or wring the fabric . • If the seat covers need to be replaced, only use parts from a Baby Jogger Authorized Dealer . They are the only ones that are guaranteed to have been safety tested and designed to fit this seat . -
Page 20: Soin Et Entretien/Cuidado Y Mantenimiento
. • Si le couvre-siège a besoin d’être remplacé n’utiliser que les pièces d’un concessionaire Baby Jogger autorisé . Ce sont les seuls qui sont garantie pour la sécurité et conçu pour ce siège . Pièces Plastiques/Métal •... - Page 21 . • Si el tapizado de los asientos debe ser reemplazado use partes de un distribuidor autorizado de Baby Jogger . Ellos son los únicos que garantizan que ha pasado controles de calidad y seguridad y diseñada para adaptarse a este asiento .
-
Page 22: Limited Warranty
Jogger lImIteD WArrAnty baby Jogger’ s Limited Warranty: Baby Jogger warrants that the frame is free of manufacturer defects for the lifetime of the product . Manufacturer’ s defects include but are not limited to the breaking of welds and frame tube damage . -
Page 23: Garantie Limitée/Garantía Limitada
La garantie baby Jogger: Baby Jogger garantie que le cadre est sans défaut du manufacturier pour la vie du produit . Défauts du manufacturier inclus mais n’est pas limité aux bris de la soudure et aux dommages du tube cadre . Tous les matériaux souples (textile) et toutes les autres pièces seront garantie pour un an à... - Page 24 De bAbyJogger Garantía limitada de babyJogger: Baby Jogger garantiza que el chasis está libre de defectos de fábrica durante la vida útil del producto . Los defectos de fábrica incluyen, entre otros, la rotura de los radios y los daños en los tubos del chasis .
- Page 28 Motion Inc. 300 Ambassador Drive • Mississauga, Ontario • L5T 2J3 Toll Free: 1.866.774.7177 T: 905.795.3154 • F: 905.795.8988 www.babyjogger.ca baby Jogger, LLC 8575 Magellan Parkway, Suite 1000 • Richmond, VA 23227 T: 800.241.1848 • F: 804.262.6277 • www.babyjogger.com...