
Related Manuals for Ascaso BIG DREAM


Summary of Contents for Ascaso BIG DREAM
- Page 1 BIG DREAM Plus model initial installation instalación Primera instalación modelos Plus/One Erstinbetriebnahme Modell Plus...
-
Page 2: Initial Installation
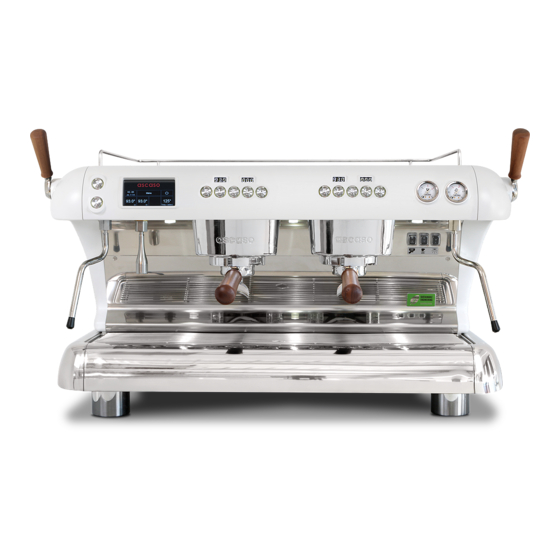
INITIAL INSTALLATION Connect the machine to the water supply using the flexible hose provided (3/8”) or insert it in the water tank if you are not using mains water. Plug the electrical power cable into the socket. Start up the machine by turning on the general switch. The installation menu will appear on the display: Set the language and date and click ‘Next’. - Page 3 Next, when you see water coming out of the mini purge valves in the upper part of the group into the drainage bowl, you can close the valves as at this point the groups will be saturated without any air inside them. Then click ‘Next’.
-
Page 4: Primera Instalación
PRIMERA INSTALACIÓN Conectar la máquina a la red de agua mediante la manguera flexible suministrada (3/8”), o introducirla en el depósito de agua en caso de no utilizar la red principal. Conectar el cable de alimentación eléctrica a la red. Poner en marcha la máquina accionando el interruptor general. - Page 5 A continuación, cuando en la cazoleta de desagüe de la máquina salga agua de las mini válvulas de purga situadas en la parte superior del grupo, ya puede cerrar dichas válvulas y ya tendrá los grupos saturados sin aire interior. A continuación, pulse “siguiente”.
- Page 6 ERSTINBETRIEBNAHME Die Maschine mit Hilfe des mitgelieferten, flexiblen Anschlussschlauchs ans Wassernetz anschließen (3/8”) oder im Fall, dass das Hauptnetz nicht benutzt wird, den Schlauch in den Wassertank legen. Das Netzkabel an die Stromversorgung anschließen. Das Gerät durch Betätigen des Hauptschalters einschalten. Auf dem Display erscheint das Installationsmenü: Sprache und Datum aktualisieren und „weiter“...
- Page 7 Sobald aus den Minientlüftungsventilen, die sich im oberen Teil der Gruppe befinden, Wasser in die Ablaufpfanne des Geräts austritt, können diese Ventile geschlossen werden, da die Gruppen ohne überflüssige Luft voll gefüllt sind. Anschließend „weiter“ drücken. Bei diesem Schritt wird der Dampfboiler automatisch gefüllt. Sobald der Dampfboiler bis zum Betriebsniveau gefüllt ist, erscheint eine neue Informationsanzeige.
- Page 8 Technical specifications and models can change without notice. Las especificaciones técnicas y los modelos pueden cambiar sin notificación. Technische Spezifikationen und Modelle können ohne Ankündigung ändern. Ascaso Factory SLU Coneixement 1 Pol. Ind. GaváPark 08850 Gavá Barcelona / Spain Tel. (34) 93 475 02 58 ascaso@ascaso.com...