Table of Contents
Advertisement
Quick Links
Advertisement
Table of Contents

Related Manuals for Datavideo DAC-91


Summary of Contents for Datavideo DAC-91
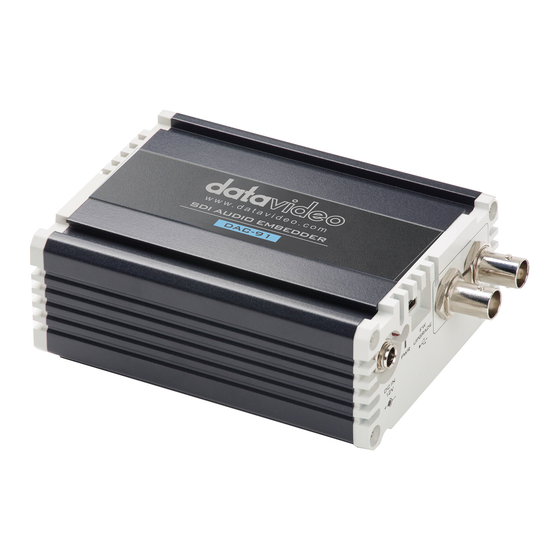
- Page 1 SDI AUDIO EMBEDDER DAC-91 Instruction Manual w w w . d a t a v i d e o . c o m...
-
Page 2: Table Of Contents
Table of Contents FCC COMPLIANCE STATEMENT ..........3 WARNINGS AND PRECAUTIONS ..........3 WARRANTY ................4 ..............4 TANDARD ARRANTY ............... 5 HREE ARRANTY DISPOSAL ................5 INTRODUCTION ............... 6 ................... 6 EATURES CONNECTIONS & CONTROLS ........... 7 ................7 RONT ANEL ................ - Page 3 Further advice on the content of this manual or on the product can be obtained by contacting your local Datavideo Office or dealer.
-
Page 4: Fcc Compliance Statement
This product should only be operated from the type of power source indicated on the marking label of the AC adapter. If you are not sure of the type of power available, consult your Datavideo dealer or your local power company. -
Page 5: Warranty
Warranty Standard Warranty Datavideo equipment are guaranteed against any manufacturing defects for one year from the date of purchase. The original purchase invoice or other documentary evidence should be supplied at the time of any request for repair under warranty. -
Page 6: Three Year Warranty
Card are covered for 1 year. The three-year warranty must be registered on Datavideo's official website or with your local Datavideo office or one of its authorized distributors within 30 days of purchase. Disposal For EU Customers only - WEEE Marking This symbol on the product indicates that it should not be treated as household waste. -
Page 7: Introduction
Introduction DAC-91 is an SDI Audio Embedder that allows the user to embed 2 channels of mixed analog audio signals into the SDI video signal. It features 3G/HD/SD-SDI to support up to 1080p/60 video format, and automatically detects and switches between different formats. In addition, mini XLR and RCA audio connectors are provided as inputs for analog audio with left mini XLR and RCA mixed to CH1 and right mini XLR and RCA mixed to CH2. -
Page 8: Connections & Controls
Connections & Controls Front Panel DC In Socket Connects the supplied 12V PSU to this socket. The connection can be secured by screwing the outer fastening ring of the DC In plug to the socket. Power Indicator Indicates the power status SDI OUT SDI Video and Audio output Mini-USB... -
Page 9: Rear Panel
Rear Panel SDI IN SDI input for video and audio Mini-XLR Balanced XLR audio input channel x 2 Unbalanced RCA audio input channel x 2 Audio Level Indicator LED colors and the corresponding audio levels Green Yellow -45~-40 -39~-35 -34~-29 -28~-24 -23~-18 -17~-13 -12~-8 -7~0 (Unit : dBFS) 4 PIN DIP Switch Audio level adjustment;... - Page 10 4 PIN DIP SWITCH CONFIGURATION DIP SW 1 DIP SW 2-4 Audio Level Audio Gain Setting & Firmware Upgrade +12dB Firmware Upgrade 1 SMPTE +6dB -12dB Firmware Upgrade 2 -6dB...
-
Page 11: Firmware Update
Firmware Update From time to time, Datavideo may release new firmware to either add new features or to fix reported bugs in the current DAC-91 firmware. Customers can update the firmware themselves if they wish or they can contact their local dealer or reseller for assistance should they prefer this method. - Page 12 PC (if the device is connected to the PC for the first time, you will then see a “DAC-91 Datavideo FW1 USB Drive” prompt appearing at the bottom right corner of the screen). You will see an empty drive after it is opened.
-
Page 13: Firmware 2 Update Procedure
PC (if the device is connected to the PC for the first time, you will then see a “DAC-91 Datavideo FW2 USB Drive” prompt appearing at the bottom right corner of the screen). The disk name is DAC91FW2XXX... - Page 14 (XXX corresponds to the previous version number X.XX). You will see an empty drive after it is opened. 4. Copy the FPGA Firmware 2 file (DAC-91-FW2-Vx.xxBIN) to the removable disk and the update will finish after about 30 seconds: 5. Click on the “Safely Remove Hardware and Eject Media” icon to eject the Datavideo Removable Disk.
- Page 15 complete the update. Remark: When DIPSW 2-4 is set to 111, you can check the disk drive label for the updated firmware version if the mini USB connection is not removed and the power is still connected. 6. To check if the update is successful: ...
-
Page 16: Frequently-Asked Questions
Frequently-Asked Questions This section describes problems that you may encounter while using DAC-91. If you have questions, please refer to related sections and follow all the suggested solutions. If problem still exists, please contact your distributor or the service center. -
Page 17: Dimensions
Dimensions All measurements in mm... -
Page 18: Specifications
Specifications Model Name DAC -91 Product Name SDI Audio Embedder SDI Video Input 3G/HD/SD SDI x 1 SDI Video Output 3G/HD/SD SDI x 2 Analog Audio Input Mini XLR (balanced) x 2, RCA (unbalanced) x 2 - Mini XLR1 & RCA1 mixed to CH1 - Mini XLR2 &... - Page 19 Notes...
-
Page 20: Service & Support
Datavideo Technologies Co., Ltd. All rights reserved 2020 Jun-09.2021 Ver: E3...