Advertisement
Quick Links
NO
- Monterings- og bruksanvisning
UK
- Installation and Operating Instructions
FR
- Manuel d'installation et d'utilisation
ES
- Manual de instrucciones
IT
- Installazione e Istruzioni per l'uso
PL
- Instrukcja Montażu i Obsługi
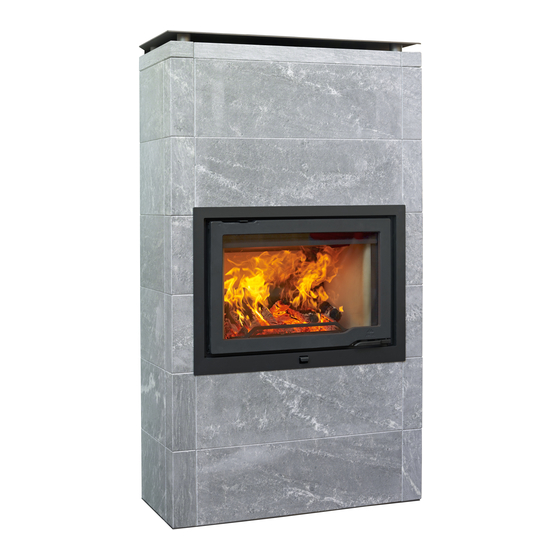
Jøtul FS 166 - I 570
Monterings- og bruksanvisningen må oppbevares under hele produktets levetid. These instructions
must be kept for future references. Ce manuel doit être conservé pour de futures interventions. Wir
empfehlen Ihnen, die Montage- und Bedienungsanleitung für spätere Zwecke sorgfältig aufzubewahren.
Jøtul FS 166 - I 570
2
11
20
29
38
47
Advertisement

Summary of Contents for Jøtul FS 166-I 570
- Page 1 Jøtul FS 166 - I 570 - Monterings- og bruksanvisning - Installation and Operating Instructions - Manuel d’installation et d’utilisation - Manual de instrucciones - Installazione e Istruzioni per l’uso - Instrukcja Montażu i Obsługi Jøtul FS 166 - I 570 Monterings- og bruksanvisningen må...
-
Page 2: Table Of Contents
ENGLISH 1.0 Relationship with the Table of contents authorities Relationship with the authorities ..11 Technical data........11 Jøtul FS 166 – I 570 is a freestanding product with Jøtul I 570 as the burn chamber, which can be positioned against infl ammable walls at the distances described in Fig. - Page 3 ENGLISH...
-
Page 4: Parts Of The Surround
ENGLISH 3.0 Parts of the surround Fig. 2... -
Page 5: Prior To Installation
ENGLISH 4.0 Prior to installation and installation requirements. • Connection to the chimney must be performed in accordance with the installation instructions of the chimney supplier. • Make sure that the fl ue pipe rises all the way up to the chimney. 4.1 Foundations •... -
Page 6: Mounting
ENGLISH 4.9 Preparation/installation Fig. 3 C NB: Check that the fireplace is undamaged before installation begins. The product is heavy! Ensure you have help when positioning and installing it. After unpacking the insert take out the box with contents. To make the product lighter, remove the door. - Page 7 ENGLISH Fig. 5 Fig. 7 Dismount the insert’s heat shield by unscrewing the upper screw on both sides of the insert (fi g. 5 A). Loosen the lower screws (fi g. 5 E) somewhat and pull the heat shield upwards and then remove it. Lay the insert carefully down on its back (you can protect the fl...
- Page 8 ENGLISH Fig. 8 B Fig. 10 50 mm NB!: Do not use corner stones marked «223628» before Assemble the stand. The stand consist of bottom plate the fourth layer. (Fig. 8 B-A), 4 legs (Fig. 8 B-B) and top plate (Fig. 8 B-C). Fit the fi...
- Page 9 ENGLISH Fig. 12 Fig. 13 4 psc. M10x35 Centre the insert laterally. Position the insert and the frame against the front of the surround. Remove the lower cover (Fig.12 A). Make sure that there is clearance between the lower edge Fit the decorative frame over the door and hook it over the of the frame and the stone below (Fig.
-
Page 10: Installation Completed
ENGLISH Fig. 15 Fig. 17 223628 Place the attachment bracket on the special corner stone 223628 (Fig. 15 A). The front stone (Fig. 15 B) of layer 5 shall rest on the attachment bracket. If top smoke outlet: Fig. 16 Place the last layer (Fig. - Page 11 SPRÅK...
- Page 12 Jøtul arbeider kontinuerlig for om mulig å forbedre sine produkter, og vi forbeholder oss retten til å endre spesifi kasjoner, farger og utstyr uten nærmere kunngjøring. Jøtul bemüht sich ständig um die Verbesserung seiner Produkte, deshalb können Spezifi kationen, Farben und Zubehör von den Abbildungen und den Beschreibungen in der Broschüre abweichen. Jøtul pursue a policy of constant product development.


