Advertisement
Quick Links
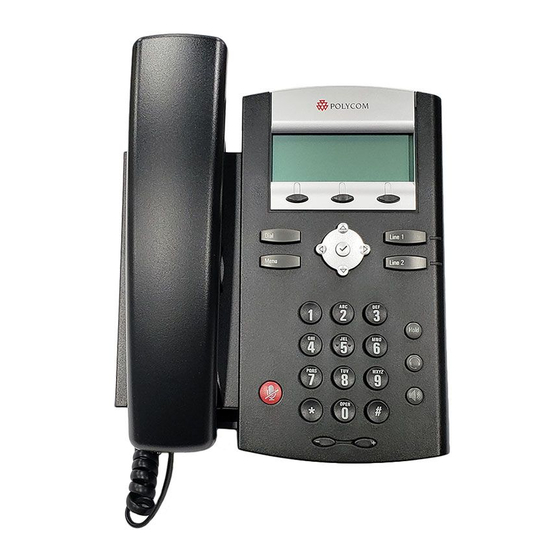
SoundPoint IP Phones Manual Configuration
This guide will show you how to manually setup a Polycom SoundPoint 320, 321, 330, 331, 335, 450, 550, 560,
650, 670 phone for use with VirtualPBX. Please be sure that your Polycom phone is using f irmware version 3.
1. Login to your VirtualPBX account as an Admin
2. Click on the Admin Tab
3. Click on the VoIP Phones menu option on the left hand side
4. Click on Add Softphone
VirtualPBX.com | 111 N. Market St., Suite 1000, San Jose, CA 95113 | Toll Free: 800.914.VPBX | Fax: 888.825.0800
1998-2015. VirtualPBX.com, Inc. All rights reserved. Virtual PBX, TrueACD, and ProSIP are ® trademarks of VirtualPBX.com, Inc.
Advertisement

Related Manuals for Polycom SoundPoint 320


Summary of Contents for Polycom SoundPoint 320
- Page 1 SoundPoint IP Phones Manual Configuration This guide will show you how to manually setup a Polycom SoundPoint 320, 321, 330, 331, 335, 450, 550, 560, 650, 670 phone for use with VirtualPBX. Please be sure that your Polycom phone is using f irmware version 3.
- Page 2 8. Point your browser to the phone’s web interface by typing http:// and the phone’s IP address. Example: http://192.168.1.123 9. You’ l l now need to register your Polycom SoundPoint with VirtualPBX. Click on the L ines t ab to begin.
- Page 3 Set Address to the IP address of the VirtualPBX machine. Example: r egistrar2.virtualpbx.net b. Set P ort to 5060, which is the default 13. Click the Submit button at the bottom of the page. Your Polycom phone will restart itself and after it’s finished rebooting, your phone will register itself with VirtualPBX.