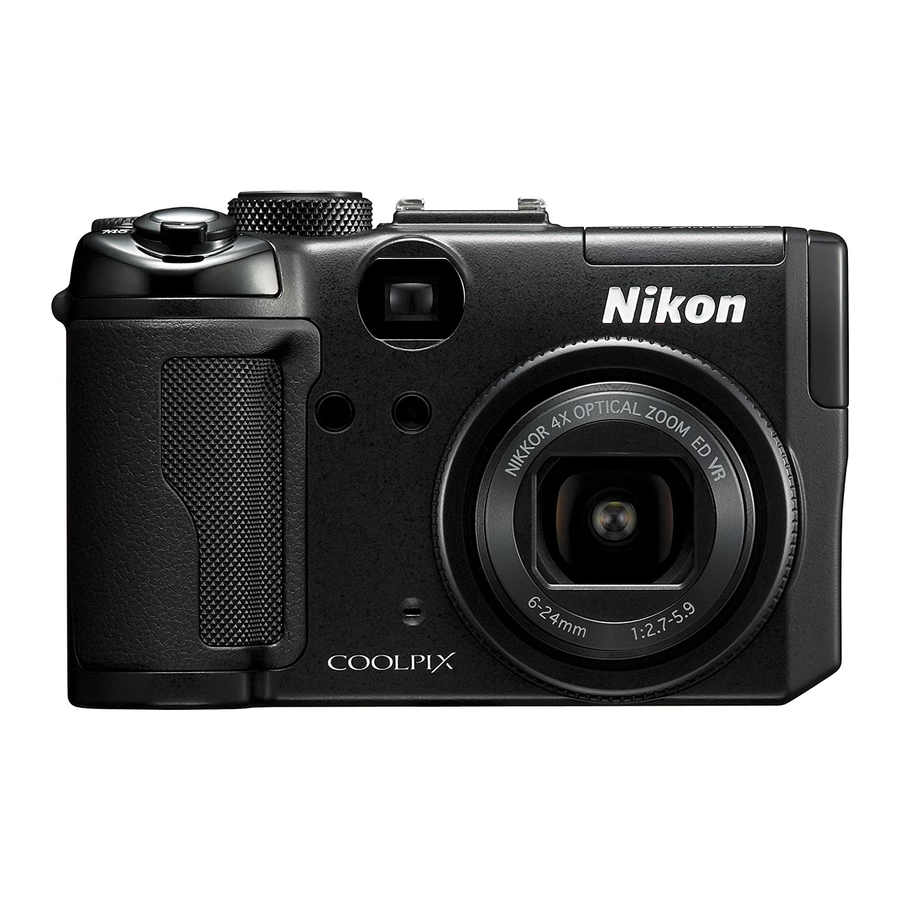
Nikon CoolPix P6000 Quick Start Manual
Hide thumbs
Also See for CoolPix P6000:
- User manual (251 pages) ,
- Manual del usuario (220 pages) ,
- Brochure (17 pages)
Advertisement
Quick Links
Nikon CoolPix P6000
Using the Camera
Getting Started
1. Inserting the battery:
a. Open the battery-chamber/memory card slot cover at the bottom of the camera on
the right side if you are looking at the screen.
b. Insert the rechargeable Li-ion Battery EN-EL5 that is provided with the camera.
Make sure that the positive and negative sides are lined up correctly. Use the
battery to push the orange battery latch up as the battery is inserted. The latch
raises back into place when the battery is fully inserted. Once the battery is
inserted close the battery-chamber/ memory card slot cover.
i. Before you do so make sure that the battery is charged. To charge the
camera follow these steps:
Advertisement

Summary of Contents for Nikon CoolPix P6000
- Page 1 Nikon CoolPix P6000 Using the Camera Getting Started 1. Inserting the battery: a. Open the battery-chamber/memory card slot cover at the bottom of the camera on the right side if you are looking at the screen. b. Insert the rechargeable Li-ion Battery EN-EL5 that is provided with the camera.
- Page 2 1. Your camera should come with a power cable and AC adapter. Connect the two cords. 2. Confirm that the power-on lamp and the monitor are off. You cannot charge the camera while the power is on. 3. Connect the AC adapter to the camera’s DC input connector on the right side of the camera if you are looking at the screen.
- Page 3 4. Setting Display Language, Date, and Time a. Turn the Camera On. b. Hit the Menu button to the lower left of the display screen. c. Hit the button to the left of the OK button. You are now in the category Network Settings.
- Page 4 a. Hold the camera like you would hold any other camera. b. You can zoom in and out using the button to the upper left of the ON/OFF switch when facing the screen. i. To zoom in push it to the right. ii.
- Page 5 iii. On the screen it will ask Erase image? 1. Scroll down and select yes. 2. Click OK. The image has now been deleted. Using the GPS This is central to your mapping project. Using the GPS feature on the camera will allow you to geotag photos without the aid of independent GPS trackers.
- Page 6 3. The satellites will now set the time and date of your camera. iii. Press the Menu button again 1. This returns to the GPS signal status display screen. 2. Check the positioning status before shooting. c. Before taking a picture, check the GPS status. i.
- Page 7 2. Between high-rise buildings. 3. Under overpasses. 4. Inside tunnels. 5. Near high-voltage electrical power lines. 6. Between clusters of trees. 7. Also avoid: a. Using a cell phone of 1.5 GHZ near the camera. b. Carrying the camera in a metal bag. d.
- Page 8 1. Auto: flash fires automatically when lighting is poor. 2. Auto with red-eye reduction: reduces red-eye in portraits 3. Off: no flash 4. Fill Flash: Flash fires when a picture is shot. It illuminates shadows and backlit subjects. 5. Slow sync: fill flash is combined with slow shutter speed. 6.
-
Page 9: Connecting The Camera To The Computer
15. Shooting in Different Exposure Modes. a. To change the exposure mode rotate the top dial to either P, S, A, or M. b. Here is a brief description of the following modes: i. P: Programmed Auto: 1. Camera sets shutter speed and aperture for optimal exposure. 2.


