Table of Contents
Advertisement
Available languages
Available languages
Advertisement
Table of Contents

Related Manuals for Schumacher Electric SA1346


Summary of Contents for Schumacher Electric SA1346
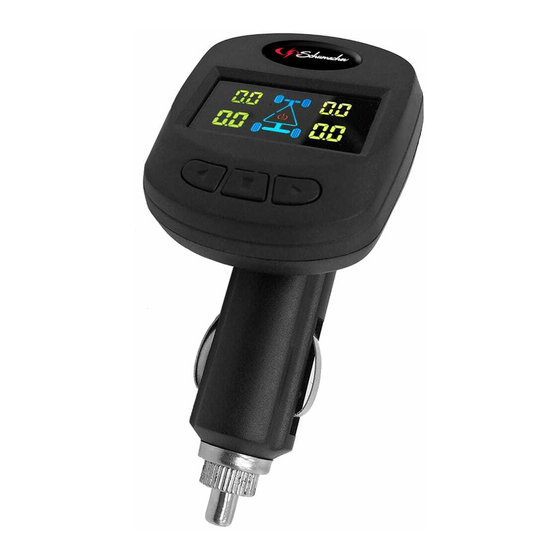
- Page 1 MODEL / MODELO: SA1346 Tire Pressure Monitoring System Sistema de monitoreo de presión neumática OWNERS MANUAL MANUAL DEL USUARIO SAVE THIS OWNERS MANUAL AND READ BEFORE USE. CONSERVE ESTE MANUAL DEL USUARIO Y LEALO ANTES DE USO. 0099001848-00...
-
Page 2: Table Of Contents
CONTENTS Contents......................3 Digital Display .....................3 Installing the Sensors..................4 System Setup....................5 Warnings and Alarms ..................6 Replacing the Batteries ................7 Specifications ....................8 Replacement Parts ..................8 FCC Information..................9 Warranty ....................10 Warranty Card ...................19 CONTENIDOS Contenido....................11 Pantalla digital...................11 Instalación de los sensores...............12 Configuración del sistema.................13 Advertencias y alarmas................14 Reemplazar las baterías ................15 Especificaciones ..................16... -
Page 3: Contents
SAVE THESE INSTRUCTIONS. • Read manual before installing • This system monitors tire pressure product. and temperature, but does not prevent accidents. • Save installation kit and store near unit. • WARNING: This product contains one or more chemicals known to •... -
Page 4: Installing The Sensors
Installing the Sensors Before installation, plug the display into the car's 12V socket and start the engine. Next, install sensors in correct position. The display will show tire pressure and temperature. If you install sensors before the display powers on, the display will show “00”... -
Page 5: System Setup
System Setup Plug the display into the car's 12V socket and start the engine. NOTE: The sensors have been pre-programmed with values appropriate for most vehicles. 1. High Pressure Value Setting ■ 1. In standby mode, press and hold for 3 seconds to enter system set up mode. -
Page 6: Warnings And Alarms
Warnings and Alarms High pressure warning When tire pressure exceeds the default high value (43 Psi), the corresponding tire symbol will flash on the display, with continuous beeping. Low pressure warning When tire pressure falls below default low value (26 Psi), the corresponding tire symbol will flash on the display, with continuous beeping. -
Page 7: Replacing The Batteries
Replacing the Batteries 1. Release 2. Unscrew 3. With fingernail or a thin the hex nut. the sensor. screwdriver, remove tamper lock gasket. 4. Place the sensor 5. Slide a 6. Close the sensor. into the release key. CR1632 battery Press the tamper lock Rotate to open sensor. -
Page 8: Specifications
Specifications SENSOR DISPLAY Operating frequency FSK 433.92 mHz ± 30 kHz FSK 433.92 mHz ± 30 kHz Operating voltage 2.2-3.0 V 12 V ± 3.0 V Operating current ≤ 1.5 mA 60-70 mA Operating temperature -40˚-+185˚ F -4˚-+158˚ F Monitoring scope Pressure: 0-50 psi Pressure: 0-50 psi Pressure reading... -
Page 9: Fcc Information
FCC Information This product contains transmitter FCC ID 2AMMU-SA1346. WARNING: Changes or modifications to this unit not expressly approved by the party responsible for compliance could void the user’s authority to operate the equipment. This equipment has been tested and found to comply with the limits for a Class B Digital Device, pursuant to Part 15 of the FCC Rules. -
Page 10: Warranty
Manufacturer does not provide any warranty for any accessories used with this product that are not manufactured by Schumacher Electric Corporation and approved for use with this product. This Limited Warranty is void if the product is misused, subjected to careless handling, repaired, or modified by anyone other than Manufacturer or if this unit is resold through an unauthorized retailer. -
Page 11: Contenido
GUARDE ESTAS INSTRUCCIONES. • Lea el manual antes de instalar el • Este sistema monitorea la presión y producto. la temperatura de los neumáticos, pero no evita accidentes. • Guarde el kit de instalación y • ADVERTENCIA: Este producto consérvelo cerca de la unidad. contiene uno o más químicos •... -
Page 12: Instalación De Los Sensores
Instalación de los sensores Antes de la instalación, conecte la pantalla en la toma de 12 V del automóvil y arranque el motor. A continuación, instale los sensores en la posición correcta. La pantalla mostrará la presión y la temperatura del neumático. Si instala los sensores antes de que la pantalla se encienda, la pantalla mostrará... -
Page 13: Configuración Del Sistema
Configuración del sistema Conecte la pantalla en la toma de 12 V del automóvil y arranque el motor. NOTA: Los sensores están preprogramados con los valores apropiados para la mayoría de los vehículos. 1. Configuración del valor de la presión alta ■... -
Page 14: Advertencias Y Alarmas
5. Configuración de la unidad de temperatura 1. En el modo de espera, pulse el botón ► y sosténgalo durante 3 segundos para entrar al modo de configuración del sistema. 2. Elija Fahrenheit o Celsius. 6. Restaurar la configuración predeterminada de fábrica 1. -
Page 15: Reemplazar Las Baterías
Advertencia de batería baja Cuando la batería de un sensor esté baja, el símbolo del neumático correspondiente mostrará “Lo” en la pantalla. Reemplace la batería tan pronto como sea posible. Señal de ningún sensor Si la señal de la batería se agota o si un sensor dañado no se detecta en la pantalla durante 30 minutos, el símbolo del neumático correspondiente mostrará... -
Page 16: Especificaciones
Especificaciones SENSOR PANTALLA Frecuencia FSK 433.92 mHz ± 30 kHz FSK 433.92 mHz ± 30 kHz de operación Voltaje 2,2-3,0 V 12 V ± 3,0 V de funcionamiento Corriente ≤ 1,5 mA 60-70 mA de funcionamiento Temperatura -40˚-+185˚ F -4˚-+158˚ F de funcionamiento (-40˚-+85˚... -
Page 17: Información De La Fcc
Información de la FCC Este producto contiene un transmisor FCC ID 2AMMU-SA1346. ADVERTENCIA: Los cambios o modificaciones a esta unidad que no estén aprobados expresamente por la parte responsable del cumplimiento podrían anular la autoridad del usuario para operar el equipo. -
Page 18: Garantía Limitada
El Fabricante no presta garantía por lo accesorios utilizados con este producto que no sean los fabricados por Schumacher Electric Corporation y que no estén aprobados para su uso con este producto. La presente Garantía Limitada será nula si el producto se utiliza en forma errónea, se trata de manera inadecuada, es reparado o modificado... -
Page 19: Warranty Card
Warranty Card SAVE ON POSTAGE! ACTIVATE YOUR WARRANTY ONLINE – THE QUICK AND EASY WAY! Go to www.batterychargers.com to register your product online. (No internet access? Send in the completed warranty card.) • 19 •... -
Page 20: Tarjeta De Garantía
Tarjeta de Garantía ¡AHORRE EN EL ENVÍO! ¡ACTIVE SU GARANTÍA EN LÍNEA – LA FORMA MAS RÁPIDA Y FÁCIL! Visite nuestra página en www.batterychargers.com para registrar su producto en línea. (¿No tiene acceso al internet? Llene la tarjeta de garantía y envíela.) •...