
Related Manuals for The Container Store Clybourn Sparrow Bench


Summary of Contents for The Container Store Clybourn Sparrow Bench
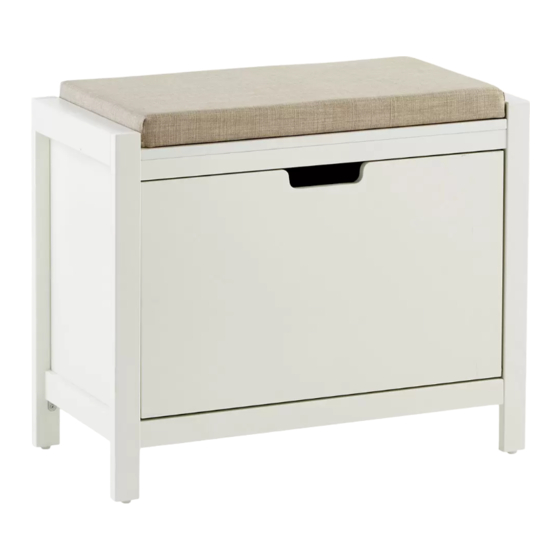
- Page 1 The Original Storage and Organization Store ® Assembly Instructions Clybourn Sparrow Bench PRODUCT INFO PAGE 1 OF 11...
-
Page 2: Parts List
Top Panel Left Panel Right Panel Bottom Panel Rail Back Panel Bin Door Bin Back Panel Bin Left Panel Bin Right Panel Bin Bottom Panel Bin Top Panel Cushion Please review the hardware listed on the next page as well as individual components of this product. -
Page 3: Hardware & Tools
H1 x 10 H2 x 4 H3 x 6 H4 x 5 H5 x 2 H6 x 4 H7 x 14 CAM BOLT THIN THICK SHORT PAN LONG PAN TRUSS HEAD HEAD SCREW HEAD SCREW SCREW H8 x 10 H9 x 4 H10 x 4 H11 x 4 H12 x 1... - Page 4 180º HOW TO USE CAM LOCK SYSTEM PAGE 4 OF 11...
- Page 5 STEP 1 STEP 2 H1 x 4 H2 x 4 H8 x 4 H6 x 4 CAM BOLT THIN CAM LONG PAN COVER HEAD SCREW ASSEMBLY PAGE 5 OF 11...
- Page 6 STEP 3 STEP 4 (H18) (H14) H1 x 2 H3 x 2 H8 x 4 H9 x 2 H10 x 2 CAM BOLT THICK CAM BOLT LOCK COVER WASHER H18 x 2 H13 x 3 H14 x 2 H4 x 5 H17 x 1 H11 x 2 H12 x 1...
- Page 7 STEP 5 STEP 6 (H19) (H5) H5 x 1 H19 x 1 H1 x 1 H3 x 1 H13 x 1 SMALL CAM BOLT THICK CAM DOWEL WASHER ASSEMBLY PAGE 7 OF 11...
- Page 8 STEP 7 STEP 8 (H14) (H5) (H19) H18 x 2 H5 x 1 H13 x 4 H14 x 2 H15 x 1 H16 x 1 H19 x 1 HINGE RIGHT SHORT FLAT DOWEL DOWEL WASHER CONNECTOR HEAD SCREW ASSEMBLY PAGE 8 OF 11...
- Page 9 STEP 9 STEP 10 Adjust braking hinge tension using the provided allen wrench. Turn clock- wise to add tension, turn counter-clock- wise to reduce tension. H1 x 3 H3 x 3 H8 x 2 H9 x 2 CAM BOLT THICK CAM BOLT COVER H10 x 2...
- Page 10 STEP 11 STEP 12 Begin by installing all of the screws along one edge of the back panel. Next, using a square or tape measure, make sure that the cabinet is square. (If using a tape measure, the distance from one corner, diagonally to the other corner should be the same in both directions.) Install the remaining screws, starting with the corners.
- Page 11 WARNING 250 lbs This product is not intended or suitable for a toy chest. 25 lbs WARNING: Do not exceed the recommended weight limits on the designated panels. Exceeding these limits could cause sagging, possibly resulting in failure of product or bodily injury. Severe injury may occur if furniture tips over.