Table of Contents
Advertisement
Advertisement
Table of Contents

Related Manuals for Zanussi ZDT40


Summary of Contents for Zanussi ZDT40
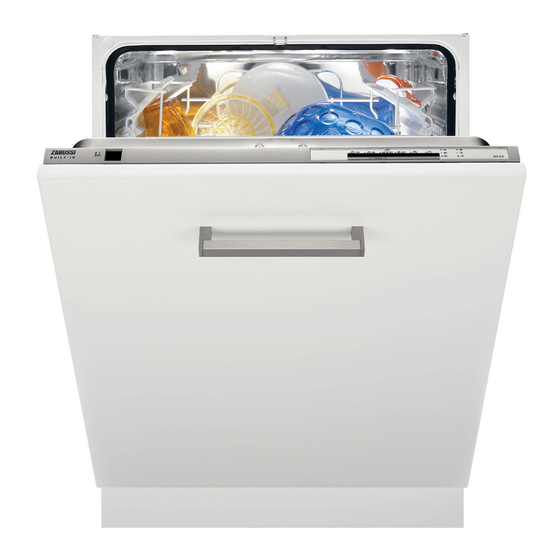
- Page 1 User manual Dishwasher ZDT40...
-
Page 2: Table Of Contents
Thank you for selecting our appliance We wish you lots of enjoyment with your new appliance and we hope that you will consider our brand again when purchasing household appliances. Please read this user manual carefully and keep it throughout the product life cycle as a reference document. -
Page 3: Safety Information
Safety information In the interest of your safety and to ensure the correct use, before installing and first using the appliance, read this user manual carefully, in- cluding its hints and warnings. To avoid unnecessary mistakes and accidents, it is im- portant to ensure that all people using the appliance are thoroughly familiar with its opera- tion and safety features. -
Page 4: Control Panel
Installation • Check your dishwasher for any transport damage. Never connect a damaged ma- chine. If your dishwasher is damaged con- tact your supplier. • All packaging must be removed before use. • Any electrical and plumbing work required to install this appliance must be carried out by a qualified and competent person. -
Page 5: Setting Mode
Setting mode The appliance is in setting mode when all programme lights are off and End of pro- gramme light flashes. IMPORTANT! Always remember that when performing opera- tions such as: • selecting a washing programme • setting the water softener •... -
Page 6: Audible Signals
End of programme indicator light Audible signals Audible signals have been introduced to help indicate which operations the dishwasher is performing. – end of the washing programme, – malfunction of the appliance Factory setting: audible signals activated. It is possible to deactivate the audible signals, using the Programme selection/Cancel but- ton. -
Page 7: Washing Programmes
Washing programmes Programme Normal soil 65° Light soil Normal soil 50° Any. Partial load (to be completed later in the day). 1) Ideal for washing a partially loaded dishwasher. This is perfect daily programme, made to meet the needs of a family of 4 persons who only wish to load breakfast and dinner crockery and cutlery. -
Page 8: Set The Water Softener
When using tablets that integrate rinse aid, detergent, salt function and other additives: there is no need to fill up with special salt or rinse aid. Check whether these detergents are suitable for your water hardness. Follow the manufac- turers instructions. –... -
Page 9: Setting The Water Softener
Water hardness Clarke °TH 18 - 22 26 - 32 13 - 17 19 - 25 5 - 12 7 - 18 < 5 < 7 The water softener must be set in both ways: manually, using the water hardness dial and electronically. -
Page 10: Use Of Dishwasher Salt
Use of dishwasher salt CAUTION! Use only special salt suitable for dishwashers. Unscrew the cap. Remove any trace of salt. Replace the cap tightly turning it clockwise until it stops with a click. Only before filling with Using the funnel provided, salt for the first time, fill pour in the salt until the the salt container with wa-... -
Page 11: Filling With Rinse Aid
IMPORTANT! The salt container will require topping up periodically. Filling with rinse aid Open the lid. Never fill the rinse aid dispenser with any other substances (e.g. dishwasher cleaning agent, liquid detergent). This would damage the appliance. Top up the rinse aid indica- tor (B) becomes clear The salt cap has a refill indicator window in the centre in which a green float is clearly visible when there is... -
Page 12: Adjusting The Dosage Of Rinse Aid
Adjusting the dosage of rinse aid Increase the dose if there are drops of water or lime spots on the dishes after washing. Open the lid. Loading cutlery and dishes Sponges, household cloths and any object that can absorb water may not be washed in the dishwasher. - Page 13 For washing in the dishwasher the following cutlery and dishes are not suitable: • Cutlery with wooden, horn, china or mother-of- pearls handles. • Plastic items that are not heat resistant. • Older cutlery with glued parts that are not tempera- ture resistant.
-
Page 14: Upper Basket
Load upper basket. Light For taller items, the cup items (plastic bowls etc.) racks can be folded up- must be loaded in the up- wards. per basket and arranged so they do not move. Adjusting the height of the upper basket If washing very large plates you can load them in the lower basket after moving the upper bas- ket to the higher position. -
Page 15: Use Of Detergent
Use of detergent IMPORTANT! Only use detergents suitable for dishwashers. Open the lid. For programmes with pre- When using detergent wash add an additional tablets: place detergent detergent dose in com- tablets in compartment A. partmentB. Detergent tablets Detergent tablets from different manufacturers dissolve at different rates. -
Page 16: Care And Cleaning
• Water may appear on the sides and the door of the dishwasher as the stainless steel will eventually become cooler than the dishes. Care and cleaning Cleaning the filters IMPORTANT! NEVER use the dishwasher without filters. In- correct repositioning and fitting of the filters will produce poor washing results. -
Page 17: Environment Concerns
Cleaning the spray arms NEVER try to remove the spray arms. If residues of soil have clogged the holes in the spray arms, remove them with a cocktail stick. External cleaning Clean the external surfaces of the machine and control panel with a damp soft cloth. If necessary use only neutral detergents. -
Page 18: What To Do If
household waste disposal service or the shop where you purchased the product. Packaging material The packaging materials are environmentally friendly and can be recycled. The plastic com- ponents are identified by markings, e.g. >PE<, >PS<, etc. Please dispose of the packaging materials in the appropriate container at the community waste disposal facilities. - Page 19 Fault code and malfunction The programme does not start. Once these checks have been carried out; switch on the dishwasher. The programme will continue from the point at which it was inter- rupted. If the malfunction or fault code reappears con- tact the Service Force Centre.
-
Page 20: Consumption Values
There are streaks, milky spots or a bluish coating on glasses and dishes Water drops have dries onto glasses and dishes If after all these checks, the problem persists, contact your local Service Force Centre. Consumption values The consumption values are intended as a guide and depends on the pressure and the temperature of the water and also by the var- Programme... -
Page 21: Hints For Test Institutes
Capacity Max. weight Noise level Hints for test institutes Testing in accordance with EN 60704 must be carried out with appliance fully loaded and us- ing the test programme (see "Consumption values"). Test in accordance with EN 50242 must be carried out when the salt container and rinse Amount of detergent required Rinse aid setting... -
Page 22: Installation
Installation WARNING! Any electrical and/or plumbing work required to install this appliance should be carried out by a qualified electrician and/or plumber or compe- tent person. Water connection WARNING! The dishwasher must not be connected to open water appliances or instantaneous water heat- Inlet hose Connect the inlet hose to a water tap with an external thread of 3/4”. -
Page 23: Drain Hose
Drain hose Connect drain hose to the Required height: 30 to 100 sink. cm above bottom of the dishwasher. If you use a drain hose extension the total length should not be longer than 4 metres. Likewise the internal diameter of the couplings used for connections to the waste outlet must be no smaller than the diameter of the hose provided. -
Page 24: Fitting Under A Counter
Fitting under a counter IMPORTANT! Carefully follow the instructions on the enclosed template for building in the dishwasher and fit- ting the furniture panel. WARNING! The dishwasher must be secured against tilting. Therefore make sure that the counter it is fixed under, is suitably secured to a fixed structure (adjacent kitchen units cabinets, wall). - Page 28 156991210-00-29112007...