Advertisement
Quick Links
Activation & Equipment
Return Instructions
We're committed to bringing you the best in video entertainment every day. Your
replacement receiver is enclosed. Here's how to connect and activate your new receiver,
plus how to return your non-working equipment.
To avoid non-return fees, follow important return instructions at the end of this document.
1
2
Connect
Reset
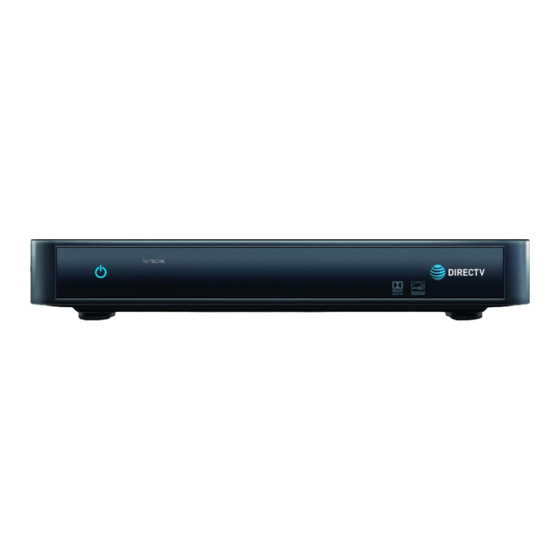
1 Connect your replacement Genie Mini
·
Carefully stack your replacement receiver on top of your non-working receiver.
·
Check if your TV is high definition (HD) or standard definition (SD).
For HD: Use an HDMI cable and plug one end of the cable into the HDMI port on the
receiver and the other into the HDMI port on your TV.
For SD: Use a 10-pin mini-DIN cable and plug the black 10-pin connector into the A/V
Out port on the back of your receiver and the other end(s) of the cable(s) into the
corresponding colored input ports on the back of your TV.
·
Transfer one connection at a time from the non-working receiver to the replacement
receiver, except for the power cord. Need help? Go to
·
Plug the power cord into the replacement receiver, then into a power outlet. If the
receiver doesn't automatically power up, press the POWER button.
·
Turn on your TV. The CONNECTING TO VIDEO BRIDGE screen will appear.
2 Reset your remote
·
On the remote, press and hold MUTE and SELECT.
·
The GREEN LED will blink twice.
·
Press 9-8-7 on your remote.
·
The GREEN LED will blink four times if successful.
3 Setup
Go to the Genie
HD DVR to begin setup.
®
·
On the remote, press MENU, select SETTINGS, then WHOLE-HOME. Select MANAGE
CLIENTS and then ADD CLIENTS.
·
Note the PIN that displays on the screen—you will need to enter the PIN on your
Genie Mini at its location.
Keeping the Genie on the ADD A CLIENT screen, go to the location where you have
Genie Minis.
When back at the Wireless Genie Mini location:
·
Wait two minutes until the CONNECT NOW label is active.
·
Verify that the Wireless Signal Strength icon displays three (3) green bars. (For
troubleshooting, go to att.com/wirelessgeniemini)
3
4
5
Setup
Activate
Program
att.com/equipmentinstall
Wireless Genie Mini
6
Return
1
2
Instructions can be found online at
att.com/equipmentinstall
or by
scanning the QR code.
(Continued on back)
1
M
1
Advertisement

Related Manuals for AT&T Genie Mini


Summary of Contents for AT&T Genie Mini
- Page 1 Keeping the Genie on the ADD A CLIENT screen, go to the location where you have Genie Minis. When back at the Wireless Genie Mini location: · Wait two minutes until the CONNECT NOW label is active.
- Page 2 · Select YES, REPLACE to confirm your choice. Note: The new Wireless Genie Mini may display a flashing red LED and the screen may flash gray intermittently during this setup step. Return to the Genie HD DVR.