Advertisement
Quick Links
Tools required:
Prerequisite
Re-positioning the Lid Sensor
X
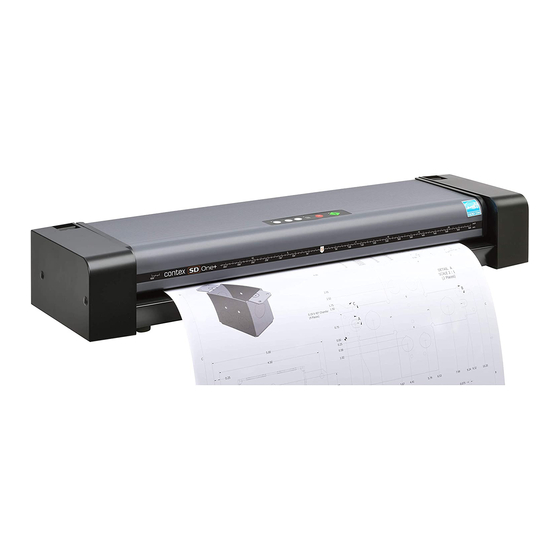
SD One+/MF Work Instruction
T10 screwdriver
T20 screwdriver
Disconnect power from the scanner.
1.
Follow this procedure if the Lid
Sensor is not working correctly
and it is visibly not central in the
chassis.
2.
Depress the latch levers at both
ends of the scanner.
NOTE: This work flow is exactly the same for the SD
One+ and the SD One MF, unless otherwise indicated.
3.
Raise the CIS Bridge Unit.
4.
Remove screws (3 x T20) in both
ends of the CIS bridge.
5.
Open the CIS Bridge.
June 2018
Advertisement

Related Manuals for Contex SD One+


Summary of Contents for Contex SD One+
- Page 1 SD One+/MF Work Instruction Tools required: T10 screwdriver T20 screwdriver Prerequisite Disconnect power from the scanner. Re-positioning the Lid Sensor Follow this procedure if the Lid Sensor is not working correctly and it is visibly not central in the chassis.
- Page 2 SD One + Technical Instructions SD One+ Version Remove 3 x T10 screws. Lift the Controller Board up as much as possible without damaging any cables. (NOTE: There is no need to remove any cables for this procedure) Remove the 2 x T10 screws from the sensor bracket.
- Page 3 SD One + Technical Instructions Lift the sensor bracket and check for the correct. The brackets should have the sides parallel to each other. Correct Incorrect Carefully press the side together until they are parallel. Do not press so hard so as to distort the bracket too much.
- Page 4 SD One + Technical Instructions (SD One +) Refit the Controller Board into the retaining clips, and replace the 3 x T10 screws. Close the CIS Bridge. Refit the 3 x T20 screws at both ends of the CIS Bridge. Close the CIS Bridge down.