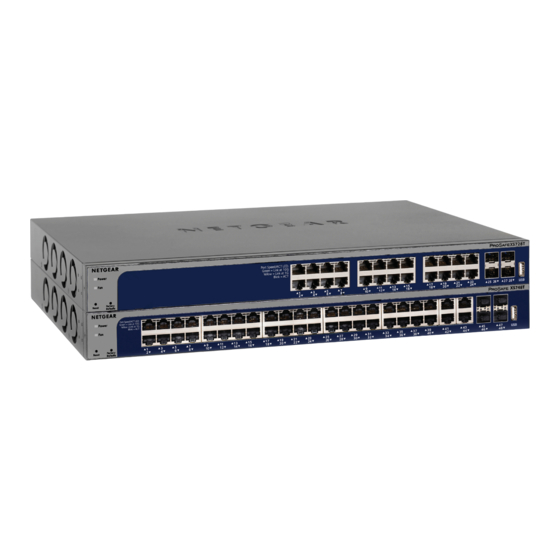
NETGEAR XS728T Installation Manual
28-port and 48 port 10-gigabit copper smart managed pro switch with 4 sfp+ ports
Hide thumbs
Also See for XS728T:
- User manual (373 pages) ,
- Software administration manual (204 pages) ,
- Hardware installation manual (31 pages)
Advertisement
Quick Links
Installation Guide
28-Port and 48 Port 10-Gigabit Copper Smart
Managed Pro Switch with 4 SFP+ Ports
Models XS728T and XS748T
Package contents
•
Switch
•
Power cord
•
Rubber footpads for tabletop installation
•
Rack-mount kit for rack installation
•
Installation guide
Note:
For more information about installation, see the hardware installation guide, which
you can download from netgear.com/support/.
Connect the switch to your network
Note:
If you are using static IP addresses in your network, configure the switch
IP address before you connect the switch to a network. See
with a static IP
address.
1. Connect the computer or device to an RJ-45 network port on the switch front
panel.
Use Category 5e (Cat 5e) or higher speed Ethernet cable (Cat 6, Cat 6a, or
Cat 7) terminated with an RJ-45 connector to make 10-Gigabit connections.
2. Connect one port on the switch to a network router that provides Internet
connectivity.
Note:
If you use an SFP port, you must insert an SFP transceiver module,
which is available from NETGEAR.
3. Power on the switch.
Note:
We recommend Cat 6a or Cat 7 cables if the cable distance is greater
than 45 m (148 ft).
XS728T
Discover and register the switch
XS748T
If the switch is connected to a WiFi router or access point and to the Internet, you can use
the NETGEAR Insight app to discover the switch in your network, register the switch with
NETGEAR, and activate your warranty.
1. On your mobile device, visit the app store, search for NETGEAR Insight, and
download the latest version of the app.
2.
Connect your mobile device to the same WiFi network as the switch.
3.
Open the NETGEAR Insight app.
4.
If you did not set up a NETGEAR account, tap Create NETGEAR Account and follow
the onscreen instructions.
Enter the email address and password for your account and tap LOG IN. After you log
5.
in to your account, the switch displays in the devices list.
6.
Tap + in the upper right corner.
7.
Either use the camera on your phone to scan the bar code located on the bottom of
the switch, or enter the serial number.
8.
Tap Go.
Configure the switch
9.
Follow the onscreen instructions to add your switch to a network location.
10. The switch is registered and added to your NETGEAR account. You can now view and
monitor the switch.
Note:
Models XS728T and XS748T Smart Managed Pro switches are not Insight
manageable.
Configure the switch with a static IP address
Note:
If your network uses a DHCP server, this section does not apply.
If you are using static IP addresses in your network, configure the switch IP
address before you connect the switch to a network.
1. Configure a computer with a static IP address in the 192.168.0.x subnet.
2. Power on the switch, and connect your computer to the switch using an
Ethernet cable.
3. Open a web browser and enter 192.168.0.239 in the address bar.
(The default IP address of the switch is 192.168.0.239.)
A login page displays.
4. Enter password for the password.
The System Information page displays.
5. Select System > Management > IP Configuration. Select the Static IP
Address radio button.
6. Enter the static IP address, subnet mask, and default gateway IP address that
you want to assign to the switch and click the Apply button.
Advertisement

Summary of Contents for NETGEAR XS728T
- Page 1 Follow the onscreen instructions to add your switch to a network location. with a static IP address. 10. The switch is registered and added to your NETGEAR account. You can now view and 1. Connect the computer or device to an RJ-45 network port on the switch front monitor the switch.
- Page 2 Other discovery and configuration methods The NETGEAR Switch Discovery Tool and the Smart Control Center utility let you discover the IP address and configure the switch. • NETGEAR Switch Discovery Tool. You can use a Mac or a 64-bit Windows- based computer on the same network as the switch.


