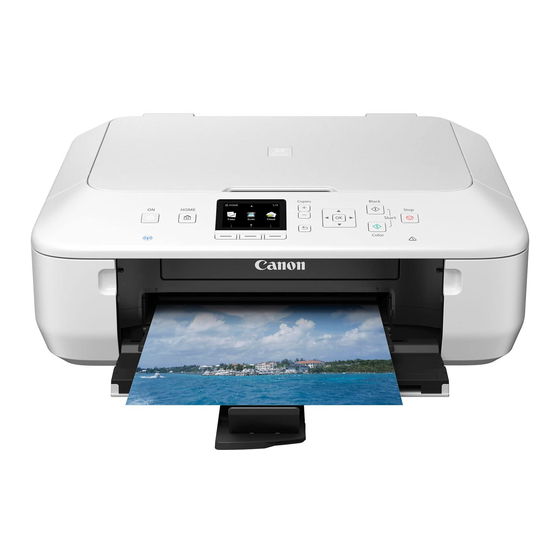
Canon PIXMA MG5520 Manual
Installing your multifunction to your network for the first time
Hide thumbs
Also See for PIXMA MG5520:
- Manual (8 pages) ,
- Quick start manual (4 pages) ,
- Menu manual (34 pages)
Table of Contents
Advertisement
Quick Links
Advertisement
Table of Contents

Related Manuals for Canon PIXMA MG5520


Summary of Contents for Canon PIXMA MG5520
- Page 1 Installing Your Multifunction to Your Network for the First Time PIXMA MG5520 Windows OS...
- Page 2 Installing Your Multifunction to Your Network for the First Time PIXMA MG5520 Windows OS Preparing to Connect My Multifunction to My Network Network Requirements Notes on Wireless Connection Installing the Drivers & Software...
- Page 3 Preparing to Connect the Multifunction To the Network Network Requirements Before connecting the machine to the network, make sure that configuration of the computer and access point or router is complete, and that the computer is connected to the network. Wireless Connection Before connecting the machine to the network, the computer needs to be connected to the network.
- Page 4 Preparing to Connect the Multifunction To the Network An "Ad-hoc connection," which establishes a direct connection to the computer over a wireless connection without using an access point, is not supported. Notes on Network Connection • The configuration, router functions, setup procedures and security settings of the network device vary depending on your system environment.
- Page 5 Setup CD-ROM during restarting. The installation resumes once your computer has restarted. • If the firewall function of your security software is turned on, a warning message may appear that Canon software is attempting to access the network. If such a warning message appears, set the security software to always allow access.
- Page 6 Installing the Drivers & Software To set up the PIXMA MG5520 to your wireless network, you must first install the software to your computer. To begin the setup procedure, insert the Setup CD-ROM into your computer.* The setup program will start automatically. The setup instructions presented in this document describe the “Cableless Setup” method which does not require the need to know the SSID (network name), or network passphrase and does not require the printer to be temporarily connected to the computer with a USB cable.
- Page 7 Installing the Drivers & Software Click Next on the initial screen...
- Page 8 Installing the Drivers & Software On the Connection Method Selection screen (1-1) Continue to follow on-screen instructions. Select Connect to the select Wireless Connection. network when the Printer Setup (2-1) screen appears.
- Page 9 Installing the Drivers & Software Continue to follow on-screen instructions. Carefully follow the instruction to select the WLAN icon and Press the HOME button on the printer then click Next. Wireless LAN setup on the printer. Then , click Next on the Printer Setup (2-3) screen.
- Page 10 Installing the Drivers & Software Continue to follow the on-screen instructions until the Setup Procedure Selection screen (3-1) appears. If your printer’s LCD screen is the same as that shown above Push Button Method on the Setup Procedure Selection screen (3-1), press the printer’s Stop button. Once your printer’s screen is the same as that shown above Other Methods, click Other Methods.
- Page 11 Installing the Drivers & Software Select Other setup on Setup Procedure Selection screen (3-2) and then Cableless setup on Setup Procedure Selection screen (3-3). 11 11...
- Page 12 Installing the Drivers & Software Select Other setup on your printer and press the OK button. Select Cableless setup on your printer and press the OK button. Click Next on the Connection via Cableless setup screen (4-1). Click Next on the Connection via Cableless setup screen (4-2). 12 12...
- Page 13 Installing the Drivers & Software Press the OK button on your printer. Click Next on the Connection via Cableless setup screen (4-3) 13 13...
- Page 14 Installing the Drivers & Software Continue following on-screen instructions. On the Software Installation List, select *software to install and click Next. *MP Drivers is required and cannot be deselected. We recommend installing My Image Garden and Quick Menu to take full advantage of the printer’s features.
- Page 15 Installing the Drivers & Software Continue following on-screen instructions. When the Setup Completion dialog box appears, click Complete. At this point, setup of the printer and network is complete. Continue to follow any remaining on-screen instructions to finish and exit the setup program.