Advertisement
Quick Links
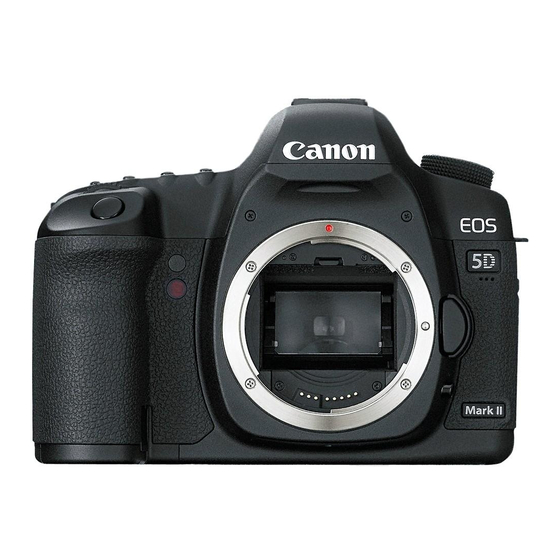
SMART GUIDE: Shooting movies with the Canon 5D Mark II
•
Insert battery and turn camera on
•
Set shooting mode to CA ( Creative Auto )
SETUP MENU #2
•
LCD brightness set to Manual (4)
•
Set the date and time and the operating language
•
Video system must be NTSC for North American video
•
Sensor cleaning - enable auto cleaning
•
Enable Movie recording
•
select Live View/ Movie func. set
•
Movie Recording to Enable
•
Grid Display to off
•
AF Mode to Quick Mode
•
Movie Rec. Size to 1920 x 1080 (24)
•
Sound Recording to On.
SETUP MENU #1
•
increase the time for Auto Power off or turn it OFF.
•
format the CF card
Shooting Mode
Live View
Picture Style
Playback
SHOOTING A MOVIE
•
Press the Live View button to the left of the viewfinder
•
Focus your subject with Auto Focus
•
set focus switch on lens to AF ( auto focus )
•
press and hold the AF-ON button to activate auto focus. hold this button until you see
one or more red lights on the dark screen. The image will reappear in focus.
•
Focus your subject with Manual Focus
•
Use the Magnify by 5X / 10X to "zoom" in on your subject.
•
Manually adjust the focus ring on the lens
•
Press the "Set" button of the back wheel to start and stop recording your movie.
The LCD Brightness setting is
d e s i g n e d t o m a k e t h e
camera adjust to the lighting
in your environment. This
can be problematic when
t r y i n g t o m a ke c r i t i c a l
exposure adjustments.
Therefore, it's a good idea
to change this setting from
Auto to Manual and move
the adjustment slider to the
center setting, which is 4.
Auto Focus
Magnify
Multi Selector
Select / Set
Movie Start / Stop
Advertisement

Summary of Contents for Canon 5D Mark II
- Page 1 SMART GUIDE: Shooting movies with the Canon 5D Mark II • Insert battery and turn camera on • Set shooting mode to CA ( Creative Auto ) SETUP MENU #2 • LCD brightness set to Manual (4) • Set the date and time and the operating language •...
- Page 2 CHANGING THE BRIGHTNESS OF THE IMAGE IN CA MODE • turn off Live View to see the CA quick menu and use the multi selector to choose Exposure:Darker < - > Brighter. Use the back wheel to adjust the exposure PICTURE STYLES - S ( standard: vivid,sharp and crisp )•...
- Page 3 SMART GUIDE: Using the Roland 026 for recording dual system sound The tiny mic on most DSLR cameras do not record very good audio and sometimes the sound of data being written to the card will also be recorded on the movie file. To enable us to have better sound and to allow us to use a variety to microphones, we will record our audio with the Roland 026 recorder.
- Page 4 SYNCHRONIZING CLIPS IN FINAL CUT PRO X 1. SYNCING YOUR AUDIO AND VIDEO FILES AUTOMATICALLY • You must do this before editing • choose the 2 files ( 1 audio, 1 video ) to sync up ( CMMD-click to do multiple selections ) •...


