Table of Contents
Advertisement
Quick Links
Advertisement
Table of Contents

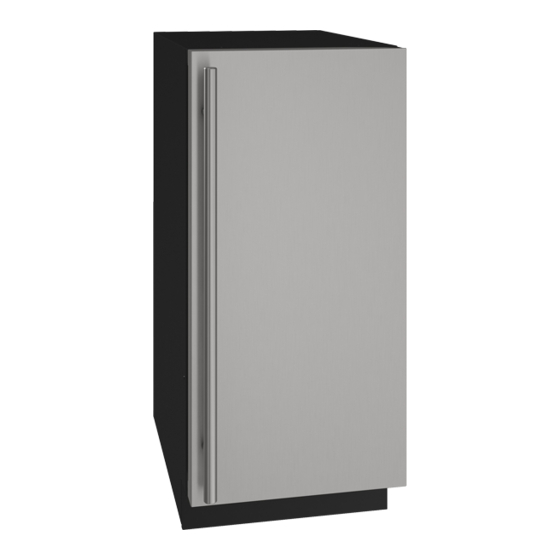
Summary of Contents for U-Line Nugget
- Page 1 QUICK START GUIDE Nugget Ice Machine • ADA, 1 & 3 Class 30635 Rev_A...
- Page 2 U-Line Customer Care must be contacted immediately at +1.800.779.2547. Service or repairs performed on the unit without prior written approval from U-Line is not permitted. If the unit has been altered or repaired in the field without prior written approval from U-Line, claims will not be eligible.
-
Page 3: Table Of Contents
For more details, see the complete User Guide & Service Manual on u-line.com. 1 year + 1 with registration This product is eligible for an additional one-year warranty at no charge when you register your product on u-line.com. See complete warranty for details. -
Page 4: Safety And Warning
QUICK START GUIDE u-line.com Safety and Warning DANGER NOTICE This unit contains R600a (Isobutane) which is a Please read all instructions before installing, flammable hydrocarbon. It is safe for regular operating, or servicing the appliance. use. Do not use sharp objects to expedite defrosting. -
Page 5: Environmental Requirements
QUICK START GUIDE u-line.com Environmental Requirements NOTICE Electrical installation must observe all state and local codes. This unit requires connection to a This model is intended for indoor/interior applications only grounded (three-prong), polarized receptacle and is not to be used in installations that are open/ that has been placed by a qualified electrician. -
Page 6: Water Hookup
The water valve uses a standard 1/4" (6.35 mm) is under pressure at all times. Plastic may crack compression fitting. U-Line recommends using accessory or rupture with age and cause damage to your water hook up kit – part # 80-54674-00. The kit includes a home. - Page 7 QUICK START GUIDE QUICK START GUIDE u-line.com u-line.com 3. Thread water line through back panel hole (with bushing). 4. Locate water valve inlet and connect to valve. 5. Turn on water supply and check for leaks. 6. Reinstall back panel.
-
Page 8: Drain
DRAIN CONNECTION CAUTION With Trap and Vent Proper Drain If your U-Line unit did not come with a factory installed drain pump you must use a gravity A gravity drain may be used if: style drain connection. For assistance in Drain line has at least a 1"... -
Page 9: Door Swing
(Optional Hook-Up) spigot assembly, or does not otherwise meet the requirements for a gravity drain, you may have ordered a pre-installed U-Line P60 drain pump. Waste If you need to install a P60 drain pump into your unit, see Valve DRAIN PUMP section in the User Manual. -
Page 10: Door Adjustments
QUICK START GUIDE QUICK START GUIDE u-line.com u-line.com Door Adjustments REVERSING THE DOOR 1. Open door. 1 CLASS AND 3 CLASS 2. Using T-25 Torx bit loosen screw #1 and remove screw DOOR ALIGNMENT AND ADJUSTMENT #2 on top and bottom hinge. Slide and remove the Align and adjust the door if it is not level or is not sealing door from unit. - Page 11 QUICK START GUIDE QUICK START GUIDE u-line.com u-line.com Door Adjustments 6. Tighten top hinge screws and replace hinge cover. ADA COLLECTION TO REVERSE THE DOOR HINGE COVER Hinge cover included with the literature bag is optional. To install hinge cover: 1.
- Page 12 QUICK START GUIDE QUICK START GUIDE u-line.com u-line.com 4. Remove three screws from hinge holes on the opposite Install top hinge and door: side. Reinstall into holes where the hinge was 1. Install hinge with longer straight edge aligned to removed.
-
Page 13: General Installation
QUICK START GUIDE QUICK START GUIDE u-line.com u-line.com General Installation INSTALLATION 1. Plug in the power/electrical cord. LEVELING INFORMATION 1. Use a level to 2. Gently push the unit into position. Be careful not to confirm the unit is entangle the cord or water and drain lines, if level. -
Page 14: Integrated Panel Installation
A robust adjust panel as necessary. Tighten screws upon tape may also be completion. used. U-Line recommends the 12.Starting at the corners, re-install the gasket into the use of bar clamps Door/Drawer gasket channel in the frame. -
Page 15: Control Operation
QUICK START GUIDE USER GUIDE u-line.com u-line.com Control Operation 3 CLASS CONTROL FUNCTION GUIDE FUNCTION COMMAND NOTES ON/OFF Press and release Unit will immediately turn On or OFF Adjust ice density See “Ice” section Option Open Door While holding press and release... - Page 16 USER GUIDE QUICK START GUIDE u-line.com u-line.com Control Operation 1 CLASS & ADA COLLECTION CONTROL FUNCTION GUIDE FUNCTION COMMAND NOTES ON/OFF Press and release Unit will immediately turn On or OFF Adjust ice density See “Ice” section The o F / o C symbol will flash briefly after 5 seconds.
-
Page 17: First Use
If the machine consistently requires more frequent cleaning, consult a plumber to test the water quality and recommend appropriate treatment. The Nugget Ice Machine produces cylindrical bits of Under normal conditions cleaning should be done compressed ice approximately 3/4” x 1/2”. - Page 18 QUICK START GUIDE u-line.com When appears in the display, 3 soft tones will sound, indicating the cleaning phase is complete a. Remove and discard water filter if applicable by rotating 1/4 turn counterclockwise. Press and Hold for 10 seconds b. Use the remaining cleaning solution to wipe the will appear in the display manifold and surrounding area.
-
Page 19: Warranty
For products installed and used for normal residential use, material cosmetic defects are included in this warranty, with coverage limited to 60 days from the date of original purchase. All service provided by U-Line under the above warranty must be performed by a U-Line factory authorized servicer, unless otherwise specified by U-Line.


