Table of Contents
Advertisement
Quick Links
Advertisement
Table of Contents

Related Manuals for Bosch PIU8 K17E Series


Summary of Contents for Bosch PIU8 K17E Series
- Page 1 PIU8..K17E Full surface induction cooktop [en] Instruction manual...
-
Page 2: Table Of Contents
Produktinfo Elements that may damage the appliance ........4 Environmental protection ............4 Additional information on products, accessories, replacement parts and services can be found at www.bosch-home.com and Environmentally-friendly disposal.............4 in the online shop www.bosch-eshop.com Tips for saving energy ...............4 Induction cooking ..............5 Advantages ..................5... -
Page 3: Safety Precautions
: Safety precautions Please read this manual carefully. Please Risk of fire! keep the instruction and installation manual Hot oil and fat can ignite very quickly. ■ as well as the appliance certificate in a safe Never leave hot fat or oil unattended. place for later use or for subsequent Never use water to put out burning oil or owners. -
Page 4: Elements That May Damage The Appliance
A defective appliance may cause electric paper, since they could damage the fan or ■ shock. Never switch on a defective interfere with the cooling if they are sucked appliance. Unplug the appliance from the into it. mains or switch off the circuit breaker in There should be a minimum of 2 cm the fuse box. -
Page 5: Induction Cooking
Induction cooking Advantages Unsuitable cookware Never use cookware made of conventional steel,glass, With induction cooking, the heat is generated directly in the pan ceramic, copper or aluminium. base. This has many advantages: Time saved when cooking and roasting. The cookware is Checking the cookware ■... -
Page 6: Getting To Know Your Appliance
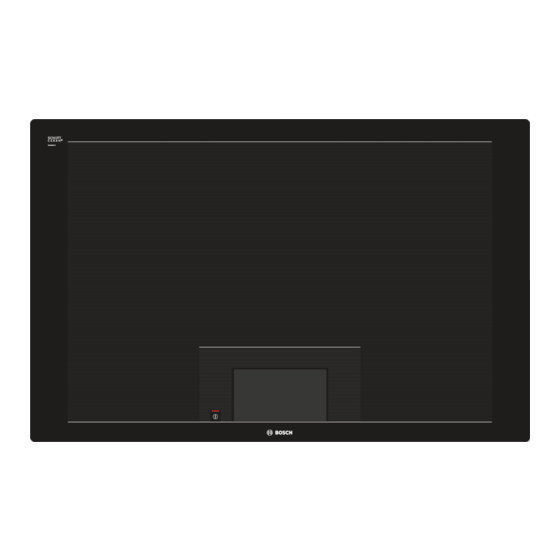
Getting to know your appliance Operating controls and displays The hob has full area induction. You can place the cookware 1 Detected hotplate anywhere on the entire usable cooking surface. The position, 2 Hotplate switched on size and shape of the cookware used is automatically detected. 3 Hotplate switched on with activated timer Note: Only 2 hotplates may be used at the same time on each side of the hob. -
Page 7: Scroll Function
Scroll function Cooking position switched on With the scroll function, you can change different adjustment The displayed cooking position has values such as power levels, cooking duration and time, as well been switched on. The set power level as other values in the Options menu. lights up in the display. -
Page 8: Settings Table
In the next 3 seconds, slide your finger to the left and set the Setting the power level desired power level. Touch the symbol. Ñ The hob must be switched on. Place cookware on the cooking surface. Touch the cookware symbol in the display. 0.0 lights up in the display. -
Page 9: Powerboost Function
Power level Ongoing cook- ing time in min- utes Escalope, plain or breaded 6.0 - 7.0 6 - 10 min. Escalope, frozen 6.0 - 7.0 8 - 12 min. Cutlet, plain or breaded 6.0 - 7.0 8 - 12 min. Steak (3 cm thick) 7.0 - 8.0 8 - 12 min. -
Page 10: Timer
Timer With the timer, you can switch a cooking position off automatically after a set cooking time. Setting a cooking time The cooking position must be selected and the power level set. Touch the symbol. The set cooking time has been applied. The cooking time starts conunting down in the display. -
Page 11: Transferring Settings
Transferring settings Short-term memory Place the cookware at another position on the cooking surface within the duration of the short-term memory. The As soon as you lift the cookware or move it on the cooktop, all new cooking position is detected. settings of the cooking position are saved for a short time (10- 90 seconds). -
Page 12: Child Lock
Child lock You can use the child lock to prevent children from adjusting To switch on: Touch the symbol and then the “child the cooktop. lock” display area. The hob is locked. To switch off: Touch the symbol and then the “Switch off” Note: If a cooking position is switched on, the child lock is not display area. -
Page 13: Changing Settings
Setting Description / Options Child lock Using the child lock, you can lock the hob, thus preventing children from using it without permis- sion. Manual* - The child lock must always be switched on and off manually ■ Automatic - The child lock is always activated automatically when you switch the hob off ■... -
Page 14: Setting The Display Brightness
Setting the Display Brightness With this option, you can change the brightness of the Touch display. Touch the symbol. The Options menu is displayed. Slide your finger up or down and select the option “Display Brightness” using the scroll function. The display to set the brightness of the Touch display appears. -
Page 15: Tips
To close the notes, touch the display area. Ñ Notes Warnings are displayed with a red line. ■ For some warnings, an error code is displayed (e.g.: [C3]) ■ If necessary, specify the error code when you contact the after- sales service. -
Page 16: Demo Mode
Problem Remedy The hotplate cannot be adjusted. Only 2 hotplates can be in operation on each side of the hob. An item of cookware in the centre of the hob occupies one hotplate on each side of the hob. You can only set one other hotplate for each side of the hob. The cookware may not be suitable for induction cooking. - Page 20 Robert Bosch Hausgeräte GmbH Carl-Wery-Straße 34 81739 München Germany www.bosch-home.com *9000895847* 932506 9000895847...