Table of Contents
Advertisement
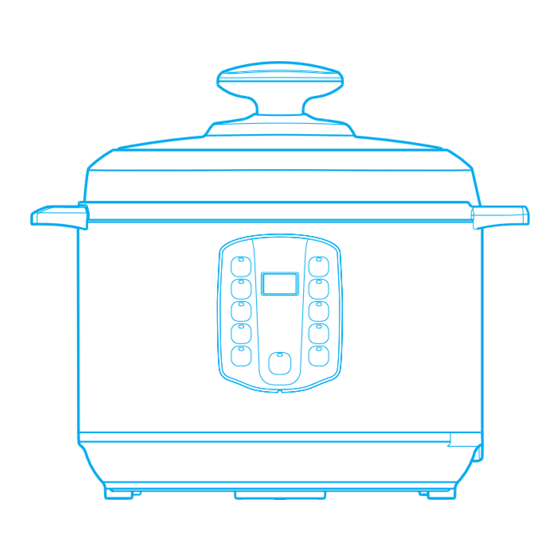
Electric Pressure Cooker
Model:
MY-12LS605A
(
Pictures are for reference only, actual
product may differ from pictures shown.)
Please read and understand the instruction manual before using and keep it safely for your future reference.
Table of Contents
03
04
05
06
06
06
07
07
07
08
10
10
10
11
12
Advertisement
Table of Contents

Summary of Contents for Homemaker MY-12LS605A
-
Page 1: Table Of Contents
Electric Pressure Cooker Table of Contents Important Safeguards Model: Specifications Product Diagram MY-12LS605A Notice Prior to Use Cooking Preparation Function Selection Safe Cover Opening Cooking Examples Timer Function Keep-warm Function Care and Maintenance Safety Cautions Cautions Cleaning Storage Circuit Diagram Pictures are for reference only, actual product may differ from pictures shown.) -
Page 2: Important Safeguards
25.This appliance is for household use only. Do not use outdoors. Specifications Warm Working Volume Calibero f Power Supply Model Power Temperature pressure inner pot MY-12LS605A 240V~50Hz 1000W 22cm 70kPa 60° C 80° C Power Cord Components Rice Scoop Soup Scoop Manual Measuring Cup... -
Page 3: Product Diagram
Product Diagram Structure diagram of floate valve Safety eye Exhaust valve Handle cover Upper cover handle Warm tip: 1.Before use each time ,be sure to inspect the float valve anti-block shied and gasket Handle cover Anti-block shield for mounting 2.Before putting the inner pot to exterior Special lid pot, be sure to... -
Page 4: Notice Prior To Use
Notice Prior to Use Before first use, please take out all accessories from the cooker body and read the User manual carefully, special care must be given to safety instructions and cautions to avoid any damage to property and/or injury. Operation Section Display Screen “Start/Cancel”... -
Page 5: Cooking Preparation
Cooking Preparation Open the cover correctly Before first use, please take out all accessories from the cooker body and read the User Manual carefully. Special care must be given to use directions and cautions to avoid any damage to property and/ or injury. Hold the cover handle firmly with a hand, rotate the cover to the opening position in the clockwise direction and lift the cover. -
Page 6: Function Selection
Function Selection General Functions 1.Refer to display setting instructions on Page 4 Warm Tips: 2.Switch on In any mode, you can cancel current The LED flashes and displays a red horizontal working state and return to standby state by pressing the “Start/Cancel” key. line “---”, indicating that the electric pressure cooker During operation, the machine may has entered preparation state;... -
Page 7: Safe Cover Opening
(To cancel the operation, press the“Start/Cancel”key) Press”Timer”key to set end time of cooking MY-12LS605A unit is equipped with 24-hour preset function (except Sauté, Slow cook),which can be operated as follows; ... -
Page 8: Keep-Warm Function
Keep-warm Function After cooking, the electric pressure cooker goes into the warm state automatically; in the warm state, the warm indicator is bright, and “0H” is shown on the display screen; You can also in standby perform the warm function by pressing the “Keep Warm”... -
Page 9: Cautions
Cautions CAUTIONS Please use a 240V-50Hz socket A socket shall be used independently. Please use an individual Fire or electric shock may AC 240V socket with earthed wire of occur if 240V AC- 50Hz is not used. more than 10A rated current; Joint use of the same socket with other appliance may cause unusual heat and fire. - Page 10 Cautions CAUTIONS Do not insert and pull off When removing the plug, be the plug with wet hand sure to pinch the plug handle When pulling out the plug, May cause electric shock. be sure to pinch the plug handle; Never pull the power cord as this may cause damage to the power cord and...
-
Page 11: Cleaning
Cleaning 1.After each use, give timely cleaning of the product. 2.Before cleaning, unplug the unit and carry out cleaning and maintenance after the product cools down completely. 3.Take out the cover and inner pot, wash them with a detergent, rinse with fresh water and then wipe them dry with a soft cloth. -
Page 12: Troubleshooting
Troubleshooting The following unusual cases are not completely caused by mechanical failures. Please carry out a careful examination before sending the unit for repair. Problem Possible Reason Solution Gasket not positioned well Locate the gasket well Difficult to close the cover Push the push rod lightly with Push rod jammed by float valve a hand... -
Page 13: Warranty Card
Warranty Card... - Page 14 Special Declaration Addition: Any technical improvements shall be placed in the revised manual without notice; for any changes in appearance and color, those of the actual product shall prevail.