Table of Contents
Advertisement
Quick Links
Advertisement
Table of Contents

Related Manuals for Westinghouse WRC604WC


Summary of Contents for Westinghouse WRC604WC
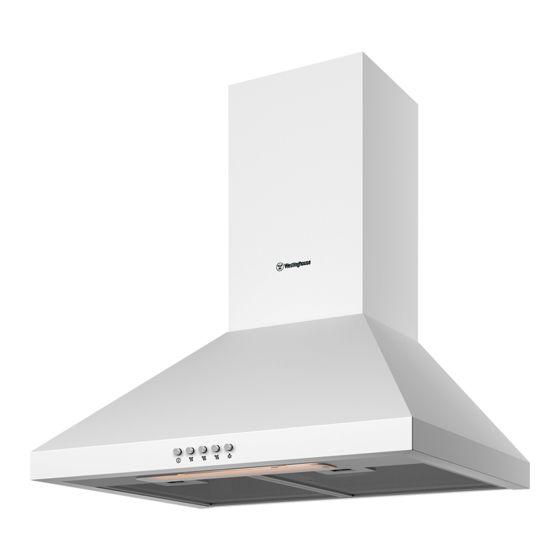
- Page 1 CANOPY RANGEHOOD WRC604WC...
-
Page 2: Table Of Contents
Products must be used, installed and operated in accordance with this manual. You may not be able to claim on the Westinghouse manufacturer’s warranty in the event that your product fault is due to failure to adhere this manual. -
Page 3: Important Safety Instructions
IMPORTANT SAFETY INSTRUCTIONS... - Page 4 IMPORTANT SAFETY INSTRUCTIONS(CONTINUED) Electrical connection Check that the mains voltage matches with the voltage on the data plate inside the canopy rangehood. This appliance is not intended for use by persons (including children) with reduced physical, sensory or mental Check that the installation complies with standards of local capabilities, or lack of experience and knowledge, unless building, gas and electrical authorities.
-
Page 5: Description Of Your Rangehood
PRODUCT DESCRIPTION WRC604WC Flue cover mounting bracket Top flue cover Bottom flue cover Exhaust duct (source locally) Damper Hood body 2 Filter Fig.3 Technical specification Additional items required for installation Fixings required to attach rangehood body and Power supply: AC 220~240V 50Hz. Connects to 10 A... -
Page 6: Rangehood Dimensions
RANGEHOOD DIMENSIONS Fig.4 DIMENSIONS... -
Page 7: Installation
INSTALLATION Pre-installation Installation Before installing the rangehood, peel off any protective Using a spirit level mark a vertical centre line on coating and remove the filters. the wall where the hood is to be positioned, and a horizontal line at the hood base position. Location NOTE: The height of the underside of the hood body must be a minimum of 600mm* to a maximum height... - Page 8 INSTALLATION Depending on the preferred installation/ducting mode, Install flue cover wall mounting brackets with follow step 6a or 6b below. suitable fasteners. Suitable fasteners must be used for rangehood mounting points . Refer to Fig.5 for dimensions. Recirculating mode(Fig.9) If installation is for recirculation mode refer to Item 6a and Fig.9.
- Page 9 INSTALLATION Slide flue cover to upper position and fix with Ducted mode (Fig.11) insert flexible pipe and secure flue screws provided . tape to air outlet with suitable duct tape. NOTE:f or ducted mode we recommended to extend the flue pipe through the roof cladding(with appropriate flashing) to an external roof cowl, venting the exhaust externally.
-
Page 10: Using Your Rangehood
CARE & MAINTENENCE USING YOUR RANGEHOOD Best results are obtained by using a low speed for normal conditions and high speed when odours are concentrated. External surfaces are susceptible to scratches and Turn on the hood on a few minutes before you start abrasions, so please follow the cleaning instructions cooking. -
Page 11: Care & Maintenance
CARE & MAINTENANCE Hand washing Changing the LED lamps Soak grease filter for about one hour in hot water with If LED lamps need replacing, they must be replaced by a grease-loosening cleaner, then rinse off thoroughly lamps as stated in the technical specifications. with hot water. -
Page 12: Troubleshooting
TROUBLESHOOTING GUIDE PROBLEM SOLUTION Check that the hood is connected to an electrical supply The cooker hood does not start Check that a fan speed has been selected Check that a fan speed is set high enough for the task The grease filters are clean The kitchen is adeqeuatly vented to allow the entry of fresh air Poor extraction... - Page 16 NEW ZEALAND phone: 0800 10 66 20 email: customercare@electrolux.co.nz web: westinghouse.co.nz and WESTINGHOUSE are trademarks of Westinghouse Electric Corporation. Used under license. All Rights Reserved. © 2020 Electrolux Home Products Pty Ltd ABN 51 004 762 341 HYT08VN18041 WMAN FAC WRC604WC MAY 20...