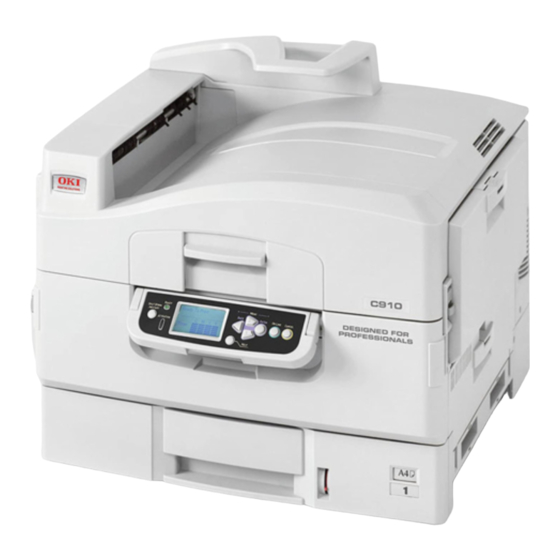
Oki C910 Manual
How to remove jammed paper
Hide thumbs
Also See for C910:
- Service manual (282 pages) ,
- User manual (112 pages) ,
- Setup manual (56 pages)
Summary of Contents for Oki C910
- Page 1 How to remove Jammed Paper C910/C910dm/C920wt/C9600/C9650/ C9655/C9800/C9850/C9800mfp/ C9850mfp/ES3640/ES3640a3/ES3640e/ ES9410/ES9410dm/ES9420wt Rev.1...
-
Page 2: Paper Jams
Paper Jams Paper jams occasionally occur due to paper misfeeding from a paper tray or at any point on the paper path through the printer. When a jam occurs, the printer immediately stops and the ATTENTION LED on the Operator Panel informs you of the event. For example: This document explains how to clear them quickly and simply. - Page 3 Error codes and Location Refer to the table below to find the location of the paper jam Error Code Location on Printer Refer to Page Duplex Unit Duplex Unit Duplex Unit Duplex Unit Side Cover Inside Printer Inside Printer Inside Printer/Duplex Unit Inside Printer Multi Purpose Tray Paper Tray 1...
- Page 4 Error 370, 371, 372, 373 & 383 A paper jam has occurred in the Duplex Unit. When you can see the bottom edge 1. If a Finisher unit is attached to your printer unit, press the lever to separate the Finisher unit from the printer.
- Page 5 6. The duplex is in two sections, Front Top Cover 9. To unlock the duplex rear cover, grip the (A) and Rear Top Cover (B). Follow the cover in the middle and push it inwards until instruction below to remove the jammed paper. the notch slides out from the locking position.
- Page 6 Error 380, 381, 382, 383 & 384 A paper jam has occurred inside the printer or failed to exit completely from the printer. 1. Pull the handle at the side of the scanner unit 3. Grip the image drum handle and squeeze tight and raise it up.
- Page 7 6. If paper is jammed in the fuser unit, push the 9. If paper is jammed near the paper exit, open lock lever in the direction of the arrow (1) to the face-up stacker(1) then the inside side cover release the unit. Then holding onto the handle (2).
- Page 8 12. Lower the image drum basket into position and check it is locked. 13. Close the top cover and ensure it is latched closed. 14. Lower the scanner unit.
- Page 9 Error 390 A paper jam has occurred near the Multi Purpose Tray. 1. If in use, close the Multi Purpose Tray. 4. Close the side cover. 2. Lift the release lever up and pull open the side 5. The Multi Purpose Tray can be opened again cover.
- Page 10 Error 391, 392, 393, 394, 395, 400 & 401 A paper jam has occurred while feeding paper from a paper tray. 1. Check the paper in the tray, or the printer for a 4. Carefully remove the jammed paper. multi-feed or incorrect size of paper. NOTE: The following instructions show how to remove jammed paper from Paper Tray 1 however the basic principles are the same for...
- Page 11 Reversing Automatic Document Feeder (RADF) A paper jam has occurred in the scanner 1. Press down the ADF release button and open 4. Pull the release button (1) in the direction of the front cover. the arrow and remove the jammed paper (2). 2.


