Advertisement
Advertisement
Table of Contents

Related Manuals for Nikon Eclipse E600W


Summary of Contents for Nikon Eclipse E600W
- Page 1 M189 E 03.7.VF.3 E600W/E600/E400 Teaching Head/Multi Teaching Head Instructions...
-
Page 2: Warning/Caution Symbols Used In This Manual
E600W/E600/E400 Teaching Head/Multi Teaching Head. To ensure correct usage, read this manual carefully before operating the instrument. • It is prohibited to reproduce or transmit this manual in part or whole without Nikon’s expressed permission. • The contents of this manual are subject to change without notice. -
Page 3: Warning
Then use a dry cloth to wipe away the moisture. If any liquid gets inside the instrument, do not use it; instead, notify your dealer or nearest Nikon representative. 3. Precautions for assembly... -
Page 4: Notes On Handling The Instrument
ND filters inserted in the microscope main unit (main observer’s section). However, depending on the accessories being used, adequate brightness may not always be obtained. Please consult your dealer or nearest Nikon representative before using accessories. 5. Pointer and AC adapter The AC adapter to be connected to the pointer should always be the one provided with the pointer. -
Page 6: Table Of Contents
Contents Warning/Caution Symbols Used in This Manual ........1 WARNING ..................2 CAUTION ..................2 Notes on Handling the Instrument ............3 Components of the System ............6 Microscopy..................8 Assembly ..................10 Troubleshooting ................. 17 Care and Maintenance ............... 18 Specifications ................ -
Page 7: Components Of The System
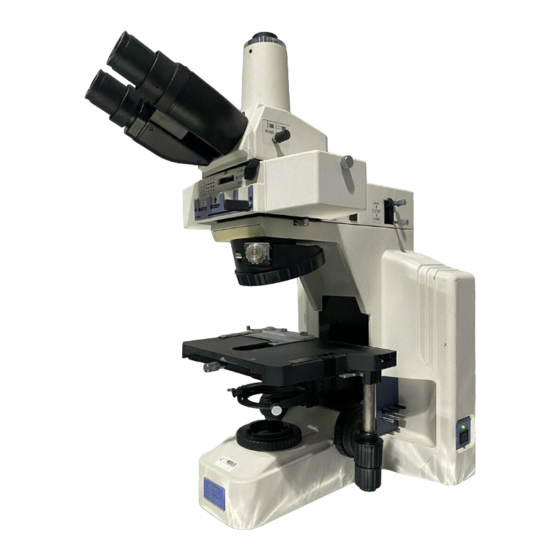
For details on assembling and handling the microscope, see the instruction manual supplied with the microscope. This attachment can be mounted on the ECLIPSE E600W, E600 or E400 microscope. Note that the illustrations in this manual shows the ECLIPSE E600 microscope for convenience. (The microscopes ECLIPSE E800 and E1000 only allow mounting of the dual-viewing (side-by-side) attachment. - Page 8 I. Components of the System Triple-viewing This model allows two secondary observers to be positioned face-to-face on either the left or right side of the main observer during the observation. This model can also be mounted on the inverted microscopes TE300 and TE200 with the separately available components.
-
Page 9: Microscopy
Microscopy If the system has not yet been assembled, see section “III. Assembly” first. For details on assembling and handling the microscope, see the instruction manual supplied with the microscope. Depending on the type of set you have purchased, some of the components described below may not be included. - Page 10 II. Microscopy Using the pointer Arrow brightness control (also functions as Lamphouse cover the ON/OFF switch) Allow the lamp to cool Turn the control clockwise to before replacement increase arrow brightness. (p.16). Turn it counterclockwise until it Before replacing the clicks to turn OFF the power lamp, turn the arrow and to make the arrow...
-
Page 11: Assembly
Assembly The assembly procedure for the system is shown below. Assemble it according to the numbers indicated in the illustrations. For details on assembly of the microscope and other components being used, see the respective instruction manuals. Be sure not to scratch or leave fingerprints on lenses and filters when assembling them, as this will adversely affect the image quality. - Page 12 S-S are identical. (If the numbers are different, observation will be adversely affected. In this case, please contact your dealer or nearest Nikon representative.) 2 Adjust the height of the support stand so that the main observer section and the secondary observer section are horizontal.
- Page 13 Mounting on the ECLIPSE E800 or E1000 (The E600TH mounting adapter and E400/600 eyepiece tube are required.) Check that the Nikon serial numbers of Y-THF JAPAN 0100001 Y-THF Nikon the teaching head 0100001 JAPAN S-S are the same. Eyepiece tube...
- Page 14 MTH relay unit are identical. (If the numbers are different, observation will be adversely affected. In this case, please contact your dealer or nearest Nikon representative.) 2 Adjust the height of the support stand so that the main observer section and the secondary observer section are horizontal.
- Page 15 MTH relay unit are identical. (If the numbers are different, observation will be adversely affected. In this case, please contact your dealer or nearest Nikon representative.) Two sets of MTH relay units are required. Assemble those components with identical serial numbers to each other.
- Page 16 S-S are identical. (If the numbers are different, observation will be adversely affected. In this case, please contact your dealer or nearest Nikon representative.) Four sets of teaching head S-S are required. Assemble those components with identical serial numbers to each other.
- Page 17 III. Assembly Mounting the pointer Mount the pointer on the front side of the main observer section with the provided hexagonal wrench. When a multi-viewing attachment for 10 persons is being used, mount the pointer on the lower part (the front side of the MTH main splitter). Be sure to use the AC adapter provided with the pointer.
-
Page 18: Troubleshooting
Troubleshooting Focus differs among the main and secondary observer positions. → The diopter setting has not been adjusted correctly. → Adjust the diopter setting correctly. (P.8) → The components with different serial numbers are → Reassemble the components put together. with the identical serial numbers to each other. -
Page 19: Care And Maintenance
Care and Maintenance Lens and filter cleaning Do not let dust, fingerprints, etc. get on the lenses and filters. Dirt on the lenses, filters, etc. will adversely affect the view of the image. If any of the lenses or filters gets dirty, clean it as described below. - Page 20 Before putting on the vinyl cover, turn off the power switch on the microscope and other equipment, and wait until the lamphouse has cooled. Regular inspection Regular inspection of this attachment is recommended to maintain optimum performance. Contact your dealer or nearest Nikon representative for details about regular inspection.
-
Page 21: Specifications
Specifications Teaching Head F-F, Teaching Head S-S, MTH Main Splitter, MTH Relay Unit × 1 (at both main and secondary observer positions) Attachment Magnification: Pointer Designation: Input Voltage: DC 9V, 0.5A max. Lamp for Arrow Illumination: 6V-0.2A tungsten lamp (average lifetime: 1000 hours) Arrow Color: Green or orange (switchable) Arrow Illumination Voltage:...