Advertisement
IMPORTANT! KEEP FOR FUTURE REFERENCE.
• Please read these instructions before
assembly and use of this product.
• Adult assembly is required. Tool needed
for assembly: Phillips screwdriver
(not included).
• Assembly instructions on back side of
this sheet.
• Requires two, C (LR14) alkaline batteries
(not included).
FMN39
FMN39
fi sher-price.co.uk
• Maximum weight of child using infant
rocker seat (recline cradle mode): 9 kg.
• Maximum weight of child using toddler
rocker (upright): 18 kg.
• This product does not replace a cot or a bed.
Should your child need to sleep, then it
should be placed in a suitable cot or bed.
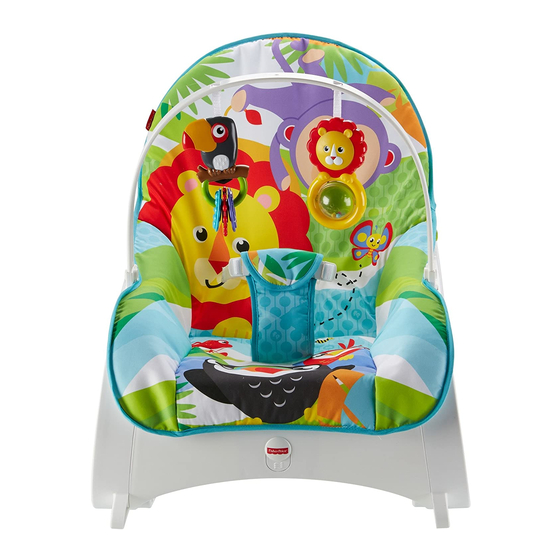
• Product features and decorations may vary
from photographs.
1
Advertisement
Table of Contents

Related Manuals for Fisher-Price FMN39


Summary of Contents for Fisher-Price FMN39
- Page 1 FMN39 FMN39 IMPORTANT! KEEP FOR FUTURE REFERENCE. • Maximum weight of child using infant • Please read these instructions before rocker seat (recline cradle mode): 9 kg. assembly and use of this product. • Maximum weight of child using toddler •...
-
Page 2: Consumer Information
Consumer Information WARNING Prevent serious injury or death: • Never leave the child unattended. • It is dangerous to use the product on an elevated surface, e.g. a table. • This product is not intended for prolonged periods of sleeping. •... -
Page 3: Battery Installation
Battery Installation Battery Safety Information Use alkaline batteries 1,5V x 2 In exceptional circumstances, batteries may for longer battery life. C (LR14) leak fluids that can cause a chemical burn injury or ruin your product. To avoid battery leakage: • Do not mix old and new batteries or batteries of different types: alkaline, standard (carbon- zinc) or rechargeable. -
Page 4: Securing Your Child
Securing Your Child Anchored End Anchored End Restraint Belt Restraint Belt Free End Free End TIGHTEN LOOSEN To tighten the belts: • Feed the anchored end of the restraint belt up through the buckle to form a loop Restraint Pad Pull the free end of the restraint belt To loosen the belts: •... -
Page 5: Seat Position
Seat Position Soother LIFT OR LOWER LIFT OR LOWER PRESS PRESS PRESS PRESS Upright: While pressing the button on each side rail, lift the seat back. Power Button Recline: While pressing the button on each side rail, lower the seat back. •... - Page 6 Parts IMPORTANT! Please remove all parts from the package and identify them before assembly. Some parts may be packed in the pad. Seat Back Tube S t B k T b Soothing Unit Toy Bar Kickstand 2 Side Rails (Pad includes a tethered brace.) M4,5 x 25 mm Screw - 6 M5 x 30,5 mm Screw - 2 Shown Actual Size...
-
Page 7: Back View
Assembly Soothing Unit Side Rail Brace BACK VIEW • Fit the brace (attached to the pad) between the side rails. • Fit the soothing unit onto a side rail. Hint: Align the holes in the brace with the peg and hole in side rails. The brace is designed to fit one way. -
Page 8: Side View
Assembly Seat Back Tube SIDE VIEW • Insert two M5 x 30,5 mm screws into the • Fit the seat back tube into the sockets in kickstand and tighten. each side rail. • Push to “snap” in place. Make sure you hear a “snap”... -
Page 9: Front View
Assembly Toy Bar SIDE VIEW SIDE VIEW • Fit the plugs on each end of the toy bar into the sockets in each side rail. Hint: The toy bar is removable. Press the ends of the latches and lift the toy bar. SIDE VIEW SIDE VIEW FRONT VIEW... - Page 10 658 Church Street, Locked Bag #870, Jalan Kerinchi, 59200 Kuala Lumpur, Malaysia. Richmond, Victoria 3121 Australia. Consumer Tel: 03-78803817, Fax: 03-78803867. Advisory Service 1300 135 312. New Zealand: 16-18 William Pickering Drive, Albany 1331, Auckland. ©2017 Mattel. All Rights Reserved. FMN39-ZZ70 PRINTED IN CHINA 1101513225-UU1...