Advertisement
Quick Links
Assembly tool and instructions
Step By Step Assembly Instructions
Pre-assembly Preparation
PLEASE READ these instructions fully prior to assembly to familiarise yourself with the various stages of construction.
Carefully open all packs supplied and check the contents against the parts and fittings check list.
Do not destroy any of the packaging until you are certain that you have all the necessary parts for the assembly.
This product is HEAVY, it should be assembled as near as possible to the point of use.
Take care when lifting to avoid personal injury and (or) damage to the product.
This product takes approximately 60 minutes to assemble by a minimum of two people.
Please ensure that the packaging is disposed of in a safe environmentally friendly way.
There are small components used in the construction of this bed as well as plastic foil packaging,
these should be kept away from young children whilst assembling your bed.
This product is not a toy, it contains moving parts and as such children should be supervised at all times when using the
mechanism.
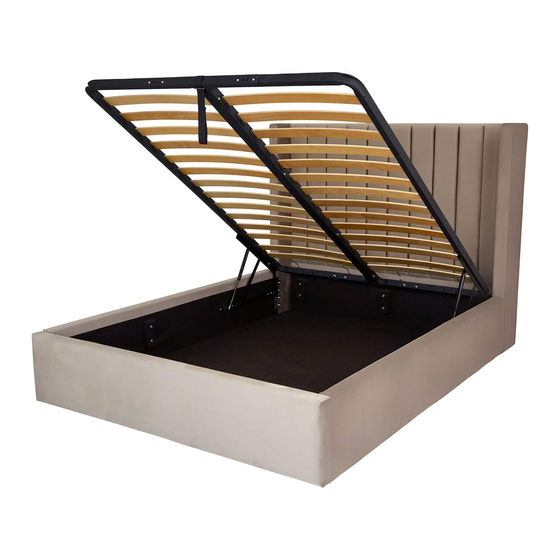
Do not climb or stand inside the storage compartment and ensure that the area is clear before operating the mechanism.
(Do not operate the mechanism with anybody on the bed)
The locking strap must always be attached before moving or turning your mattress (see separate instructions).
Do not attempt to operate/close the mechanism without a mattress in place.
1
Advertisement

Related Manuals for feather & black Ottoman


Summary of Contents for feather & black Ottoman
- Page 1 Assembly tool and instructions Step By Step Assembly Instructions Pre-assembly Preparation PLEASE READ these instructions fully prior to assembly to familiarise yourself with the various stages of construction. Carefully open all packs supplied and check the contents against the parts and fittings check list. Do not destroy any of the packaging until you are certain that you have all the necessary parts for the assembly.
-
Page 3: Part Identification
Part identification Fittings list Headboard 4x50 mm Screw Footboard M6x35 mm Countersunk bolt Left Small M6 Side panel Right Large M8 Small M6 Centre rail Washer Large M8 Legs M6x40 mm Machine screw Landing brackets M8x35 mm Hex bolt Corner brackets M8x60 mm Hex bolt Centre rail brackets M8x60 mm Hex key bolt... - Page 4 Attach the legs and landing brackets to the headboard and footboard. step Note: Before securing the landing bracket (U) to the footboard (Y) attach strap ‘1’ from the Locking Strap Kit as shown on the separate instruction sheet. Unscrew the bolts on the headboard and footboard by approximately 10mm (3/8”). While holding the headboard upright, hook the side panels onto the bolts.
- Page 5 Fit the centre rail hook into position on the headboard, then footboard and then push down to secure. step Screw the lift-up mechanisms to the side panels. step...
- Page 6 Bolt together metal frames using the ring spanner. Attach linking brackets and bolt them to the frame. J + H (M6) + I (M6) step E + H (M8) + I (M8) Place frame on top of lift-up mechanisms and bolt them together using the ring spanner supplied. step...
- Page 7 Screw support blocks to the bottom panels. step Fit bottom panels into the bed. step Before using this product, please refer to the Locking Strap Instructions enclosed with the product. When initially placing your mattress onto the bed, two people will be required to close the mechanism and secure the locking strap.