Dometic 9200 Series Installation Instructions Manual
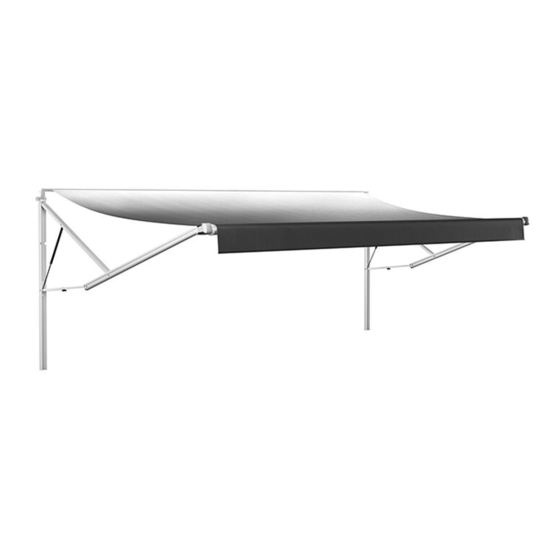
Power awning
Hide thumbs
Also See for 9200 Series:
- Operating instructions manual (12 pages) ,
- Installation instructions manual (17 pages) ,
- Operating instructions manual (12 pages)

Related Manuals for Dometic 9200 Series


Summary of Contents for Dometic 9200 Series
- Page 1 Installation Instructions . . . . . . . . . . . . . . . . .2 REVISION C Form No. 3316600.000 09/19 | ©2019 Dometic Corporation...
-
Page 2: Table Of Contents
Contents 9200 Series Power Awning 1 Explanation of Symbols and Service Center & Dealer Locations Visit: www.dometic.com Safety Instructions Read these instructions carefully. These instructions This manual has safety information and instructions to MUST stay with this product. help you eliminate or reduce the risk of accidents and injuries. -
Page 3: General Safety Messages
9200 Series Power Awning Explanation of Symbols and Safety Instructions • The installation must comply with all applicable local – Increase the separation between the equipment or national codes, including the latest edition of the and receiver. following standards: – Connect the equipment into an outlet on a circuit different from that to which the receiver is U .S .A . -
Page 4: General Information
2 General Information 3 Intended Use This section describes the included and optional parts This 9200 Series Power Awning (hereinafter referred to necessary to complete the installation process. as ”Awning”) is designed and intended for installation on a Recreational Vehicle (hereinafter referred to as The images used in this document are for reference “RV”) during or after the RV manufacture. -
Page 5: Pre-Installation
9200 Series Power Awning Pre-Installation 5 Pre-Installation Top Wiring Harness Notch This section provides instructions to complete before the installation. 5 .1 Preparing the Awning Rail NOTICE: Ensure the awning rail is parallel to the RV floor, and is not warped or curved, before installing the awning fabric. -
Page 6: Determining The Awning Location
Pre-Installation 9200 Series Power Awning 5 .3 Determining the Awning Location WARNING: IMPACT OR CRUSH HAZARD . Make sure the mounting surface on the RV is flat, has a solid structural backing where fasteners penetrate the surface, and will safely and securely support the awning. -
Page 7: Installing The Electrical Wiring
9200 Series Power Awning Installing the Electrical Wiring 5 .3 .1 Door Clearance This section provides clearance measurements for the awning’s placement. When the entry door is toward the center of the awning, add 2 in. (5.08 cm) to minimum distances. -
Page 8: Installing The Fixed/Wired Awning Switch
ON. Use the control switch accessory 3310455.062 or a (Dometic Corporation approved) electronic See the instructions included with your Dometic control switch with motor overload protection. Corporation ignition interlock kit 3313283.008 for See the instructions included with your Dometic additional wiring instructions. -
Page 9: Installing The Awning
9200 Series Power Awning Installing the Awning 7 Installing the Awning If the awning has an undesired LED light strip, either remove the LED light strip from the LED rail This section provides instructions for the awning while leaving the empty LED rail on the fabric rope, installation. -
Page 10: Attaching The Top Mounting Brackets
Installing the Awning 9200 Series Power Awning 7 .2 Attaching the Top Mounting Brackets This section provides instructions for the bracket installation. WARNING: IMPACT OR PINCH HAZARD . The arm assemblies are under tension from gas struts. Hold the arm assemblies and FRTA securely before removing the ties. -
Page 11: Attaching The Back Channels
9200 Series Power Awning Installing the Awning Skip this step if the wiring hole location is at the 6. Remove the straps from the hardware arms and slowly bottom of the RH bracket. If the wiring hole location unfurl the awning 12–18 in. (30.48–45.72 cm). -
Page 12: Making The Electrical Connections
Installing the Awning 9200 Series Power Awning Skip this step if you are attaching the LH back channel, or if the wiring will pass through the RV wall at the top of the RH back channel. Drill a 5/8 in. (15.8 mm) diameter hole at the marked bottom wiring hole location and through the outside wall of the RV. - Page 13 4. Secure any slack motor/hardware wiring inside the See instructions included with your LED switch kit front channel to prevent pinched or damaged wiring (installer supplied) for additional wiring instructions. during awning operation. See the instructions included with your Dometic Corporation switch kit for additional wiring instructions.
- Page 14 Installing the Awning 9200 Series Power Awning 7 .4 .3 RGB LED Light Connections Complete this procedure only if the awning is equipped with an RGB LED light strip. 23 Mounting and Connecting the LED Controller Box LED Controller Box...
-
Page 15: Installing Additional Back Channel
9200 Series Power Awning Installing the Awning 7 .5 Installing Additional Back 7 .6 Completing the Back Channel Channel Support Installation Complete this optional section to provide WARNING: PINCH HAZARD . additional rigidity to the back channel by using Maintain a horizontal distance of at least 16 in. -
Page 16: Securing The Awning To The Rail
Post-Installation 9200 Series Power Awning 8 Post-Installation 7 .7 Securing the Awning to the Rail This section describes how to attach the awning fabric to Complete the following steps to verify a proper the awning rail. installation. 1. With power applied to the awning, open and close the awning to verify that each part functions correctly. - Page 17 9200 Series Power Awning Post-Installation...
- Page 18 Post-Installation 9200 Series Power Awning...
- Page 19 9200 Series Power Awning Post-Installation...
- Page 20 Mobile living made easy. dometic .com YOUR LOCAL YOUR LOCAL YOUR LOCAL DEALER SUPPORT SALES OFFICE dometic .com/dealer dometic .com/contact dometic .com/sales-offices...