Table of Contents
Advertisement
Available languages
Available languages
Quick Links
Please Read and Save this Use and Care Book
Por favor lea este instructivo antes de usar el producto
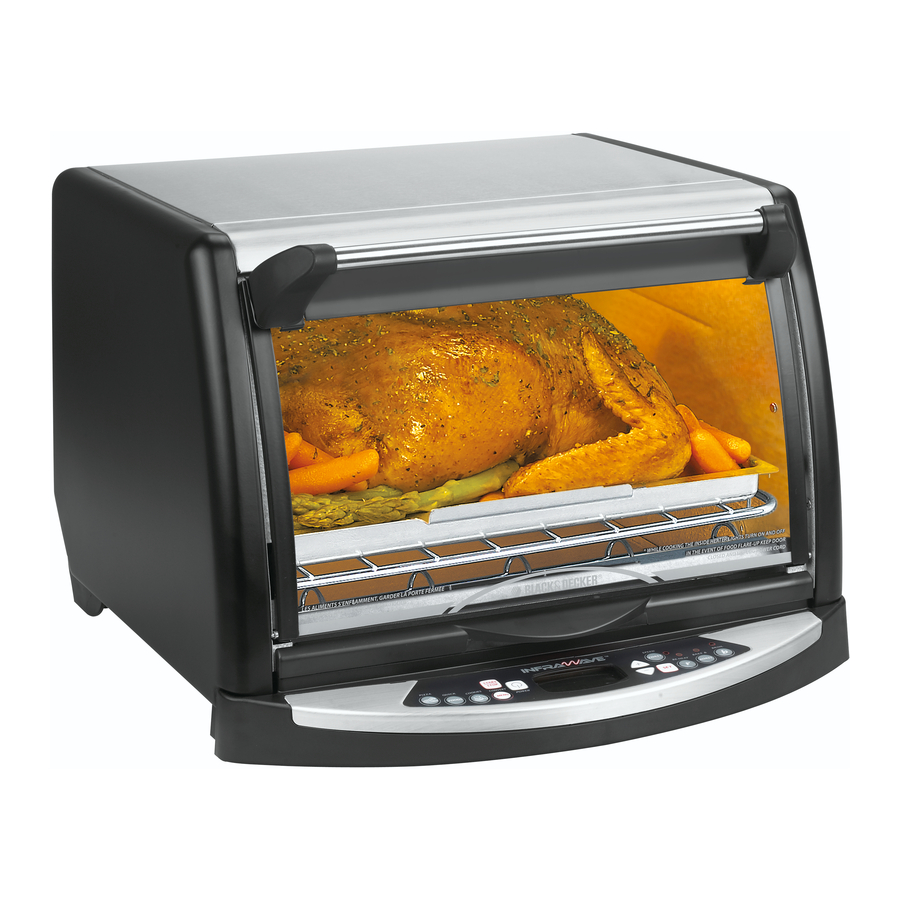
Horno Rápido
Register your product online at www.prodprotect.com/applica,
for a chance to WIN $100,000!
Registre su producto en la Internet en el sitio Web
www.prodprotect.com/applica y tendrá la oportunidad
Solamente para los residentes de EE.UU
US /Canada
Mexico
www.applicaconsumerproductsinc.com
ccessories/Parts
(US /Canada)
ccesorios/Partes
(EE.UU/Canadá)
1-800-738-0245
For US residents only
de G N R $100,000!
1-800-231-9786
01-800-714-2503
Models
Modelos
❑ FC300
❑ FC350
❑ FC360
Advertisement
Table of Contents

Related Manuals for Black & Decker INFRAWAVE FC300


Summary of Contents for Black & Decker INFRAWAVE FC300
- Page 1 Please Read and Save this Use and Care Book Por favor lea este instructivo antes de usar el producto Horno Rápido Register your product online at www.prodprotect.com/applica, for a chance to WIN $100,000! For US residents only Registre su producto en la Internet en el sitio Web www.prodprotect.com/applica y tendrá...
- Page 2 ❑ Do not cover crumb tray or any parts of the oven with metal foil. This will cause overheating of the oven. ❑ To stop toasting, baking or broiling function, press the ST RT/STOP button.
- Page 3 5) Insert removable plastic drip tray below unit as illustrated (C). 6) Insert slide rack, making certain to drop back right prong into opening on oven (D). NOTE: The slide rack should be removed when using the rotisserie in the FC350/FC360 models.
- Page 4 InfraWave® oven’s speed. For more details, go to page 11. • When the oven is in use, the interior lights will cycle on and off. This is normal because this oven cooks with infrared light instead of cooking with temperature.
- Page 5 • Insert the side of the rotisserie rod that is marked with an “R” into the hole in the center of the right wall of the oven. Rest the left side of the rod on the hook on the left wall of the oven.
- Page 6 PROGR MS CONT'D: This function allows you to choose the type of pizza to be cooked and provides preset suggested cooking times for each. Select the type of snack food to be baked. The selections include foods such as: chicken nuggets, pizza rolls, potato skins, poppers, chicken wings, bagel bites, potato tots and French fries.
- Page 7 This program is very useful when cooking a recipe or a packaged food that includes time and temperature directions that have been written for a conventional or toaster oven. It eliminates the guesswork out of converting your recipes or package directions into InfraWave® time.
- Page 8 SELECTIONS INCLUDE THE FOLLOWING FROZEN FOODS: Chicken Nuggets Pizza Rolls Potato Skins Poppers Chicken Wings Bagel Bites Potato Tots Oven Fries QUICK FOODS to turn the unit ON. appears. To change cooking time, PRESS , PRESS to begin baking. until your selection to begin baking.
- Page 9 B KE COOKIES to turn the unit ON. 1. PRESS 2. PRESS 3. To find the type of cookie you want to bake press appears. 4. To accept default time, PRESS To change baking time, PRESS , PRESS to begin baking. SELECTIONS INCLUDE THE FOLLOWING COOKIES: Chocolate Chip Oatmeal Raisin...
-
Page 10: Speed Toast
SPEED TO ST 1. PRESS to turn the unit ON. 2. PRESS . The default setting of 4 appears on the screen. 3. To accept default setting 4, PRESS To select another setting (1 to 7), PRESS to begin toasting. TO ST SETTING GUIDE: 1-2 Very light 3-4 Medium... - Page 11 , PRESS to begin broiling. 6. Halfway through the broiling cycle, the oven will give an audible sound and the screen will notify you to turn the food over. NOTE: Please note that the oven will continue cooking until the oven door is opened.
-
Page 12: Care And Cleaning
5. fter cleaning, always dry parts thoroughly. 6. To clean the crumb tray, grasp the handle at the front of the oven and pull out the crumb tray. Dispose of crumbs and wash the tray in warm, sudsy water. - Page 13 Select a food that is most like the one you want to cook or use the ConvertMenu™ function. Simply select the Halfway through cooking, remove steaks from oven. Turn over and brush steaks appropriate category and enter with remaining seasoning mixture. the temperature and time Return steaks to oven;...
- Page 14 When cooking time is complete, oven will give an audible signal. Check for doneness. Remove from oven and let meatloaf stand for at least 5 minutes before serving. If desired, top meatloaf with slices of provolone cheese for the last 3 to 4 minutes.
- Page 15 Stir in next 6 ingredients. Spoon into buttered, 2-quart, shallow baking dish. In small bowl, blend butter, bread crumbs and almonds. Sprinkle evenly over casserole. Place baking dish in Black & Decker® InfraWave® Oven and close oven door. Follow these steps: CASSEROLES LCD Display When cooking time is complete, oven will give an audible signal.
- Page 16 In small bowl, combine all ingredients, except beef and blend well. Rub seasoning evenly over roast, coating all sides. Place on ungreased bake pan/drip pan of Black & Decker® InfraWave® Oven. Tent entire roast with foil. Place pan inside oven and close oven door.
- Page 17 Pinch the remaining two sides and roll toward the center of the package to create a tight seal that will not allow steam to escape. Place packets on slide rack in Black & Decker® InfraWave® Oven and close oven door.
- Page 18 When cooking time is complete, oven will give an audible signal. Remove from oven. Tent loosely with foil and let stand at least 10 minutes before serving. If desired, serve with rosemary potatoes and a mixture of sugar snap peas and pearl onions.
- Page 19 LCD Display When cooking time is complete, oven will give an audible signal. Remove from oven. Loosely tent with foil and let stand at least 10 minutes before serving. If desired, serve with cranberry sauce, whipped sweet potatoes and peas with pearl onions in a cream sauce.
- Page 20 ❑ Para desconectar, sujete el enchufe y retírelo de la toma de corriente. No hale del cable. ❑ Para evitar el riesgo de incendio, asegúrese de no cubrir el aparato y de que no entre en contacto con materiales inflamables como las cortinas, tapicería, paredes ni demás.
- Page 21 Como usar Este aparato es para uso doméstico solamente P SOS PRELIMIN RES: 1) Retire todo el material de empaque y calcomanías adheridas al producto; quite el plástico transparente que protege el panel de control. 2) Lave todas las piezas removibles según las instrucciones en la sección de Cuidado y limpieza de este manual.
- Page 22 • Cuando el horno está en uso, las luces interiores se iluminan intermitentemente. Esto es normal porque el horno funciona con luces infrarrojas en vez de temperatura. • Los tiempos de cocción preprogramados en el horno son solamente sugerencias. Cuando cocine por primera vez, supervise los alimentos varios minutos antes de finalizar el tiempo de cocción programado.
- Page 23 EVITE LOS SIGUIENTES CU NDO USE ESTE HORNO: • Moldes de silicón. • Recipientes que excedan las dimensiones recomendadas. • Bolsas plásticas para asar o tapas de cartón. • Cubiertas que no sean de papel de aluminio. • Paquetes envasados al vacío como bolsas o latas. T BL DE COCIN Consulte la tabla a continuación para averiguar qué...
- Page 24 FUNCIONES: Enciende y apaga el aparato. l finalizar el ciclo de cocción, tenga presente de apagar y desconectar el aparato. Presione para dar inicio o finalizar un ciclo de cocción. Si ha presionado el botón equivocado y desea iniciar nuevamente la programación, presione ST RT/STOP dos veces para cancelar o el botón POWER para apagar y encender el aparato.
- Page 25 Esta función resulta útil cuando uno prepara recetas o alimentos de paquete cuyas direcciones incluyen tiempo y temperaturas para los hornos u hornos tostadores convencionales. Permite programar fácilmente el tiempo de cocción de las recetas o comidas envasadas, al tiempo de cocción del horno InfraWave®.
- Page 26 Frituras rellenas de queso (FRO. POPPERS) las de pollo congeladas (FRO. WINGS) Trocitos de bagel (FRO. B GEL BITES) Frituras de papa (FRO. POT TOTS) Papas fritas (FRO. OVEN FRIES) para encender el aparato. , presione para iniciar el ciclo de cocción.
- Page 27 G LLET S 1. Presione para encender el aparato. 2. Presione 3. Para escoger el tipo de galleta que desea hornear, presione este aparezca en la pantalla. 4. Para aceptar el tiempo de cocción programado, presione iniciar el ciclo de hornear. Para modificar el tiempo de cocción, presione y después, presione para iniciar el ciclo de hornear.
- Page 28 TOST R 1. Presione para encender el aparato. 2. Presione la pantalla exhibe el número programado, “4”. 3. Para aceptar el número programado, presione ciclo de tostado. 4. Para modificar la programación (entre 1 y 7), presione presione para iniciar el ciclo de tostado. GR DOS DE TOST DO: 1 a 2 tostado ligero 3 a 4 tostado medio...
- Page 29 S R (TEMP. LT ) NOT : Cuando se usa el asador, la luz de calentamiento superior permanece encendida, mientras que la luz inferior permanece apagada 1. Presione para encender el aparato. 2. Presione 3. Para seleccionar la temperatura alta, presione abajo) 4.
-
Page 30: Cuidado Y Limpieza
Cuidado y limpieza Este producto no contiene piezas reparables por el consumidor. Para servicio, por favor acuda a personal calificado. IMPORT NTE: ntes de limpiar cualquier pieza de este horno, asegúrese que esté apagado, desconectado y que se haya enfriado por completo. 1. - Page 31 PROBLEM POSIBLE C US El horno deja de No se ha presionado el funcionar una vez que se botón de inicio (ST RT). le abre la puerta. Los alimentos se mueven Los alimentos no están bien de un extremo al otro en estabilizados en la barra la barra del asador.
- Page 32 POLLO S DO S ZON DO CON PIMIENT CON LIMÓN (Para el asador FC350/FC360) 1 cda. ralladura de cáscara de limón ½ cdta. condimento para pollo asado ¾ cdta. pimienta con ajo ¾ cdta. sal de ajo 2 cdas. mantequilla, blanda 4½...
- Page 33 C ZUEL DE POLLO S DO 2 latas sopa de hongos; condensada (14¾ oz. cada una) ½ cdta. condimento para aves ½ cdta. hierbas de Provenza 1 taza agua 2½ tazas pollo asado, cortado en cubitos 2½ tazas pasta penne, cocida 1½...
- Page 34 S DO DE M NO DE PIEDR DE RES 3 cdas. cebolla picada, seca 1½ cdta. sal sazonada ¾ cdta. sal de ajo ¾ cdta. condimento picante Montreal para bistec ¼ cdta. pimienta con ajo 4½ lb. asado de res En un tazón pequeño, combine todos los ingredientes excepto la res y mezcle bien.
- Page 35 P QUETES DE VEGET LES SIÁTICOS 4 tazas zucchini en rodajas finas 2 tazas hongos cortados en cuartos 1 taza chile rojo en tajadas delgadas 1½ tazas arvejas cortadas en piezas de 1 pulgada ½ taza cebollas verdes en rodajas ¼...
- Page 36 LOMO DE CERDO S DO (Para asador FC350/FC360) 1 cdta. sal kosher ½ cdta. hierbas de Provenza ½ cdta. pimienta con ajo ½ cdta. pimienta sazonada 1 cda. aceite de oliva 4½ lb. lomo de cerdo, sin hueso En un tazón pequeño, combine todos los ingredientes excepto el cerdo. Coloque el cerdo en la barra de asar y afiance los dos extremos ensartando las púas en la carne y estabilícelas en la barra.
- Page 37 PECHUG DE P VO S ZON D CON JO Y ROMERO (Para asador, FC350/FC360) 2 cdas. perejil picado 1 cdta. condimento de romero y ajo 1 diente de ajo, finamente picado ½ cdta. pimienta sazonada ½ cdta. sal sazonada ¼ taza mantequilla, blanda 3 lb.
- Page 38 NEED HELP? For service, repair or any questions regarding your appliance, call the appropriate "800" number on the cover of this book. Do not return the product to the place of purchase. Do not mail the product back to the manufacturer nor bring it to a service center.
- Page 39 Marca registrada de The Black & Decker Corporation, Towson, Maryland, E.U. 1600 W 120 V 60 Hz CAT. NO. EHB500 TYPE 1 160 W 120 V AC ONLY 60Hz R12007/10-2-5E/S/F Printed on recycled paper. Impreso en papel reciclado. is a trademark of The Black & Decker Corporation, Towson, Maryland, US Copyright ©...