Table of Contents
Advertisement
Quick Links
Advertisement
Table of Contents

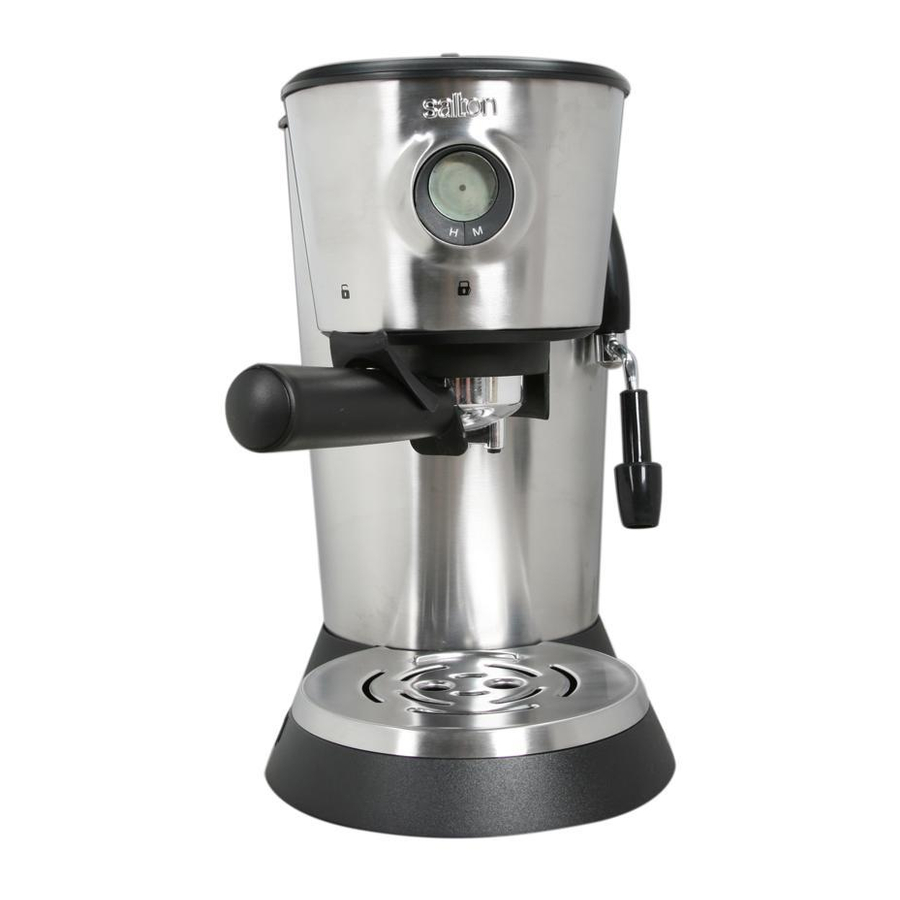
Summary of Contents for Salton Expresso Pro EX-1040
- Page 1 ® Expresso Pro Instruction Booklet Model: EX-1040...
- Page 2 Return appliance to SALTON for examination, repair or adjustment. See Warranty. 7. The use of accessories or attachments not recommended by SALTON may result in fire, electric shock or injury. 8. DO NOT use outdoors.
-
Page 3: Polarized Plug
Now that you are the proud owner of the SALTON Espresso Pro, you can experience the taste of a delicious cup of espresso or cappuccino, time and time again, in the comfort of your own home. - Page 4 2. A fine drip grind coffee must be used. A powdery grind is too fine for the SALTON Espresso Pro. A powdery grind will cake in the basket and block the water from flowing through. 3. You may prefer to add chicory to obtain a unique flavour. Remember do not use chicory separately from the roasted ground coffee.
-
Page 5: Description Of Parts
Tray and Cover and the Water Tank in warm, soapy water. Rinse thoroughly and dry. 2. Wipe the machine with a damp cloth. 3. Run water only (without coffee) through your SALTON Espresso Pro. Follow the instructions below in the “Making Espresso Coffee” section, numbers 1 through 16. - Page 6 Setting the Time 1. Place the machine on a flat, dry, heat resistant surface. Make sure the On/Off Switch is in the ‘Off’ position (Button is up). Plug into a 120 volt AC outlet. The display lights up in blue and the indicators flash at 12 o’clock. 2.
- Page 7 8. Press the push button On/Off Switch so that the Power Indicator Light comes on and the Ready Indicator Light flashes. 9. When the water has reached the proper temperature the Ready Indicator Light goes off. 10. Place 1 or 2 cups under the brewing head. 11.
- Page 8 6. Once the milk reaches the desired volume, you can warm the milk more by lowering the Steam Nozzle to the bottom of the pitcher. Do not make the milk boil or the froth will be ruined. 7. Turn the Function Selector back to the ‘ ’ position so that the machine is in standby mode.
-
Page 9: Care And Cleaning
4. When the Ready Light goes off the water has reached the correct temperature. 5. Swing the Steam Nozzle to the outside and place a heat-resistant pitcher under the Steam Nozzle. 6. Turn the Function Selector to the right to the steam position ‘ / ’. 7. - Page 10 Gasket The gasket on the brewing head should be checked regularly. If the Filter Holder can be moved too easily in the brewing head, the gasket is worn and needs replacing. WARNING: If the Gasket is worn, the Filter Holder can become loose when under pressure.
-
Page 11: Helpful Hints
8. To remove the vinegar residue, rinse the Tank and refill it with fresh cold water. Run 2 – 3 tanks of water through the system as was done in steps 1 to 6 above to clear the machine of any de-scaling solution. 9. -
Page 12: Troubleshooting
TROUBLESHOOTING MALFUNCTION POSSIBLE CAUSES REMEDY When the On/Off Switch is • The device has no power • Check the outlet with pressed but the machine supply. another device. does not turn on. Coffee stops flowing. • The Water Tank is empty. •... - Page 13 MALFUNCTION POSSIBLE CAUSES REMEDY The coffee has a slightly • The espresso coffee was • Use fresh coffee. acidic taste. not fresh. The coffee is light in • Coffee too coarse or not • Use the coffee presser. colour and flows too pressed firmly enough.
- Page 14 RECIPES THAT YOU'LL LOVE! Café Chocolate Combine equal parts of espresso with hot chocolate. Top with sweetened whipped cream. Garnish generously with chocolate shavings and sprinkle with cinnamon. Café Tia Maria Place 1 tablespoon of Tia Maria liqueur into demitasse cup, fill with espresso, garnish with hot, frothy milk.
- Page 15 Café Cognac Place 1 tablespoon of cognac into a demitasse cup, fill with espresso, add 1 tablespoon of heavy cream. Espresso Alexander In a standard-sized cup, combine 1 tablespoon creme de cacao and 1 tablespoon brandy. Add 2 tablespoons heavy cream and fill with espresso. Garnish with a heaping dollop of whipped cream and chocolate shavings.
-
Page 16: Limited Warranty
For repairs not covered by the warranty, please contact us for assistance. ® Customer Service Department 81A Brunswick Dollard-des-Ormeaux Quebec, Canada H9B 2J5 Website: www.salton.com E-mail: service@salton.com Fax: 514-685-8300 Tel: 514-685-3660 * Return/exchange policies at each retailer vary and may differ from the Salton Canada 1 year limited warranty period.


