Table of Contents
Advertisement
Advertisement
Table of Contents

Related Manuals for Krups BeerTender


Summary of Contents for Krups BeerTender
- Page 1 coverB90onewayAmsterdam_CouvertureB90onewa#2699F0.qxd30/05/1313:54Page2...
-
Page 2: Safety Rules
1-B90 oneway Amsterdam_UK_1-B90 oneway Amsterdam_UK.qxd 30/05/13 13:57 Page3 Safety ruleS This appliance is not intended for use by persons (including children) with reduced physical, sensory or mental capabilities, or lack of experience and knowledge, unless they have been given supervision instruction concerning use of the appliance by a person responsible for their safety. - Page 3 1-B90 oneway Amsterdam_UK_1-B90 oneway Amsterdam_UK.qxd 30/05/13 13:57 Page4 unless they are supervised by a responsible adult. Only connect the machine to a mains voltage supply that coincides with the voltage indicated on the sign plate of your appliance. The connection to an incorrect supply voltage will invalidate the guarantee and could be dangerous.
-
Page 4: Table Of Contents
Phase 3: Beer in the glass Phase 4: The quality of a glass of beer Cleaning Cleaning after daily use Cleaning after installation of a new BeerTender keg Routine cleaning Children’s safety 10 - Information of a legal nature 11 - Disposal... -
Page 5: General Information
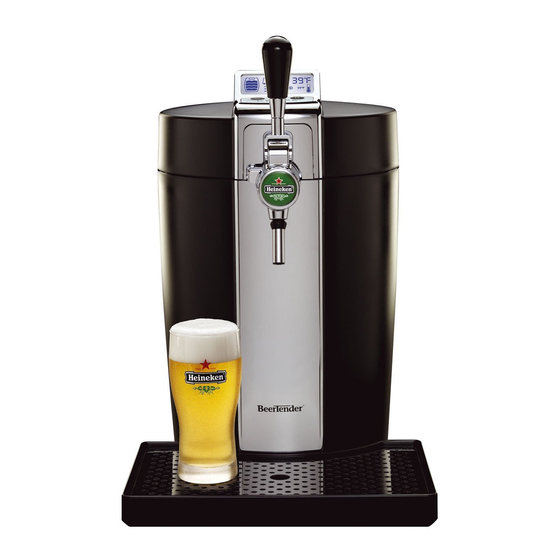
1-B90 oneway Amsterdam_UK_1-B90 oneway Amsterdam_UK.qxd 30/05/13 13:57 Page6 General information The BeerTender is designed to dispense cool beer from a special container (BeerTender Keg) fitted inside the appliance itself. This elegantly designed machine has been engineered for domestic use and is not suitable for continuous professional use. -
Page 6: Technical Specifications
This appliance has been manufactured exclusively for dispensing beer in a domestic setting. Only original BeerTender Kegs mentioning “Compatible BeerTender” can be used with the appliance; you should not use any other commercially available beer containers. Before using a keg, check the “best before end” date shown at the bottom of the keg. -
Page 7: Cautionary Notes
1-B90 oneway Amsterdam_UK_1-B90 oneway Amsterdam_UK.qxd 30/05/13 13:57 Page8 Please note that too much dust can affect the efficiency of the cooling system of your BeerTender. It is possible that dust enters in the machine through the vent grid at the rear of the machine. -
Page 8: Using The Keg
1-B90 oneway Amsterdam_UK_1-B90 oneway Amsterdam_UK.qxd 30/05/13 13:57 Page9 You should also follow these other rules when using the BeerTender system: Do not attempt to chill a BeerTender Keg in your freezer. Just like glass bottles, a keg may burst when placed in the freezer. Moreover, freezing diminishes the quality of the beer;... -
Page 9: Getting The Beertender Ready
“Safety rules” described in chap.3. Cooling the Beertender Keg BeerTender kegs must be chilled before use. Using a BeerTender keg that is too warm will result in too much foam. There are two ways to chill the BeerTender Keg: Inside the BeerTender (see “Using the... -
Page 10: Connecting To The Power Supply
The temperature of the room must be between 12°C and 30°C 30°C. If ambient temperatures is outside these brackets, your BeerTender will not be able to deliver the set regulation temperature of 3°C. Set the drip tray and grate in place at the front of the appliance. -
Page 11: Using The Beertender System
Heineken group. The appliance can only be used if it contains a BeerTender Keg and only if the main switch is set on “I”. The control display on top of the lid, when illuminated, tells you that the appliance is switched on. - Page 12 1-B90 oneway Amsterdam_UK_1-B90 oneway Amsterdam_UK.qxd 30/05/13 13:57 Page13 Take the tap of the BeerTender Keg “Compatible BeerTender” and fit it into place. Position the beer tube as shown on drawing. Close the tap cover by turning it clockwise. Make sure the tap handle is positioned vertically before lid is closed.
-
Page 13: Control Display
Dispensing beer Note: always check the “best before end” date shown at the bottom of the BeerTender Keg. Do not use the BeerTender Keg beyond this date. Note: the beer must be dispensed into suitable containers; the dispensing funtion is started and stopped... - Page 14 Note: Every time you install a new keg in the BeerTender, the first glass of beer will fill up with too much foam. When this occurs, allow the glass to stand on the drip tray. As soon as the foam has settled, fill up the glass.
-
Page 15: Cleaning
Cleaning after installation of a new Beertender Keg When you install a new BeerTender Keg you must clean the dispensing spout. The spout is the only part of the appliance that comes into contact with the beer. -
Page 16: Routine Cleaning
1-B90 oneway Amsterdam_UK_1-B90 oneway Amsterdam_UK.qxd 30/05/13 13:57 Page17 Note: the dispensing spout comprises plastic and metal parts that are permanently joined together and do not pose any problems of hygiene. Do not attempt to separate these parts. The beer dispensing mechanism must be cleaned using a damp cloth and a mild detergent. -
Page 17: Information Of A Legal Nature
1-B90 oneway Amsterdam_UK_1-B90 oneway Amsterdam_UK.qxd 30/05/13 13:57 Page18 10 Information of a legal nature · These operating instructions contain the necessary information for the proper use and upkeep of the appliance. · It is essential to read this information and comply with these instructions in order to use and maintain the appliance in complete safety. -
Page 18: Troubleshooting
You can not fit The BeerTender Put the BeerTender the BeerTender Keg tap has been Keg tap back in its Keg tap in the activated by hand. original position. - Page 19 Open the tap too slowly. not open all the way. completely. The BeerTender Allow the BeerTender Keg has not been BeerTender Keg to appliance is chilled for long cool in the dispensing enough in the refrigerator for warm beer. refrigerator and is about -12 hours.