
Related Manuals for Baby Lock A-Line Series


Summary of Contents for Baby Lock A-Line Series
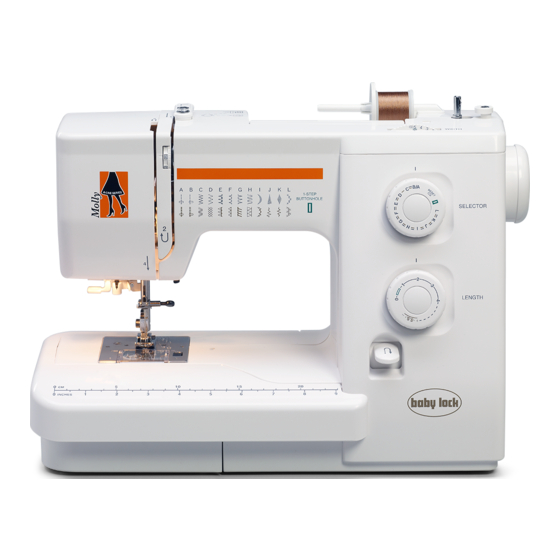
- Page 1 Getting to Know: A-Line SerieS Model BL30A Baby Lock Consumer Helpline: 800-313-4110 www.babylock.com...
- Page 2 Model BL30A Molly loves her DIY, individual style, and she always encourages you to add your own touch. This multi-purpose machine includes 25 built-in stitches including a 1-step buttonhole and a drop-in bobbin. With adjustable stitch widths, 6 included accessory feet and a needle threader, Molly can help you bring your ideas to life with your own unique spin.
-
Page 3: Winding The Bobbin
Winding the Bobbin Pull the handwheel out to the right . 2. Draw the thread from spool. Guide the thread around the bobbin winder thread guide . 3. Insert the thread through the hole in the bobbin from the inside to the outside. Put the bobbin on the bobbin winder spindle with the free end of the thread... - Page 4 5. With the free end of the thread held in your hand, depress the foot control. Stop the machine when it has made a few turns, and cut the thread close to the hole in the bobbin. 6. Depress the foot control again. When the bobbin is fully wound, stop the machine.
-
Page 5: Inserting The Bobbin
Inserting the Bobbin 1. Place the bobbin into the bobbin holder with the thread running off as illustrated. 2. Guide the thread into the front notch on the front side of the bobbin holder. Draw the thread to the left, sliding it between the tension spring blades . -
Page 6: Threading The Machine
Threading the Machine Raise take-up lever to its highest position by turning the handwheel toward you. Raise presser foot. Draw the thread from the spool and pass it under the thread guide . Then draw it down along the right channel . - Page 7 3. Firmly draw the thread from right to left over the thread take-up lever and down into the take-up lever eye . 4. Draw the thread down along the left channel and slip the thread behind the needle bar thread guide from the left.
-
Page 8: Using The Needle Threader
Using the Needle Threader 1. Raise the needle to its highest position and lower the presser foot. Push down the needle threader knob as far as it will go. The hook comes into the needle eye from behind. 2. Draw the thread from the left around the guide and under the hook . -
Page 9: Drawing Up The Bobbin Thread
Drawing up the Bobbin Thread Raise the presser foot and hold the needle thread lightly with your left hand. Turn the handwheel slowly toward you one complete turn. Bring the bobbin thread up by pulling the needle thread illustrated. Pull 4” of both threads back and under the presser foot. -
Page 10: Selecting The Stitch Pattern
Selecting the Stitch Pattern 1-STEP BUTTONHOLE Pattern Selector Dial Raise the needle to its highest position. Turn the pattern selector dial to set the symbol of the desired stitch pattern at the setting mark . CAUTION: Do not turn the pattern selector dial while the needle is in the fabric, otherwise the needle may bend or break. -
Page 11: Stitch Length Dial
Stitch Length Dial 1. Turn the stitch length dial to set the desired stitch length number at the setting mark. 2. The higher the number, the longer the stitch. 3. The “ ” mark shows the adjustment range when sewing the buttonhole. -
Page 12: Stitch Width Dial
Stitch Width Dial Turn the stitch width dial to set the desired stitch width number at the setting mark . The higher the number, the wider the stitch. CAUTION: Do not turn the stitch width dial while the needle is in the fabric, otherwise the needle may bend or break. -
Page 13: Starting To Sew
Starting to Sew Straight Stitch Sewing Machine settings: Stitch pattern: A Stitch width: 0 or 5 Stitch length: 1.5 - 4 Thread tension: 2 - 6 Presser foot: Zig zag foot A Raise the presser foot and place the fabric under the foot. Lower the needle into the fabric. -
Page 14: Finishing Sewing
Finishing Sewing 1. Press the reverse stitch lever and sew several stitches in reverse at the end of the seam. 2. Raise the presser foot and remove the fabric, drawing the threads to the back. 3. Draw the threads up and into the thread cutters. The threads are cut the proper length for starting the next seam. - Page 15 Re-stitch over the previously stitched Supplies: satin stitches. This will fill in and build up • Baby Lock Molly Sewing the stitching line. Set the machine for stretch stitch “G” or Machine a blindstitch, the length is 2.5 and the •...
- Page 16 Select a layout for the crystals 11. Lay the two pieces of the back and fuse them to the appliqué, together and press the hook and according to the manufacturers loop tape closed. Baste the ends instructions. of the hook and loop tape together, Cut out the back of the pillow from through all the layers.