
Related Manuals for TRENDnet TEW-740APBO2K


Summary of Contents for TRENDnet TEW-740APBO2K
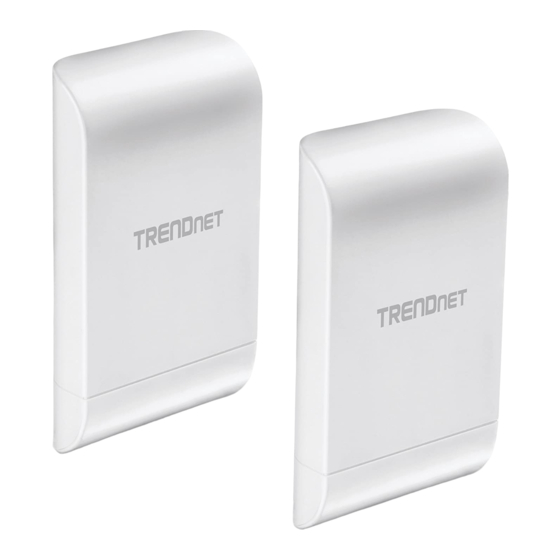
- Page 1 Quick Installation Guide TEW-740APBO2K...
- Page 2 Table of Content 1 English 1. Before You Start 2. Hardware Setup and Configuration 3. Ground Wire and Pole Mount Installation...
-
Page 3: Before You Start
1. Before You Start Package Contents 2 x TEW-740APBO Ÿ CD-ROM (User's Guide) Ÿ Quick Installation Guide Ÿ Proprietary PoE injectors Ÿ Power adapters (12 V DC, 1A) Ÿ Mounting Hardware Ÿ Grounding wires Ÿ Minimum Requirements Computer with a network port and web browser Ÿ... - Page 4 2. Hardware Setup and Configuration Note: By default, the TEW-740APBO access points are preconfigured to establish a point-to- point WDS bridge between each other using a unique predefined AES encryption key. For convenience, a unique predefined admin password has already been assigned to both access points.
- Page 5 Verify connectivity between the two access points before mounting. Aside from the preconfigured WDS bridge settings, the TEW-740APBO access points will also be configured with the following default settings: TEW-740APBO #1 Mode: WDS Mode IP Address: 192.168.10.50 Netmask (Subnet Mask): 255.255.255.0 IP Gateway (Default Gateway): 192.168.10.1 Primary DNS: 192.168.10.1 TEW-740APBO #2...
- Page 6 2. Remove the tab on the far left by gently bending it back and forth until the tab is removed. This will create the opening for a RJ-45 network cable to be routed through. 3. Using a network cable, connect one end of the cable to the LAN (PoE) port and push the cable into the cable guide on the far left, then through the opening that was created in the previous step.
- Page 7 4. Connect the other end of the network cable to the P+DATA OUT port on the included PoE injector. 5. Connect the included power adapter to the PoE injector POWER IN on the included PoE injector. 6. Plug the connected power adapter into a power outlet. 7.
- Page 8 11. Make sure both access points are powered on approximately 15 ft. (5 m) apart from one another with front of access points directly facing each other. TEW-740APBO #1 TEW-740APBO #2 15 ft. (5m) LAN1 (PoE) LAN1 (PoE) P+DATA OUT P+DATA OUT POWER IN POWER IN...
- Page 9 ® ® Note: In Windows , you can use the Command Prompt application and in Mac , you can Terminal application to run the commands for connectivity testing. ping 192.168.10.50 <Press Enter and wait for result> ping 192.168.10.51 <Press Enter and wait for result> A successful connectivity test will appear similar to the result below for each access point.
- Page 10 3. Ground Wire and Pole Mount Installation 1. Locate the grounding point located in the bottom section of the enclosure. Using a Phillps screwdriver, remove the grounding point screw (counter clockwise) and attach the included grounding wire to the grounding point screw. Then reattach the ground screw (clockwise) along with the grounding wire.
- Page 11 2. Reinstall the cover by lining up the guides into the notches as shown and push the cover down until the cover clips in and is secured. 3. Insert the included fasteners through the holes located at the back of the access point. 4.
- Page 12 Quick Installation Reference Internet Modem Router Building 1 Building 2...
- Page 13 10 dBi Wireless N300 Outdoor PoE Preconfigured Point-to-Point Bridge Kit Trade Name: TRENDnet TRENDnet hereby declare that the product is in compliance with the essential requirements and other relevant provisions under our sole responsibility. Safety EN 60950-1: 2006 + A11: 2010 + A12: 2011 + A2: 2013 EN 301 489-1 V1.9.2: 09-2011...
- Page 14 Product Warranty Registration If you have any questions regarding the product Please take a moment to register your installation, please contact our Technical Support. product online. Go to TRENDnet’s website at: Toll free US/Canada: 1-866-845-3673 www.trendnet.com/register Regional phone numbers available at www.trendnet.com/support...