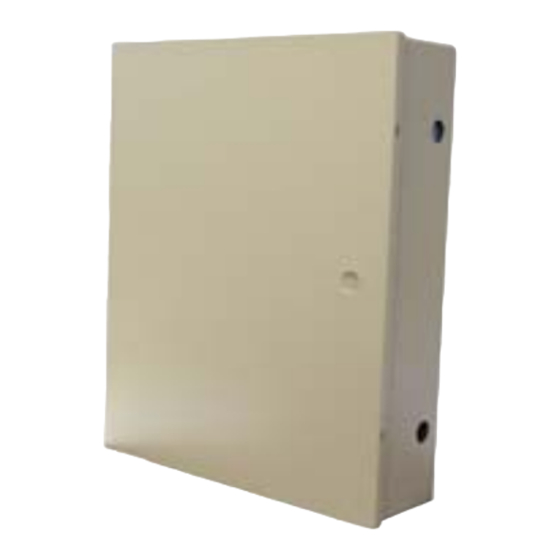
Advertisement
DVR4WM/8WM/16WM
Setup Guide
Speco Technologies
200 New Highway
Amityville, NY 11701
800-645-5516
www.specotech.com
Speco Technologies is constantly developing product improvements. We reserve the right to modify product
design and specifications without notice and without incurring any obligation. Rev. 11/10/09.
Advertisement
Table of Contents

Summary of Contents for Speco 16WM
- Page 1 DVR4WM/8WM/16WM Setup Guide Speco Technologies 200 New Highway Amityville, NY 11701 800-645-5516 www.specotech.com Speco Technologies is constantly developing product improvements. We reserve the right to modify product design and specifications without notice and without incurring any obligation. Rev. 11/10/09.
-
Page 2: Package Content
DVR4WM/8WM/16WM Package Content Inspect the DVR’s packaging. Make sure that the DVR-4WM/8WM/16WM is packed properly. Remove all items from the box and make sure it contains the following items. DVR-4WM/8WM/16WM Internal Connections LAN 10/100M The DVR is capable of networking. Once the unit is connected to the LAN network, users can remotely access the DVR through the remote software and SpecoRemote on a PC. - Page 3 Audio In connectors are for the DVR to connect audio source devices. For DVR-4WM, 4 RCA Audio In Audio In connectors will be provided; whereas for DVR-8WM and DVR-16WM, a D-Sub Audio In connector is provided. The DVR has a free voltage DC power connection jack. Please connect the power supply 10 Power Jack adapter shipped with the unit.
-
Page 4: Pin Definition Of Alarm I/O & Rs-485, And Audio In
Reserved Alarm In 1 Alarm In 2 Alarm In 3 Alarm In 4 25p D-sub I/O cable for 8/16TL: Speco # DVR816TLALMCBL Audio In (DVR-8WM & DVR-16WM only): Pin Definition Audio 1 Audio 3 Audio 5 Audio 7 Audio 9 (DVR-16WM) -
Page 5: Basic Setup
Basic Setup Enter the OSD main menu to setup some basic configurations of the DVR. The basic configuration must be set with the OSD on the DVR. Enter OSD Main Menu: • Press MENU button on the remote controller to enter the OSD main menu. •... - Page 6 • To change the IP address, Netmask, Gateway and DNS value, press UP/DOWN keys to move the cursor to the item. Use LEFT/RIGHT keys to access each section of the value and press ENTER, then change the value using UP/DOWN keys. •...
-
Page 7: Dome Camera Control
Dome Camera Control Dome Camera Connection & Settings: • See section Pin Definition of Alarm I/O & RS-485, and Audio In for RS-485 port pin definition. • Connect the R+, R- terminals on the dome camera to the D+, D- terminals on the RS-485 port by RS-485 cable respectively. - Page 8 • Make sure the PC is connected to the Internet. • Obtain IP address of the DVR-4WM/8WM/16WM. To check the DVR’s IP address, press MENU on the remote controller and select <System Setup> <IP> to check the IP. Changing Internet Setting: •...
- Page 9 • Version verification starts automatically to verify whether SpecoRemote was installed. This process may take up to 30 seconds. • When the software is completely downloaded and installed, the Login Screen is displayed. • Enter the username and password. The default usernames and passwords are admin / 1234 and user / 4321.
- Page 10 SpecoRemote Playback Playback Remote Video: • Click <Play> on the main window toolbar, and then <Remote Playback> tab. • The <From> and <To> on top of the screen display the date and time from which recorded video is available for playback. •...
- Page 11 Mobile View Software The DVR-4WM/8WM/16WM provides mobile surveillance software called Mobile View Software. This allows users to monitor via a mobile device with internet connection. The Mobile View Software can be downloaded from the official website http://www.specotech.com/software.htm. Refer below for a brief introductions of installation on a JAVA mobile device and basic operations.
- Page 12 Speco Technologies 200 New Highway Amityville, NY 11701 800-645-5516 www.specotech.com...


