
Related Manuals for Mira Logic Series


Summary of Contents for Mira Logic Series
- Page 1 MIRA LOGIC SHOWER FITTINGS Installation & User Guide These instructions are to be left with the user...
-
Page 2: Table Of Contents
CONTENTS Introduction ..................... 3 Important Safety Information ..............3 Pack Contents Checklist ................. 4 Mira Logic Power Shower Fittings ............4 Dimensions ..................... 5 Specifications ..................6 Installation Requirements ..............7 Installation ....................8 Slide Bar and Clamp Bracket ............... 8 Handset Installation ................ -
Page 3: Introduction
INTRODUCTION Thank you for purchasing a quality Mira product. To enjoy the full potential of your new product, please take time to read this guide thoroughly, having done so, keep it handy for future reference. Mira Logic Power Shower Fittings... -
Page 4: Pack Contents Checklist
PACK CONTENTS CHECKLIST Tick the appropriate boxes to familiarize yourself with the part names and to confirm that the parts are included. Mira Logic Power Shower Fittings 2 x Slide Bar End Supports 2 x Wall Plugs 2 x Fixing Screws... -
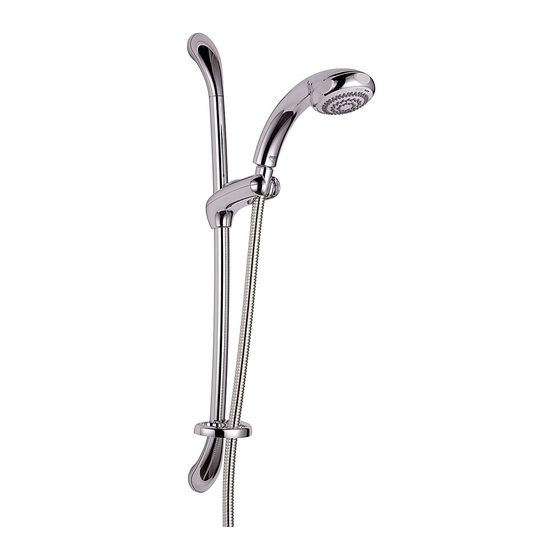
Page 5: Dimensions
DIMENSIONS 354 mm Max. 659 mm 156 mm 109 mm... -
Page 6: Specifications
Warning! Exceeding the stated maximum maintained pressure could result in excessive spray forces and possible damage to the product. This is the typical flow performance graph for the Mira Logic power shower fittings only. There will be an additional pressure loss through the shower control. -
Page 7: Installation Requirements
INSTALLATION REQUIREMENTS Installation must be carried out in accordance with these instructions, and must be conducted by designated, qualified and competent personnel. The hose retaining ring supplied must be used to stop the handset from dropping below the spill-over level of the bath or shower tray. This will prevent water supply contamination due to backsiphonage. -
Page 8: Installation
Use of these alternative fixings is beyond the scope of this guide. Important! If the Logic slide bar replaces an existing Mira slide bar make sure that the position of the shower control and the shower fittings provide a minimum of 25 mm between the handset and bath/tray spill-over level. - Page 9 Make sure that each support is pushed firmly home. Wall Plug Note! If replacing an existing Mira Slide Top Slide Bar Bar proceed to instruction 8. Support Using the assembled slide bar and...
-
Page 10: Handset Installation
35 mm centres, and insert the wall plugs supplied. Wall Plug Screw the wall bracket to the wall. Clip the soap dish onto the wall bracket. Wall Bracket This completes the installation of the Fixing Screw Mira Logic power shower fittings. -
Page 11: Operation
OPERATION Changing Spray Settings The handset has four different spray settings (start, champagne, massage and eco). Eco Setting Turn the spray plate fully clockwise. Water will flow from the outer set of holes and the flow rate will be reduced. This setting performs best with most gravity, pumped, and mains pressure unvented systems. -
Page 12: Clamp Bracket Adjustment
Clamp Bracket Adjustment Release Button Depress the release button and slide the clamp bracket assembly to the required position. Clamp Bracket Assembly Move the handset to the required angle. A friction mechanism within the clamp bracket assembly will hold the handset at the desired angle. -
Page 13: Fault Diagnosis
Partially closed stop or Open valve. servicing valve in supply pipe work to the shower control. Head of water below minimum Raise cistern or fit Mira pump. required. Problem with shower control. Refer to the shower control Installation and User Guide. -
Page 14: Maintenance
MAINTENANCE Cleaning Many household cleaners contain abrasives and chemical substances, and should not be used for cleaning plated or plastic fittings. These finishes should be cleaned with a mild washing up detergent or soap solution, and then wiped dry using a soft cloth. -
Page 15: Spray Plate - Removal And Installation
Spray Plate - Removal and Installation Handset Body Spray Plate Removal Assembly Turn adjuster ring fully Nozzle Ring anticlockwise to the massage spray Retainer setting. Massage Unclip and remove the adjuster ring. Turbine Unscrew the spray plate assembly in Spray Plate an anticlockwise direction. -
Page 16: Spares
Hose 1.25 m - white 450.03 Adjuster Ring (for fittings supplied with Mira Event XS) 450.04 Handset Assembly - white (for fittings supplied with Mira Event XS) 450.07 Slide Bar Support Assembly 450.08 Service Pack 'O' seals- components identified 'A' 450.09... -
Page 17: Mira Logic Spares Diagram
Mira Logic Spares Diagram 450.04 450.15 A, B 450.09 450.10 1594.050 1594.054 450.13 632.73 450.03 450.01 450.02 450.11 450.07 450.12... -
Page 18: Accessories
The inclusion of the Mira DCV-H will increase the required supply pressure typically by 0.1 bar. Available as an optional accessory from Customer Services. -
Page 19: Notes
NOTES... -
Page 20: Customer Service
Our Service Force is available to provide a quality service date. The guarantee on any exchanged parts or product at a reasonable cost. You will have the assurance of a Mira ends when the normal product guarantee period expires. trained engineer/agent, genuine Mira spares – and a 12 Not covered by this guarantee: month guarantee on the repair. - Page 21 Electric Showers Digital Showers Mixer Showers Power Showers Smart Showers Shower Towers From Top Shower Brands Mira Showers Aqualisa Showers Triton Showers Gainsborough Showers Shower Pumps can upgrade your showering experience even more Stuart Turner Shower Pumps Salamander Shower Pumps...