Advertisement
Telstra VVX410 Phone Guide
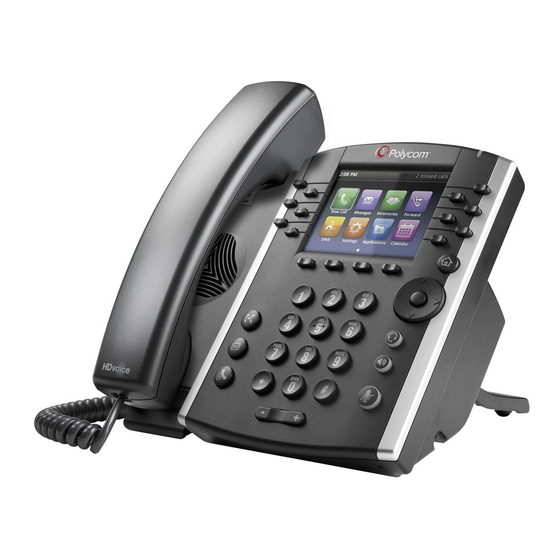
VVX410 phone
1. QSetup (Quick setup)
If you are required to initially configure your
IP phone you will be advised of the
Username and Password. This information
only needs to be entered once via the
QSetup soft key.
Tap the QSetup soft key
Tap the Server User field
Enter the Server User credentials (obtain
this information from Telstra.
This number will be your phone number)
Tap the Server Password field
Tap the Mode soft key and tap 123 (to
select numbers)
Telstra VVX 410 Phone Guide | April 2014
Enter the Server password (obtain this
information from Telstra)
Tap Save Config to Save the Config
You will now need to manually reboot the
phone
Press the Home button
Tap Settings
Tap Basic, swipe your finger up the screen
and
Tap Restart Phone
Tap the Yes soft key (to confirm)
Note 1: Restarting the phone may take a few
minutes
Note 2: If your phone has been preconfigured
the QSetup soft key will not be visible
Note 3: This is only required for phones that are
on DMS (Device Management System)
platform.
2. Home View
Home View shows the main icons:
Use the Page Indicator icon
if there are
multiple pages to move through the pages
Alternatively, you can Swipe the screen to
display additional icons
New Call – Press New Call to display
Dialler
From the Dialler, you can enter a number or
URL and place a call
From the Dialler, you can access the Directory,
Recent Calls and Favorites
Messages – Press Messages to access
your Voicemail Messages
Directories – Directories allow you to
view all the contacts in your Local Contact
Directory
From your Directory, you can add and search
for contacts, as well as quickly access the
Dialler, Recent Calls and Favorites
Forward - Allows you to enable/disable
your call forward always, no answer or busy
settings.
Page 1
Advertisement
Table of Contents

Summary of Contents for Polycom Telstra VVX410
- Page 1 Telstra VVX410 Phone Guide Enter the Server password (obtain this VVX410 phone Use the Page Indicator icon if there are information from Telstra) multiple pages to move through the pages Tap Save Config to Save the Config Alternatively, you can Swipe the screen to...
-
Page 2: Navigating The Screen
Telstra VVX410 Phone Guide 4. Soft Keys An active call displays a green border DND - Allows you to enable/disable Do The VVX410 has four soft keys at the bottom of A held call displays as a red border Not Disturb. Calls cannot be received when the phone. -
Page 3: Answering A Call
Telstra VVX410 Phone Guide 9. Answering a Call 14. Transfer a call – Blind You cannot receive additional calls while both lines are engaged. transfer Lift the handset Or 12. Placing a Call on Hold Press the Answer soft key... - Page 4 Telstra VVX410 Phone Guide Call Forward Always activation Call Forward No Answer Press the Do Not Disturb soft key deactivation: To forward all your calls to another number. The Do Not Disturb icon displays on Press the Forward soft key Press the Forward soft key screen when enabled.
-
Page 5: Updating Contact Directory
Telstra VVX410 Phone Guide All parties are connected in a three-way Highlight required contact Press the upward arrow to view favorites call. Press the Info soft key and Press the Edit Press the left arrow to view received calls To end the conference soft key. - Page 6 Telstra VVX410 Phone Guide Scroll down and select Ring Type headset. When the headset is activated, your Customer Group Administrator to Mute and Volume will take effect on the advise them of this issue. Scroll to select the Ring type option headset device.
-
Page 7: To Listen To Voicemail
Telstra VVX410 Phone Guide †... Only available if assigned. Press 1 A message counter in the Home View Change your mailbox Busy Press 1 again greeting From another phone in your group: A message icon in the status bar Press the Messages button... - Page 8 Telstra VVX410 Phone Guide 3... Change your mailbox No Answer greeting BACK TO MAILBOX 5... Compose and send a new message 7... Delete all messages 8... Modify the message deposit settings for #... Save this message your mailbox 7... Erase this message *...


