Table of Contents
Advertisement
Quick Links
Advertisement
Table of Contents

Related Manuals for Sonos SUB


Summary of Contents for Sonos SUB
- Page 2 Sonos, Inc. Sonos and all other Sonos product names and slogans are trademarks or registered trademarks of Sonos, Inc. Sonos Reg. U.S. Pat. & Tm. Off.
-
Page 3: Sonos Sub
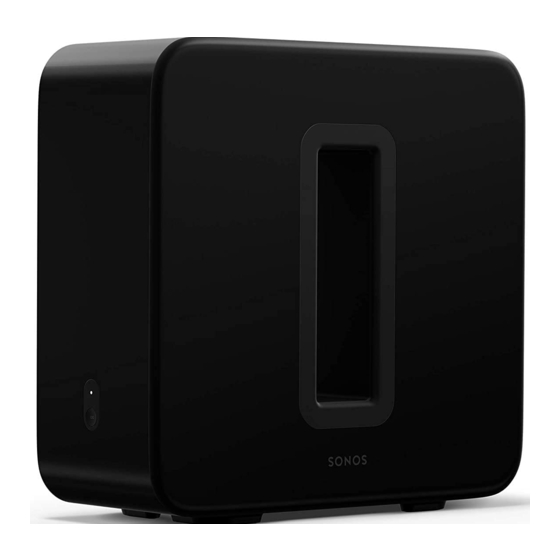
Sonos SUB The Sonos SUB™ takes your audio experience to the next level when you add this wireless subwoofer to an existing Sonos room. • Instantly adds a dimension of deep bass impact to your audio listening experience. • Allows placement anywhere because it’s wireless and compact—position it vertically or horizontally on any floor surface. -
Page 4: The Sonos App
• Sonos app (iOS)—iPhone, iPad and iPod touch running iOS 8.0 or later; certain features may require later versions. Touch the App Store button on your iPhone, iPod touch or iPad to download the free Sonos app, or download the application from iTunes ®... -
Page 5: Sub Bottom/Side
The top of the acoustic slot doubles as a handle so you can lift it. SUB placement: Make sure at least one side of the slot is free from obstruction. If you place it vertically against a wall, do not block the front opening. -
Page 6: Adding The Sub To Sonos
Choose a location for the SUB. It is designed to provide optimal sound wherever you place it. • You can position the SUB either vertically or horizontally. If you are going to use the SUB horizontally on a smooth floor, you can attach the 4 permanent felt feet (included with your SUB) to each of the corners. - Page 7 Sonos SUB • The SUB is designed to be located on the floor. You can place it in a corner, against the wall, behind, under, or next to any piece of furniture on any kind of floor surface. Note: The SUB contains strong magnets. Don’t place the SUB near equipment that is sensitive to magnetic fields.
-
Page 8: Attaching The Feet For Horizontal Placement
If you are going to use your SUB placed horizontally on a smooth floor, the Sonos SUB includes four (4) permanent felt feet you can attach to the corners of the unit. If you are laying the SUB down on a rug or using it vertically, there’s no need to adhere the felt feet. -
Page 9: Sub Settings
• SUB: Choose On or Off to turn the sound from the SUB on and off. • SUB Level: Use the slider to increase or decrease the volume of the SUB. (You can use this setting to match the subwoofer level to the level of your main speakers.) •... -
Page 10: Recalibrating The Sub
• SUB: Check to turn the sound from the SUB on; uncheck to turn it off. • SUB Level: Use the slider to increase or decrease the volume of the SUB. (You can use this setting to match the subwoofer level to the level of your main speakers.) •... -
Page 11: Changing The Sub's Room Association
PLAYBAR, or ZP100). If you are moving the SUB to a new room, first unplug the SUB, locate it on the floor in another room, and then plug it back in. The status light on the side of the SUB will begin to flash. Once it lights solid again, you are ready to proceed. -
Page 12: I Have A New Router
Sonos products. Disconnect the power cord from all of your Sonos products for at least 5 seconds. Reconnect them one at a time, starting with the Sonos product that is connected to your router (if one is usually connected). -
Page 13: Led Explanations
Flashing green Powered up, not yet BRIDGE, BOOST, For a SUB, this may indicate the SUB is associated with a Sonos CONNECT, SUB, not yet paired with a player. system... -
Page 14: Important Safety Information
Important Safety Information Warning:Under no circumstances should the product be repaired by anyone other than an authorized Sonos repair center, as this will invalidate the warranty. Please contact Sonos Customer Support for more information. Do not open the system as there is a risk of electric shock. -
Page 15: Specifications
Sonos SUB Clean only with dry soft cloth. Household cleaners or solvents can damage the finish on your Sonos products. Do not install near any heat sources such as radiators, heat registers, stoves, or other apparatus that produce heat. Protect the power cable from being walked on or pinched, particularly at plugs, convenience receptacles, and the point where they exit from the apparatus. -
Page 16: Need More Help
We’d love to hear from you! We’ll read your feedback carefully and use it to help us improve our product guides. Write to us at: docfeedback@sonos.com If you’re having a problem with your Sonos system, please contact Customer Care so they can help. Email them at http://www.sonos.com/emailsupport.