
Related Manuals for Lenoxx Healthy Choice PC8000

Summary of Contents for Lenoxx Healthy Choice PC8000
- Page 1 Model no: PC8000 Batch no: PR3774 PLEASE READ AND RETAIN INSTRUCTIONS FOR FUTURE REFERENCE. THIS APPLIANCE IS INTENDED FOR HOUSEHOLD USE ONLY.
- Page 2 Introduction You’re about to experience a better, faster and healthier way of cooking. This Electric Pressure & Slow Cooker seals in steam to cook hotter and faster, and it seals in nutrients as well. Cook in less water and experience textures and tastes that are simply sensational.
-
Page 3: Important Safeguards
■ Do not operate any appliance with a damaged cord or plug or after the appliance malfunctions or is dropped or damaged in any manner, take it to the store where the unit was purchased or call Lenoxx customer service for further assistance on 1300 666 848. - Page 4 ■ Place the appliance on a stable, horizontal and level surface. Position it far from flammable materials including curtains, walls, and fabric upholstered furniture. ■ Do not place the appliance near heat-emitting devices such as heaters, cooktops or electric burners. ■...
- Page 5 ■ If any unusual sounds, odour or any other disruption happens, switch the appliance off. Make sure that there are no objects or liquids between the inner pot and heating plate. If the malfunction reason is not found, please contact customer service.
-
Page 6: Instructions For Use
Instructions for Use Once the appliance is assembled properly, you are ready to begin cooking. 1. To remove lid, grasp the handle, turn clockwise and lift. (See figure A, B) 2. Remove the cooking pot from the appliance and add food and liquids as the recipe directs. - Page 7 3. To lock the lid in place, remove any food residue from upper rim of cooking pot to ensure a proper seal. Ensure the sealing ring is securely in place on the sealing ring supporting cover (figure F). 4. Wipe any water or food residue away before placing the cooking pot back into the external pot.
-
Page 8: Operating Instructions
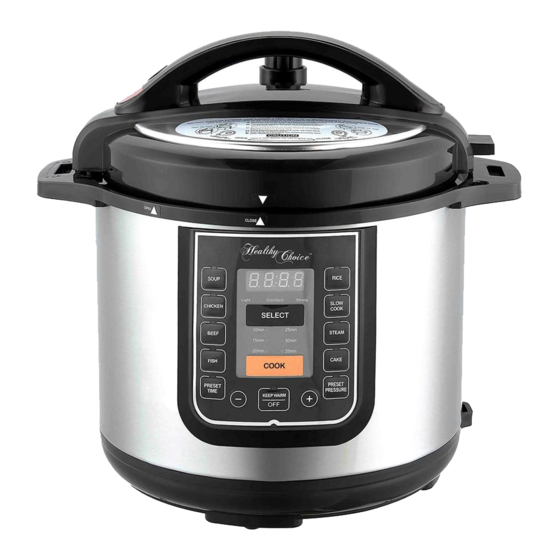
8.With the unit on and the LED displayed, press the pre-set buttons to select the desired cooking function. The function light will flash. The pre-set buttons are Soup, Chicken, Beef, Fish, Rice, Slow Cook, Steam or Cake. 9.When the pressure inside hits proper level, the pressure hold indicator is turned on and the timer begins counting. - Page 9 pressure time will be 45 mins. If the “SELECT” button is pressed again, the “Light” led on and the hold pressure time will change to 15 mins. 4. Manual setting (2) MANUALLY SETTING THE TIME: After selecting one of the pre-set cooking options, you can press “+” or “-” buttons to amend the minutes of holding pressure time.
- Page 10 MINUTES GUIDE Slow Soup Chicken Beef Fish Rice Steam Cake Cook Default Pressure 45 min 20 min 60 min 10 min 15 min time 18 min Strong Pressure 15-45 1-20 1-90 1-10 1-20 10-18 18-33 range 2-9 h manually set NOTE: During the cooking process, the LED screen will not immediately change until the pressure has built up to capacity, this may take approximately 5-10 minutes depending on the quantity of food you are cooking.
- Page 11 The screen will them show “bb” and it will switch into keep warm mode. The unit will cool down to 60 - 80 degrees Celsius. The pressure built inside will release slowly due to the cool down in temperature. After about 1 hour most of the pressure will have been released, however still turn the release valve to remove any pressure which remains.
-
Page 12: Troubleshooting
Troubleshooting Symptom Possible Reasons Solutions The ring is not properly Reinstall the ring installed Lid does not lock The float is seized by the push Push the rod with hands Cannot open the lid The float is still up Press the float down after air exhaust No sealing ring was installed Install the sealing ring...