Advertisement
Quick Links
User Guide
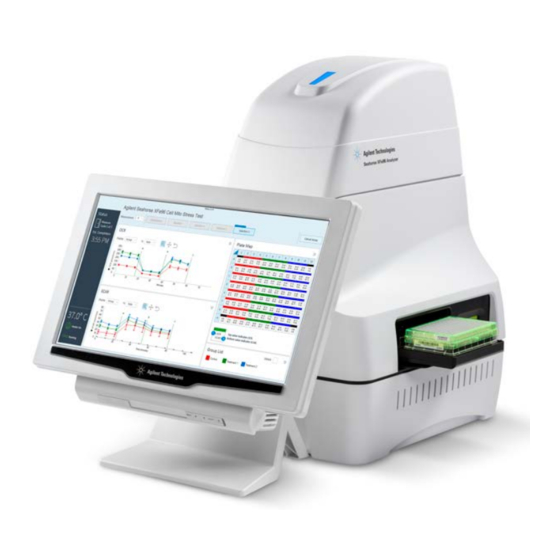
Loading the Agilent Seahorse XFe96
Sensor Cartridge Injection Ports
Basic Procedure
A key feature of the Agilent Seahorse XFe96/XF96 Analyzer is the ability to inject
solutions during the assay and observe changes in respiration or glycolytic rates in
real time. This is accomplished by pipetting solutions into the Injection Ports on the
XF Sensor Cartridge prior to beginning an XF assay. This procedure describes the
injection port loading process which is performed the day of your assay following
overnight XF Sensor Cartridge hydration.
Recommended injection volume is 20-30 µL for XFe96/XF96 Analyzers.
Recommended Injection Solution Volumes for 10X dilution upon injection, starting
with a microplate well volume of 180 µL assay medium (Figure 1):
A
1. Port A: 20 µl
B
C
2. Port B: 22 µl
D
3. Port C: 25 µl
E
F
4. Port D: 28 µl
G
H
Figure 1. Recommended injection volumes and port designation for each well.
The composition and number of ports utilized will depend on your assay design.
Port designation
A
B
for each well
C
D
Advertisement

Related Manuals for Agilent Technologies Seahorse XFe96


Summary of Contents for Agilent Technologies Seahorse XFe96
- Page 1 Sensor Cartridge Injection Ports Basic Procedure A key feature of the Agilent Seahorse XFe96/XF96 Analyzer is the ability to inject solutions during the assay and observe changes in respiration or glycolytic rates in real time. This is accomplished by pipetting solutions into the Injection Ports on the XF Sensor Cartridge prior to beginning an XF assay.
- Page 2 (green arrow) will be in the bottom left-hand corner tions prior to starting the assay, load the injection ports in (Figure 2). close proximity to the Seahorse XFe96/96 Analyzer. 5. A manual or automatic pipet may be used. Ensure any pipet is properly calibrated to accurately dispense volumes of 20.0 to 30.0 µL.
- Page 3 Step 3 Step 4 Using a multi-channel pipette, first ensure tips are securely Place the A/D port loading guide (blue lettering) flat on top fitted onto the pipette before pipetting injection solutions. of the sensor cartridge. Orient the port loading guide so the Position the pipette tips (filled with your injection solutions) letter ‘A’...
- Page 4 XF Sensor Cartridge remove air bubbles from an injection port. This can cause (together with the XF Utility Plate) to the Seahorse XFe96/ unintended leaking of injection solutions from the injection XF96 Analyzer to start your assay.