Table of Contents
Advertisement
Quick Links
Advertisement
Table of Contents

Related Manuals for BenQ Mobile PB2250


Summary of Contents for BenQ Mobile PB2250
- Page 1 PB2250 Digital Projector Mobile Series User’s Manual Welc...
- Page 2 Copyright Copyright 2005 by BenQ Corporation. All rights reserved. No part of this publication may be reproduced, transmitted, transcribed, stored in a retrieval system or translated into any language or computer language, in any form or by any means, electronic, mechanical, magnetic, optical, chemical, manual or otherwise, without the prior written permission of BenQ Corporation.
-
Page 3: Table Of Contents
Important safety instructions ... 1 Introduction ... 5 Projector features ... 5 Shipping contents ... 6 Optional accessories ...6 Projector exterior view ... 7 Front / Upper side ...7 Rear side ...7 Bottom side ...7 Controls and functions ... 8 External control panel ...8... - Page 4 5. Information Menu ... 28 Maintenance ... 29 Care of the projector ...29 Cleaning the lens ... 29 Cleaning the projector case ... 29 Storing the projector ... 29 Transporting the projector ... 29 Lamp information ...30 Warning message ... 30 Replacing the lamp ...
-
Page 5: Important Safety Instructions
Important safety instructions Your BenQ projector is designed and tested to meet the latest standards for safety of information technology equipment. However, to ensure safe use of this product, it is important that you follow the instructions mentioned in this manual and marked on the product. - Page 6 This product is capable of displaying inverted images for ceiling mount installation. Please use BenQ’s Ceiling Mounting Kit for mounting the unit and ensure it is securely installed.
- Page 7 Safety instructions (continued) Do not place this projector in any of the following environments. - Space that is poorly ventilated or confined. Allow at least 50 cm clearance from walls and free flow of air around the projector. - Locations where temperatures may become excessively high, such as the inside of a car with all windows rolled up.
- Page 8 Do not place liquids near or on the projector. Liquids spilled into the projector may cause it to fail. If the projector does become wet, disconnect it from the power supply’s wall socket and call BenQ to have the projector serviced.
-
Page 9: Introduction
Introduction Projector features The projector integrates high-performance optical engine projection and a user-friendly design to deliver high reliability and ease of use. The projector offers the following features: • Selectable password protected function • Compact and portable unit • High quality manual zoom lens •... -
Page 10: Shipping Contents
Shipping contents The projector is shipped with the cables required for connection to a PC and to video equipment. Carefully unpack and verify that you have all of the items shown below. If any of these items are missing, please contact your place of purchase. -
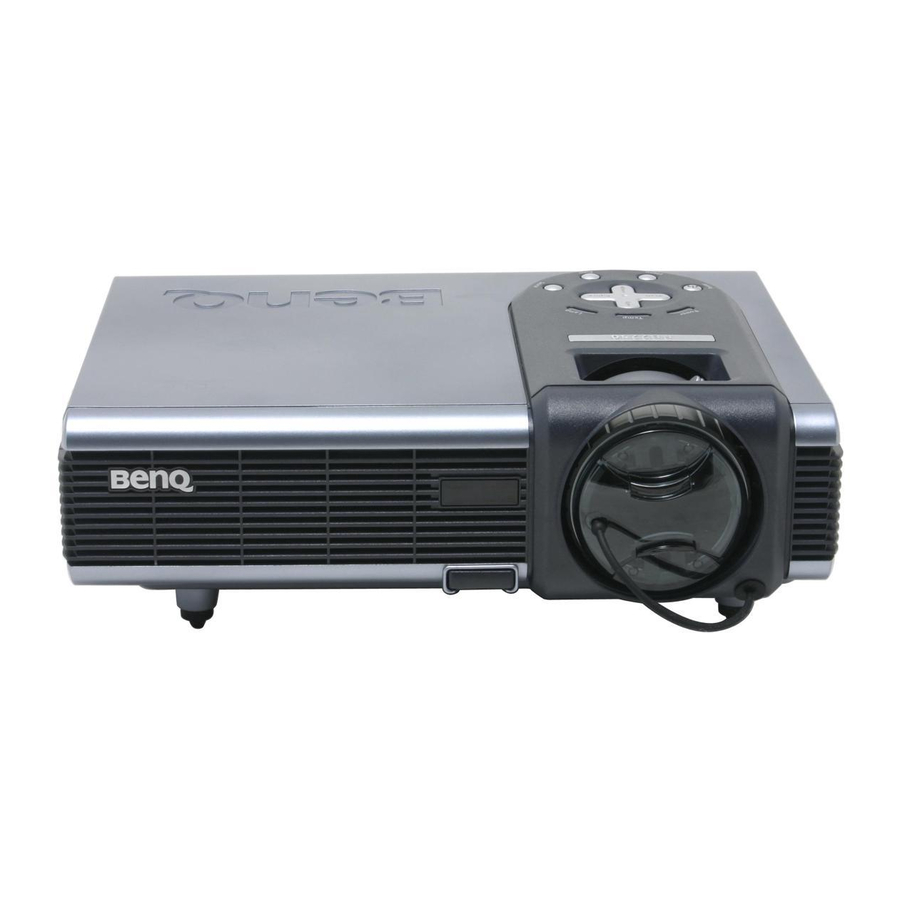
Page 11: Projector Exterior View
Projector exterior view Front / Upper side Kensington lock hole AC power cord inlet Ventilation grill Rear side S-Video socket USB socket Audio socket Bottom side Front adjuster button Front adjuster foot Lamp cover Rear adjuster foot Front adjuster button... -
Page 12: Controls And Functions
RGB/YPbPr, Video, or S-Video. Auto (Refer to page mation.) Automatically determines the best picture settings for the displayed image. Introduction PB2250 Right Left Power indicator light (Refer to page for more information.) Lights up or flashes when the projector is under operation. -
Page 13: Remote Control Description
Manually corrects distorted images resulting from the angles of Keystone projection. Refer to page Page Up and Connect the projector to your PC or notebook with a USB cable Down prior to using this function. You can operate your display application (like a Power Point presentation) moving forwards and backwards. -
Page 14: Remote Control Effective Range
Preset Remote control effective range Infra Red (IR) remote control sensors are located on the front and the back of the projector. The remote control must be held at an angle within 30 degrees of the projector’s IR remote control sensors to function correctly. The distance between the remote control and the sensors should not exceed 6 meters (~ 20 feet). -
Page 15: Positioning Your Projector
Your room layout or personal preference will dictate which installation location you select. Take into consideration the size and position of your screen, the location of a suitable power outlet, as well as the location and distance between the projector and the rest of your equipment. -
Page 16: Obtaining A Preferred Projected Image Size
1.91 meters diagonal. If you place the projector above or below the screen, you have to tilt it down or up to center the image on the screen after turning the projector on. In these situations, some image distortion will occur. - Page 17 50.4 0.86 67.2 1.15 84.0 1.43 100.8 1.72 117.6 2.01 2.29 2.58 2.87 3.15 3.44 3.37 4.02 4.30 4.59 Positioning your projector Maximum zoom meter 62.2 0.76 76.2 93.3 1.14 114.3 124.5 1.52 152.4 155.6 1.91 190.5 186.7 2.29 228.6 217.8...
-
Page 18: Connection
A Mac adapter (an optional accessory) is needed if you are connecting to Macintosh computers. Many laptops do not turn on their external video ports when connected to a projector. Usually a key combo like FN + F3 or CRT/LCD key turns the external display on/off. Locate a function key labeled CRT/LCD or a function key with a monitor symbol on the laptop. -
Page 19: Connecting Equipment To The Component Video Input
Connecting equipment to the Component Video input The projector is capable of displaying various High Definition TV display modes. Some of these sources are: • Digital-VHS (D-VHS) player • Satellite Dish HDTV receiver Most of these sources will provide an analog component video output, either a standard... - Page 20 Video cable Audio cable If the selected video image is not displayed after the projector is turned on and the correct video source has been selected, check that the video source is turned on and operating correctly. Also check that the signal cables have been connected correctly.
-
Page 21: Operation
You can also press Source on the projector or remote control to select an input signal to display. For more information, please refer to page 21. - Page 22 Press and hold 4 for 5 seconds. The projector will display a coded number on the screen. Seek help from the local BenQ service center to decode the number. You may be required to provide proof of purchase documentation to verify that you are an authorized user of the projector.
-
Page 23: Adjusting The Image
Adjusting the image Adjusting the height The projector is equipped with 1 quick-release adjuster foot and 2 rear adjuster feet. These adjusters can be used to change the image height and projection angle. To adjust the projector, Lift the projector up and press the adjuster button to release the adjuster. -
Page 24: Correcting Keystone
• Press Menu key on the projector or the remote control. Go to Keystone and adjust the values by pressing 3 Left/ Right 4 on the projector or 3 / 4 on the remote control. For example,... -
Page 25: Switching Input Signals
Switching input signals The projector can be connected to multiple devices at the same time. To sequentially select input sources, press the Source button on the projector control panel or the remote control. The selected source will be displayed at the bottom right of the screen for 3 seconds. -
Page 26: Menu Operation
Menu operation Menu system The OSD menus will vary according to the selected signal type being used. Sub-Menu Picture Pro-Picture Setting Advance Information Operation Functions available when receiving different signal types... Video / S-Video / Component Video Preset Mode Preset Mode Keystone Keystone Brightness... -
Page 27: Using The Menus
Using the menus The projector is equipped with on-screen display (OSD) menus for making various adjustments and settings. The following example describes the adjustment of the keystone. Press Menu to turn the on-screen menu Use 3 Left / Right 4 on the projector... -
Page 28: Picture Menu
1. Picture menu FUNCTION DESCRIPTION Preset modes are provided so you can optimize your projector image set-up to suit your program type. PC Signal Input Preset Mode YPbPr/ S-Video/ Video Signal Input Corrects any keystoning of the image. Refer to page Keystone information. -
Page 29: Pro-Picture Menu
2. Pro-Picture menu FUNCTION DESCRIPTION Makes the best fit of the image to the screen. Auto Resize 1. On 2. Off There are two aspect ratio settings. Aspect Ratio 1. 4 : 3 (Standard) Adjusts the horizontal position of the projected image. -
Page 30: Setting Menu
Write the password you used in this manual, and keep the manual in a safe place for later recall. The password can be entered by using either the buttons on the projector or the remote control. You will be asked to enter the current password before changing to a new Change one. -
Page 31: Advance Menu
Japanese, and Korean. Enables the user to select which logo screen will appear during projector Splash start-up. Three modes are available: Default (BenQ logo), black screen or Screen blue screen. A mode for extreme environments like high altitude and high tempera- ture. -
Page 32: Information Menu
5. Information Menu This menu shows you the current operating status of the projector. FUNCTION DESCRIPTION Shows the current signal source. Source Shows the native resolution of the input signal. Resolution Preset Mode Shows the selected mode in Displays the number of hours the lamp has been used. -
Page 33: Maintenance
Maintenance Care of the projector Your projector needs little maintenance. The only thing you need to do on a regular basis is to keep the lens clean. Never remove any parts of the projector except the lamp. Contact your dealer if other parts need replacing. -
Page 34: Lamp Information
The Lamp indicator light and Temperature warning light will light up if the lamp becomes too hot. Turn the power off and let the projector cool for 45 minutes. If the Lamp or Temp indicator still lights up after turning the power back on, please contact your dealer. - Page 35 Step 1. Turn the power off and disconnect the projector from the wall socket. Step 2. Protect the projector's surface by clearing a flat open area on your desk and placing a soft item on the desk for padding.
-
Page 36: Temperature Information
Step 9. Resetting the lamp counter Do not reset if the lamp is not replaced as this could cause damage. i. Press and hold the 5 button on the projector for 5 seconds to display the total used lamp time. - Page 37 The lamp is not properly attached or the lamp is damaged. Please contact your dealer for assistance. Thermal events The projector has shutdown automatically. If you try to re-start the projector, it will shutdown again. Please contact your dealer for assistance.
-
Page 38: Service Information
Component Video cable ........50.J2401.001 Ordering parts or getting information For product information, product assistance, service information, or to order accessories, please visit the BenQ Corporation website at http://www.BenQ.com. Maintenance... -
Page 39: Troubleshooting
Remedy Plug the power cord into the AC inlet on the projector, and plug the power cord into the power outlet. If the power outlet has a switch, make sure that it is switched on. Wait until the cooling down process has completed. -
Page 40: Specifications
Digital Projector PB2250 1024 x 768 XGA 1-CHIP DMD PB2250 F=2.4 to 2.6, f= 18.6 to 22.7 mm 200W lamp AC100 ~ 240V, 3.5A, 50/60 Hz (Automatic) 265W (Max) 238 mm (W) x 86.8 mm (H) x 180 mm (D) 0°C ~ 40°C... -
Page 41: Dimensions
Dimensions PB2250 180 86.8 Left Right Unit: mm Specifications... -
Page 42: Timing Chart
48.363 1024 x 768 56.476 (native) 60.023 68.667 1280 x 1024 63.981 To achieve the best quality projected image, please use the projector's native resolution of 1024 x 768. Supported timing for Component-YP Signal Format 480i(525i)@60Hz 480p(525p)@60Hz 576i(625i)@50Hz 576p(625p)@50Hz 720p(750p)@60Hz... -
Page 43: Warranty
Proof of purchase date will be required with any warranty claim. In the event this prod- uct is found to be defective within the warranty period, BenQ’s only obligation and your exclusive remedy shall be replacement of any defective parts (labor included). To obtain warranty service, immediately notify the dealer from which you purchased the product of any defects. -
Page 44: Regulation Statements
Regulation statements FCC statement CLASS B: This equipment generates, uses and can radiate radio frequency energy and, if not installed and used in accordance with the instructions, may cause harmful inter- ference to radio communications. However, there is no guarantee that interference will not occur in a particular installation.