Table of Contents
Advertisement
Advertisement
Table of Contents

Related Manuals for Profoto B10


Summary of Contents for Profoto B10
- Page 1 User guide Profoto B10 For other languages visit: www.profoto.com/support...
- Page 2 www.profoto.com...
- Page 3 Unless it complies with the specified performance, quality and safety, it is a no-go. As a result, we are confident that your new Profoto product will stay with you for years and help you grow as a photographer. But getting the product is only the beginning of that journey.
-
Page 4: General Safety Instructions
Interference cannot be ruled out. Due to varying regulations and limits on radio transmissions, Profoto B10 has a power output setting. Some countries do not allow the use of the full power mode, please refer to your country specific section in the user guide to see the maximum allowed power setting allowed by national regulations. -
Page 5: Table Of Contents
Mount the battery ....................11 Attach the stand adapter ................12 Setup on light stands ..................13 Setup on camera tripods ................14 Mount Profoto Light Shaping Tools ............15 Change front glass, flash tube and LED ..........16 Basic operation........................17 Switch on/off ....................17 Adjust the flash power ...................17... - Page 6 Other ........................... 28 Battery storage ....................28 Overheat protection ..................28 Quick burst ...................... 28 Firmware update ................... 29 Serial number ....................29 Technical data ........................30 Warranty ..........................33 Regulatory information ....................34 www.profoto.com...
-
Page 7: Nomenclature
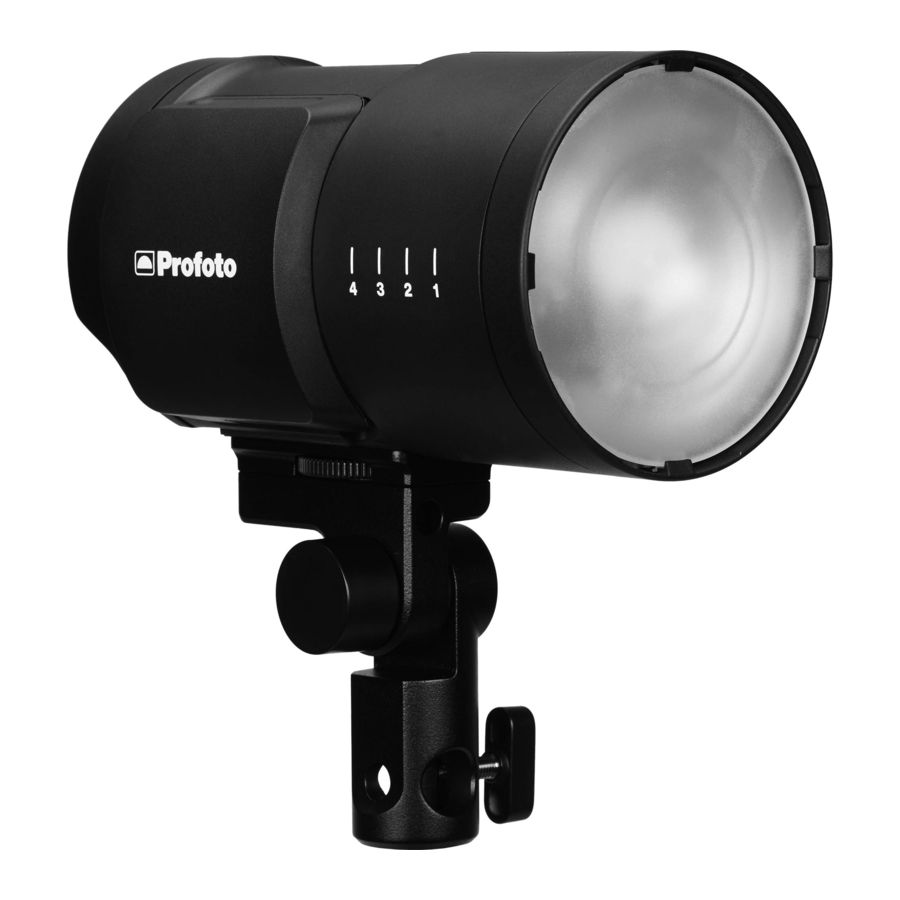
Nomenclature Front glass 5. Stand adapter attachment point 2. Zoom scale 6. Strap attachment point 3. Battery compartment USB-C port 4. Alignment pin hole www.profoto.com... - Page 8 8. IR-Slave eye 11. Main dial 9. Display 12. Test button 10. Continuous light dial 13. Stand stud mount 17. Attachment screw wheel 14. Clamp screw 18. Alignment pin 15. Umbrella holder 19. Attachment screw 16. Tilt-lock knob www.profoto.com...
- Page 9 20. Battery status button 22. Battery charge connector 21. Battery status LEDs 23. Battery release button 24. AC inlet 26. Charge status indicator 25. Strap 27. Battery connector plug www.profoto.com...
-
Page 10: Getting Started
Getting started Charge the battery The battery can be charged from any charge level. Only use the Profoto charger supplied with the Profoto B10 or other chargers recommended by Profoto. Charge the battery: Connect the battery connector plug [27] on the battery charger to the battery charge connector [22] on the battery. -
Page 11: Mount The Battery
1 section: 10-25 % Empty frame: <10 % If the Profoto B10 is turned on and the battery is charged during use, it will be indicated by a battery charge icon in the bottom right of the display [9]. Mount the battery To mount the battery, fit the battery into the Profoto B10 unit as illustrated below and press firmly until you hear a “click”... -
Page 12: Attach The Stand Adapter
Profoto B10. Before attaching, observe that the alignment pin [18] on the stand adapter, fits into alignment pint hole [4] on the Profoto B10. 2. Tighten the attachment screw [19] with the attachment screw wheel [17] until the stand adapter sits firm. -
Page 13: Setup On Light Stands
Setup on light stands Before mounting the Profoto B10 onto a light stand, you need to attach the stand adapter. Once the stand adapter is attached, follow the instruction below. Mount the Stand stud mount [13] onto the stand stud and secure with the Clamp screw [14]. -
Page 14: Setup On Camera Tripods
Setup on camera tripods It is easy to mount the Profoto B10 onto any camera tripod or ball head. If the stand adapter is attached to the Profoto B10, first remove it. 2. Attach the tripod or ball head onto the stand adapter attachment point [5] on the Profoto B10. -
Page 15: Mount Profoto Light Shaping Tools
Profoto B10. Unlock the clasp on the reflector. 2. Slide the reflector onto the front of the Profoto B10. Use the zoom scale [2] as a memo for where to position the reflector. 3. Secure the reflector by locking the clasp on the reflector. -
Page 16: Change Front Glass, Flash Tube And Led
[15]. The umbrella shaft diameter must be between 7 mm and 8 mm to fit into the umbrella holder. Mount the stand adapter on the Profoto B10. 2. Slide the umbrella shaft into the umbrella holder [15] passing the point where you feel some friction. -
Page 17: Basic Operation
To switch on the unit, press and hold the Test button [12]. 2. To switch off the unit, press and hold the Test button [12]. When the Profoto B10 is switched off, the current settings are stored and will apply when the unit is switched on again. -
Page 18: Adjust The Continuous Light
[9] by two separate bars as shown below. 3. Turn the Continuous light dial [10] to change the brightness. 4. Press and turn the Continuous light dial [10] to change the color temperature. www.profoto.com... -
Page 19: Navigate The Settings Menu
4. Turn the continuous light dial [10] to change the color temperature. Navigate the settings menu All Profoto B10 settings are accessed and selected through the settings menu. Press the Main dial [11] to enter the settings menu. -
Page 20: Menu Settings
All settings listed below are accessed through the settings menu. Air group The AIR GROUP setting is used to select the group (A-F) for wireless control via Profoto Air. See also section Air operation. Factory default setting is group A. NOTE The AIR GROUP setting is only selectable when AIR is set ON. -
Page 21: Ir Slave
• DISCONNECT: This is only selectable if the Bluetooth is activated and connected to the Profoto app. Can be selected to force disconnection from the Profoto app without turning off Bluetooth. IR slave The IR SLAVE setting can be set to ON or OFF to activate or deactivate the infrared slave sensor. -
Page 22: Continuous Light
The test button [12] always comes off after flashing and comes on again when the Profoto B10 is fully recycled. The Profoto B10 will always flash even when not fully recycled but the flash power might then be lower than the set flash power. - Page 23 30 MIN: The Profoto B10 goes into standby mode after 30 minutes of inactivity. This is the factory default setting. • 1 HOUR: The Profoto B10 goes into standby mode after 1 hour of inactivity. • NEVER: The Profoto B10 never goes into standby mode.
- Page 24 • 15 MIN: The Profoto B10 turns off after 15 minutes of inactivity. • 1 HOUR: The Profoto B10 turns off after 1 hour of inactivity. This is the factory default setting. • NEVER: The Profoto B10 never turns off automatically.
-
Page 25: Air Operation
Speed Sync if this is supported by your Air remote and/or camera. The basic trigger setup is very easy in three simple steps and requires no linking between units. Activate Air on the Profoto B10 by selecting AIR ON in the Settings menu. 2. Turn on your Air Remote. -
Page 26: Ttl
Just switch between TTL or Manual (MAN) on your Air Remote or Profoto A1 to select if you want to let the Profoto B10 adjust the light automatically (TTL) or if you want to control it manually (MAN). -
Page 27: General Notes On Air Operation
Profoto app connectivity It´s easy to connect the Profoto B10 with the Profoto app and once you are connected it is even easier and more fun to use the Profoto B10. The Profoto app gives you all in one access to: •... -
Page 28: Other
Quick burst is an automatically activated function that allows a series (burst) of flashes to be fired at a faster pace than the Profoto B10 can recycle. The function is only active when the light output is set to less than full. -
Page 29: Firmware Update
Profoto app. You can also register at profoto.com/myprofoto and download the latest updates for Mac or PC. Upgrading from a Mac or PC is done via USB-cable to the USB-C port [7] on the Profoto B10. Switch the Profoto B10 off and connect the USB-C cable. After uploading new firmware, disconnect the cable before switching on the Profoto B10. -
Page 30: Technical Data
(Color rendering index) Battery Battery type Li-Ion, 14.4 Vdc, 43.2 Wh/3.0Ah Battery flash capacity (no of Up to 400 full power flashes flashes) Max battery continuous light Up to 75 minutes capacity Battery charging time Up to 90 minutes www.profoto.com... - Page 31 Yes, selectable Auto power off Yes, selectable Measurements Diameter 100 mm Length 175 mm Weight excluding Stand adapter 1250 g All technical data are to be considered as nominal and Profoto reserves the right to make changes without further notice. www.profoto.com...
- Page 32 6400 1/4300 1/8000 7000 1/1800 1/2100 6400 1/5800 1/13000 7100 1/2100 1/2700 6400 1/7700 1/17000 7400 1/2600 1/3300 6400 1/9900 1/19000 8000 1/2800 1/3700 6400 1/12000 1/25000 8500 1/3300 1/4600 6400 1/15000 1/50000 8600 1/4900 1/7000 6400 1/14000 1/42000 8200 www.profoto.com...
-
Page 33: Warranty
Warranty All generators, heads and remote controllers manufactured by or for Profoto which bear the Profoto trademark, name or logo are individually tested before they leave the company and guaranteed for a period of two years with the exceptions set out in Warranty terms. If you have any technical problems with the product, please get in contact with an authorized Profoto service station. -
Page 34: Regulatory Information
SRD (Short Range Devices). This band may be used in most parts of the world. Regional restrictions may apply. NOTE Refer to national regulations for the region where the Profoto B10 AirTTL shall be operated and make sure that they are followed. EU Declaration of Conformity Hereby, Profoto AB declares that the radio equipment type Profoto B10 AirTTL is in compliance with Directive 2014/53/EU. - Page 35 Les lettres ‘IC’ n’ont aucune autre signification ni aucun autre but que d’identifier ce qui suit comme le numéro de certification/ d’enregistrement d’Industrie Canada. Profoto AB Transmitter / Receiver MODEL: Profoto B10 AirTTL PRODUCT NO: PCA1444-000 FCC ID: W4G-RMI6, QOQBGM12LMA IC: 8167A-RMI6, 5123A-BGM12LMA Made in Sweden...
- Page 36 2.4 GHz Wide Band Low Power Data Communication 上記のとおり、 電波法第 38条の 24第 1項の規定に基づく認証を行ったも のであることを証する。 This is to certify that the above-mentioned certification by type has been granted in accordance with the provisions of Article 38-24, Paragraph 1 of the Radio Law. 202-LSF011 R 209-J00226 www.profoto.com...
- Page 37 Apple iPhone is a trademark of Apple Inc., registered in the U.S. and other countries. The Bluetooth® word mark and logos are registered trademarks owned by the Bluetooth SIG, Inc. and any use of such marks by Profoto is under license. Other trademarks and trade names are those of their respective owners.
- Page 38 Profoto AB Sweden +46 (0) 8 447 53 00 info@profoto.com www.profoto.com...