Advertisement
For FAQs and more information, please visit:
www.SeeNebula.com
support@SeeNebula.com
+1 (800) 988 7973 (US) Mon-Fri 9:00 - 17:00 (PT)
+44 (0) 1604 936200 (UK) Mon-Fri 6:00 - 11:00 (GMT)
+49 (0) 69 9579 7960 (DE) Mo-Fr 6:00 - 11:00
+81 03 4455 7823 ( 日本 ) 月 - 金 9:00-17:00
© Anker Innovations Limited. All rights reserved.
NEBULA and the NEBULA logo are trademarks of
Anker Innovations Limited, registered in the
United States and other countries.
Model: D2240
51005001300_D2240_INT_Manual_120X140mm_20181106_V01.indd 1-2
51005001300 V01
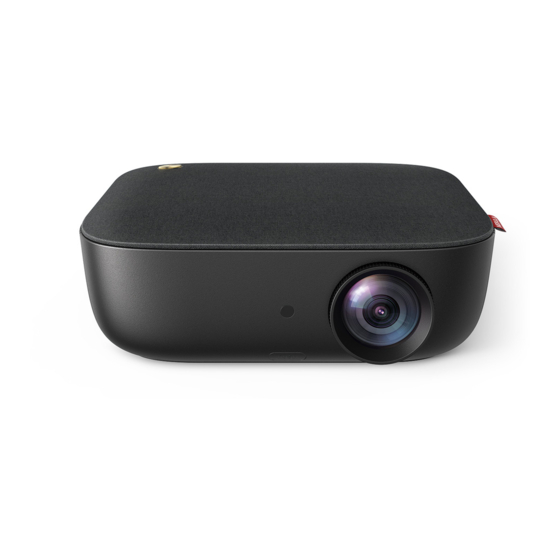
Nebula Prizm II
User Manual
2018\11\8 星期四 15:46:00
Advertisement
Table of Contents

Related Manuals for Nebula Prizm II


Summary of Contents for Nebula Prizm II
- Page 1 +81 03 4455 7823 ( 日本 ) 月 - 金 9:00-17:00 Nebula Prizm II © Anker Innovations Limited. All rights reserved. NEBULA and the NEBULA logo are trademarks of Anker Innovations Limited, registered in the User Manual United States and other countries.
-
Page 2: Table Of Contents
Table of Content English Important Safety Instructions Deutsch What’s Included Overview Español Remote Control Français Getting Started Italiano Using the Nebula Prizm II 日本語 Upgrading the Firmware Specifications Troubleshooting Notice Trademarks Warranty 51005001300_D2240_INT_Manual_120X140mm_20181106_V01.indd 3-1 2018\11\8 星期四 15:46:00... -
Page 3: Important Safety Instructions
Important Safety Instructions • Under the following conditions, a layer of moisture can appear inside the device which can lead to malfunctions: a) if the device is moved from a cold to a warm area; b) after a Read and understand all instructions before you use this device. cold room is heated;... -
Page 4: What's Included
What’s Included • Do not use any liquid cleaning agents to clean the lens as they may damage the protective coating on the lens. • Wipe the surfaces gently. Be careful that you do not scratch the surfaces. • Use lens cleaning paper to clean the lens of this projector. Repairs •... -
Page 5: Remote Control
Remote Control Rear View IR receiver HDMI • Connect to a playback Power button device with HDMI output AC-IN AUDIO OUT • Connect to headphone or • Connect to power supply external speaker • Connect to a USB storage device 2. Bottom View •... -
Page 6: Getting Started
80 inches (177 cm × 100 cm) 2.33 m 100 inches (221 cm × 124 cm ) 2.88 m The Nebula Prizm II comes with a flip stand. To use the flip stand: 120 inches (266 cm × 150 cm ) 3.43 m ① Press the button. - Page 7 3. Correct Keystone 5. Power On ① Connect this projector to the outlet by using the provided power It is unnecessary to tilt this projector towards the projection cord and adapter. surface. To correct the keystone: ① Press on the remote control to access the home menu, select [Settings] and press AC-IN The Settings menu will show as below.
-
Page 8: Using The Nebula Prizm Ii
Using the Nebula Prizm II [Projection Mode] [Front]: The device is located in front of the projection surface. 1. Play from HDMI Playback Devices [Rear]: The device is located behind the projection surface. This projector can be connected to various HDMI playback devices such as a TV box, TV stick, DVD player, set-top box (STB), gaming [Front Ceiling]: The device is hanging from console or other devices. - Page 9 ② Press to access the home menu, select [File Manager] and press ③ Select a file, then press This projector will play the video or music, or display the photo you selected. ④ To stop play, press Note: Before connecting headphones, turn down the volume to avoid straining your ears.
-
Page 10: Upgrading The Firmware
To upgrade the firmware: ① Download the firmware upgrade software with a USB drive from the Nebula website: SeeNebula.com. ② Insert the USB drive into this projector’s USB port. ③ Press to access the home menu, select [Settings] > [U Disk Update]. -
Page 11: Specifications
Specifications Troubleshooting ① Cannot turn on projector with the remote control? Specifications and design are subject to change without notice. • Make sure that this projector is connected to the power supply. ② The remote control doesn’t work? Power supply: AC 110~240V Power consumption: <... - Page 12 Notice • Reorient or relocate the receiving antenna. • Increase the separation between equipment and receiver. • Connect the equipment into an outlet on a circuit different This product complies with the requirements of the European Community from that to which the receiver is connected. •...
-
Page 13: Warranty
Nebula’s products are warrantied to be free from material and Erste Schritte workmanship defects for 12 months from the date of purchase. Within this period, Nebula will provide a replacement and cover any Verwendung des Nebula Prizm II return shipping costs for products that fail in normal use.