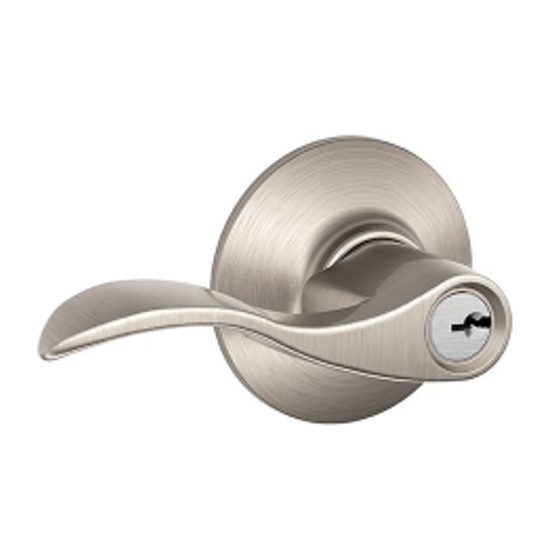
Schlage F-Series Installation Instructions
Schlage door lock installation instructions
Hide thumbs
Also See for F-Series:
- Price book (108 pages) ,
- Installation instructions (2 pages) ,
- Quick start manual (2 pages)
Advertisement
Quick Links
Instrucciones de instalación
P515-359
Lever (2)
Knob (2)
Manija (2)
Perilla (2)
Levier (2)
Bouton (2)
Cylinder
Cilindro
Cylindre
Rose (2)
Embellecedor (2)
Rosette (2)
Latch
Pestillo
Verrou
Preparación de la puerta
A. Mark Lockset Centerline
a.
Mark centerline on door.
b.
Stand so door swings towards you. Align template on centerline and fold
template as shown.
A. Marcar la línea central de la cerradura
a.
Marcar la línea central en la puerta.
b.
Colocarse de tal modo que la puerta gire hacia usted. Alinear la plantilla
en la línea central y doblarla tal y como se muestra.
A. Marquer la ligne centrale de la serrure
a.
Marquer la ligne centrale sur la porte.
b.
Se placer de sorte que la porte s'ouvre vers soi. Aligner le gabarit sur la
ligne centrale et plier le gabarit comme illustré.
B. Mark and Drill Trim Holes
Select backset. Mark and drill holes as shown.
B. Marcar y taladrar los orificios de la guarnición
Seleccionar la distancia del borde de la puerta al centro de la bocallave.
Marcar y taladrar los agujeros tal y como se muestra.
B. Marquer et percer les trous de la bande de chant
Sélectionner un écartement. Marquer et percer des trous comme illustré.
C. Mortise for Latch (No mortise needed for drive-in latch.)
Use faceplate as a pattern for mortise and pilot holes. Faceplate should
fit flush.
C. Entalladura para el pestillo (no se necesita entalladura para
el pestillo de inserción)
Usa la placa delantera como patrón para la entalladura y los agujeros
guía. La placa delantera debe quedar al ras.
C. Mortaise pour le verrou (pas de mortaise nécessaire pour le
verrou à enfoncement)
Utiliser une têtière comme modèle pour la mortaise et les trous pilotes.
La têtière doit affleurer.
Installation Instructions
F51 Shown
El modelo F51
F51 illustré
Cylinder
Cilindro
Cylindre
Outside Chassis
Chasis exterior
Châssis extérieur
Inside Chassis
Chasis interior
Châssis intérieur
Mounting Screws
Tornillos de montaje
Vis de montage
Door Preparation
F-Series
Escutcheon Screws (4)
Escutcheon Screws (4)
Escutcheon Screws (4)
Escutcheon (2)
Escutcheon (2)
Escutcheon (2)
Centerline
Línea central
Ligne centrale
⁷⁄₈" (22mm)
Faceplate
Placa delantera
Têtière
by
Notice d'installation
Rounded Corner Faceplate
Placa delantera con
esquinas redondeadas
Têtière à angles arrondis
Préparation de la porte
Template
Plantilla
OR
Gabarit
O
OU
38" (965mm) From Finished Floor
965 mm del suelo terminado
965 mm depuis le bas de la porte
Centerline
Línea central
Ligne centrale
Strike
Placa hembra
Gâche
Drive-In Latch Adapter
Adaptador del pestillo
de inserción
Adaptateur de verrou
à enfoncement
Push Pin
Pasador de empuje
Punaise
Backset
Distancia del borde de la
puerta al centro
de la bocallave
Écartement
2¹⁄₈" (54mm)
Two (2) ¹⁄₈" (3mm)
Pilot Holes
Dos agujeros
guía de 3 mm.
Deux trous pilotes
de 3 mm
Advertisement

Summary of Contents for Schlage F-Series
-
Page 1: Installation Instructions
Preparación de la puerta A. Mark Lockset Centerline Mark centerline on door. Stand so door swings towards you. Align template on centerline and fold template as shown. A. Marcar la línea central de la cerradura Marcar la línea central en la puerta. - Page 2 Enclencher la têtière à enfoncement et la fixer avec un collier. Install Latch Install as shown for appropriate latch type. Ensure bevel faces door jamb. Instalación del pestillo Instalarlo tal y como se muestra según el tipo de pestillo. Asegurarse de que el bisel esté...
- Page 3 Remove Inside Knob/Lever and Rose/Escutcheon Remove lever by pushing pin into hole and pulling lever off. Remove rose/escutcheon from chassis. Remove Inside Knob/Lever and Rose/Escutcheon Remove lever by pushing pin into hole and pulling lever off. Remove rose/escutcheon from chassis. Remove Inside Knob/Lever and Rose/Escutcheon Remove lever by pushing pin into hole and pulling lever off.
- Page 4 Escutcheon Installation Make sure escutcheon is straight. Insert two (2) screws and tighten into door. Escutcheon Installation Make sure escutcheon is straight. Insert two (2) screws and tighten into door. Escutcheon Installation Make sure escutcheon is straight. Insert two (2) screws and tighten into door.


