Advertisement
Quick Links
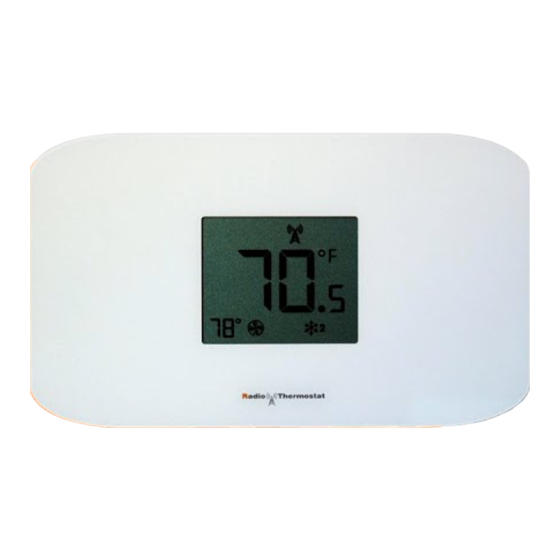
Operation Guide CT110
The CT110 communicating thermostat operates via
a high-quality, easy-to-use radio interface. After you
have joined to your Z-Wave network you can control
it from phone apps or the web.
Without a radio connection you can locally set or
adjust your CT110, simply press the buttons on
the side of the unit. The screen will automatically
light up and you will hear a "beep." There are five
buttons on the unit - +, -, FAN, MODE, and RESET.
Statement of use: 100% Compatible with all popular
residential HVAC systems; 24VAC single, two stage
conventional heating systems (gas/oil/electric), heat pumps
with up to two stages of heat and two stage auxiliary
heat(electric or fossil), zoned forced air and zoned hot water
(2 or 3 wire), millivolt systems (with a 12-24 AC or DC source),
one or two stage cooling, and hybrid systems.
1308-002-001
MODE
FAN
button
button
Temperature
adjust buttons
OPERATION
Z-Wave join
Button
ENGLISH
Advertisement

Related Manuals for Radio Thermostat CT110


Summary of Contents for Radio Thermostat CT110
- Page 1 Without a radio connection you can locally set or adjust your CT110, simply press the buttons on the side of the unit. The screen will automatically light up and you will hear a “beep.” There are five buttons on the unit - +, -, FAN, MODE, and RESET.
-
Page 2: Home Screen
HOME Screen Before you operate the CT110 please get familiar with these basic control screens. All the CT110 functions are accessed through these screens: HOME, and CONFIG. The CT110 radio control technology allows you to configure your thermostat. Radio Time... -
Page 3: Initial Settings
0.5 to 2.0°F (.25 to 1°C). For example, if SWING is set to 2.0°F and the CT110 is set to 70°F Target Temperature, the heat cycle will start when room temperature drops to 68°F. Similarly, the cooling system will start when the room temperature increases to 72°F. -
Page 4: Physical Buttons
OFF to the next mode: HEAT -> OFF-> COOL -> OFF , etc. AUTO mode is only accessible from the web interface - AUTO mode will automatically switch the CT110 from HEAT to COOL depending on the temperature trend in your house. -
Page 5: Remote Access Features
- From the settings screen of the web interface, click the icon and select lock. In lock, no changes can be made at the thermostat. Once locked, the CT110 will not respond to any local controls and the icon will be displayed. - Page 6 COOL - This is displayed when the CT110 is in Cool mode. Blinking when active. HEAT - This is displayed when the CT110 is configured for conventional heat. In a multi-stage Heating system the number 2 is displayed when the second stage is operational. Blinking when...
- Page 7 It is very important to replace batteries as soon as this is displayed. Humidity LOCK - This is displayed when the CT110 is in Heat Lock. The unit must be unlocked from the web Aux Heat interface.