
Related Manuals for Radio Shack 15-1981


Summary of Contents for Radio Shack 15-1981
- Page 1 Cat. No. 15-1981 OWNER’S MANUAL Please read before using this equipment. 181-CHANNEL REMOTE CONTROL CABLE CONVERTER with Volume Control...
- Page 2 INTRODUCTION Your RadioShack 181-Channel Re- mote Control Cable Converter lets you connect non-cable-ready product to cable. It is compatible with all cable systems and gives you com- plete remote control selection of all cable channels (VHF, Mid-Band, Su- per-Band, and Hyper-Band). The con- verter’s volume control lets you adjust a connected TV’s sound.
-
Page 3: Table Of Contents
CONTENTS Preparation ... 4 Setting CH4/CH3 ... 4 Choosing the Cable System Type ... 4 Connecting the Converter to AC Power ... 5 Turning the Converter On/Off ... 5 Using the Switched AC Outlet ... 6 Connecting the Converter ... 7 Connecting to a TV ... -
Page 4: Preparation
PREPARATION Your converter’s remote control re- quires two AAA batteries (not sup- plied) power. performance and longest life, we rec- ommend RadioShack alkaline batter- ies. Cautions: • Use only fresh batteries of the required size and recommended type. • Do not mix old and new batteries, different types of batteries (stan- dard, alkaline, or rechargeable), or rechargeable batteries of different... -
Page 5: Connecting The Converter To Ac Power
Caution: To avoid damaging your converter, make sure your converter is not connected to an AC outlet before setting IRC/HRC/STD Note: If you are not sure what type of channel frequency system your cable system uses, contact your local cable company. -
Page 6: Using The Switched Ac Outlet
USING THE SWITCHED AC OUTLET The converter’s built-in switched AC outlet lets you connect a TV or anoth- er electronic device that uses 120V, 60Hz power (up to 600 watts) directly to the converter. Press on the converter or re- POWER mote control to turn on the converter and the outlet. -
Page 7: Connecting The Converter
CONNECTING THE CONVERTER CONNECTING TO A TV Use the supplied 75-ohm coaxial ca- ble with F-type connectors to connect the 75-ohm terminal on your TV to the terminal on the back of the RF OUT converter. If your TV has only 300- ohm terminals, use a 75-to-300 ohm transformer (not supplied), available from your local RadioShack store. -
Page 8: Single-Wire Cable System
Single-Wire Cable System Connect to TV R/F Inputs TV Set Matching Transformer (75-300 Ohm) Connect to TV Audio/Video Inputs TV Set TV Set Cable Converter CH4/CH3 From Cable Company AC Plug from TV Set Cable Converter From Cable Company Switched AC Outlet To Standard AC Outlet... -
Page 9: Two-Wire Cable System
Two-Wire Cable System Some cable systems offer more than 181 channels and include two incoming wires. To use your converter with such a system, install an A/B switch (not supplied), available from your local RadioShack store, to connect the cable company’s wires to the converter. -
Page 10: Connecting To A Vcr
CONNECTING TO A VCR Recording and Viewing a Non-Premium Cable Channel This connection lets you record a non-premium cable channel while you view it. To Standard AC Outlet Cable Converter CH4/CH3 From Cable Company Matching Transformer (75-300 Ohm) Switched AC Outlet To Standard AC Outlet (both) TV Set... -
Page 11: Recording And Viewing A Premium Cable Channel
Recording and Viewing a Premium Cable Channel This connection lets you: • record a premium or non-premium cable channel while you view it • record a premium cable channel while you view a non-premium cable channel • record a non-premium cable channel while you view another non-premium cable channel Use an A/B switch (not supplied) to connect your TV set to the VCR and the cable converter. -
Page 12: Operation
OPERATION OPERATING THE CONVERTER’S RECEIVER Press on the converter or re- POWER mote control to turn the converter and the switched AC outlet on and off. When you turn off the converter, a dot appears on the lower right corner of the display to indicate that the con- verter is in standby mode. -
Page 13: Using The Remote Control
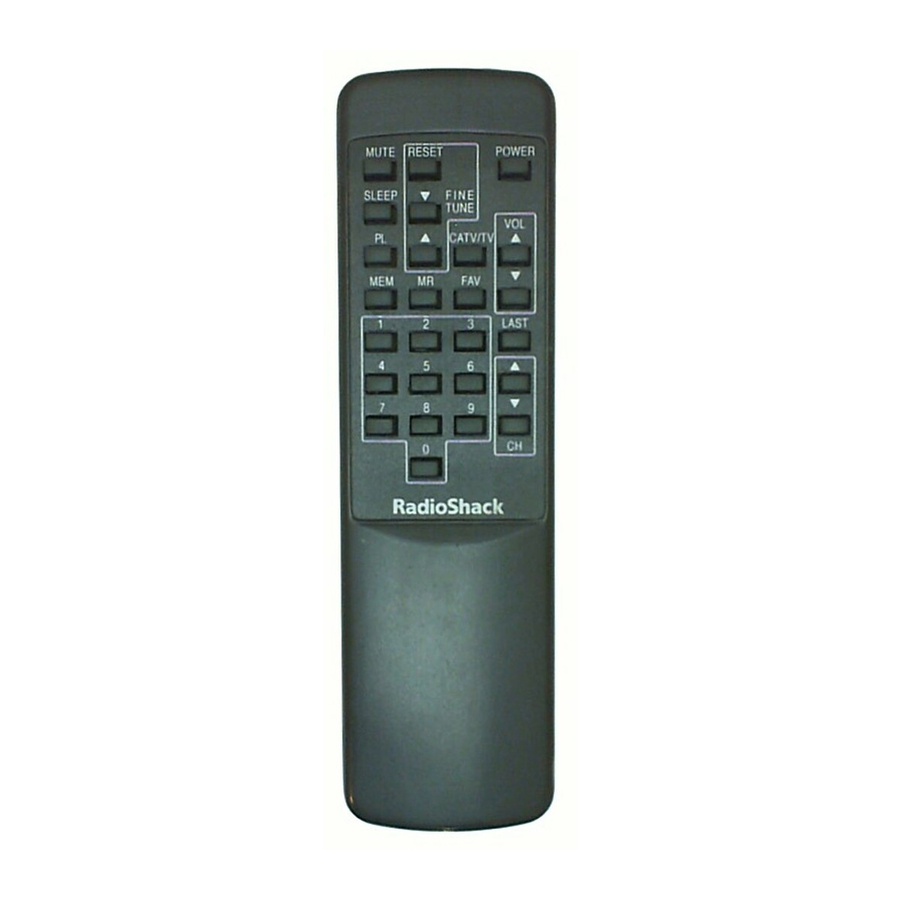
USING THE REMOTE CONTROL The remote control lets you operate your converter from across the room. For the most dependable operation, point the remote control toward the converter’s display. Here is a description of each of the re- mote control’s keys: —... -
Page 14: Remote Control Tvs
Remote Control TVs If your TV has a remote control and your converter’s remote control inter- feres with the TV’s operation, either turn off the TV’s remote control fea- ture (if the TV has a remote control on/ off switch) or cover the TV’s remote control receiver window (with a piece of black tape, for example). -
Page 15: Setting The Sleep Timer
SETTING THE SLEEP TIMER Follow these steps to set the convert- er to automatically turn off after a cer- tain length of time (90, 60, or 30 minutes). 1. Press SLEEP the sleep timer indicator lights. 2. Repeatedly press desired length of time appears. When the preset time is reached, appears and the converter automati- cally turns off. -
Page 16: Unlocking A Channel
Unlocking a Channel 1. Repeatedly press the remote control to select the desired locked channel. 2. Press , then use the number keys on the remote control to enter the security code. The con- verter unlocks the channel. 3. Press appears. -
Page 17: Variations In Channel Numbering
VARIATIONS IN CHANNEL NUMBERING Some cable companies use a channel numbering system that is different from the one used by your converter. For example, the channel your cable company calls 21 might appear as on the converter’s display. Use the supplied channel number la- bels to mark the cable company’s channel numbers that differ from the channels on the converter’s display. - Page 18 Indicator Cable Channel EE or W+5 FF or W+6 GG or W+7 HH or W+8 II or W+9 JJ or W+10 KK or W+11 LL or W+12 MM or W+13 NN or W+14 OO or W+15 PP or W+16 QQ or W+17 A6 or W+18 A7 or W+19 A8 or W+20...
-
Page 19: Care And Maintenance
CARE AND MAINTENANCE Your RadioShack 181-Channel Remote Control Cable Converter is an example of superior design and craftsmanship. The following suggestions will help you care for your converter so you can enjoy it for years. Keep the converter dry. If it gets wet, wipe it dry immediately. Liquids might contain minerals that can corrode the electronic circuits. -
Page 20: The Fcc Wants You To Know
THE FCC WANTS YOU TO KNOW Your converter might cause TV or radio interference even when it is operating properly. To determine whether your converter is causing the interference, turn off your converter. If the interference goes away, your converter is causing it. Try to eliminate the interference by: •... -
Page 21: Specifications
SPECIFICATIONS REMOTE CONTROL Range ... 8m (26 feet)/30 Power Source ... Two 1.5 Volt (AAA) Batteries Dimensions (HWD) ... Weight (with Batteries) ... 3 oz CONVERTER Input Bandwidth ... 54–806 MHz Output Channel ... 3 or 4 Input/Output Impedance ... 75 ohms Noise Figure ... - Page 22 NOTES...
- Page 24 Limited Ninety-Day Warranty This product is warranted by RadioShack against manufacturing defects in material and workman- ship under normal use for ninety (90) days from the date of purchase from RadioShack company- owned stores and authorized RadioShack franchisees and dealers. EXCEPT AS PROVIDED HEREIN, RadioShack MAKES NO EXPRESS WARRANTIES AND ANY IMPLIED WARRANTIES, INCLUDING THOSE OF MERCHANTABILITY AND FITNESS FOR A PARTICULAR PURPOSE, ARE LIMITED IN DURATION TO THE DURATION OF THE WRITTEN LIMITED WARRANTIES...